HP 3500c HP Scanjet 3500c series - (English) Glass Cleaning Manual - Page 3
Disassembly - parts
 |
UPC - 808736090452
View all HP 3500c manuals
Add to My Manuals
Save this manual to your list of manuals |
Page 3 highlights
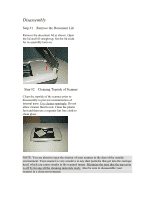
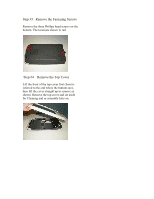
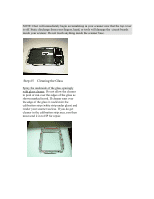
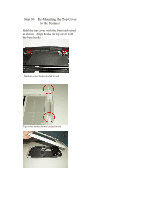
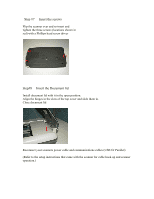
Disassembly Step #1 Remove the Document Lid Remove the document lid as shown. Open the lid and lift straight up. Set the lid aside for re-assembly later on. Step #2 Cleaning Topside of Scanner Clean the topside of the scanner prior to disassembly to prevent contamination of internal parts. Use cleaner sparingly. Do not allow cleaner fluid to run. Clean the plastic first and then use a separate lint free cloth to clean glass. NOTE: You are about to open the interior of your scanner to the dust of the outside environment. Your scanner is very sensitive to any dust particles that get into the carriage head, which can cause streaks in the scanned image. Minimize the time that the top cover is off by having all the cleaning materials ready. Also be sure to disassemble your scanner in a clean environment.
-
 1
1 -
 2
2 -
 3
3 -
 4
4 -
 5
5 -
 6
6 -
 7
7 -
 8
8
 |
 |
