HP A826 Basics Guide - Page 16
Draw on photos, To use the Draw creative option, Get Creative, Remove Drawing - weight
 |
UPC - 883585093014
View all HP A826 manuals
Add to My Manuals
Save this manual to your list of manuals |
Page 16 highlights
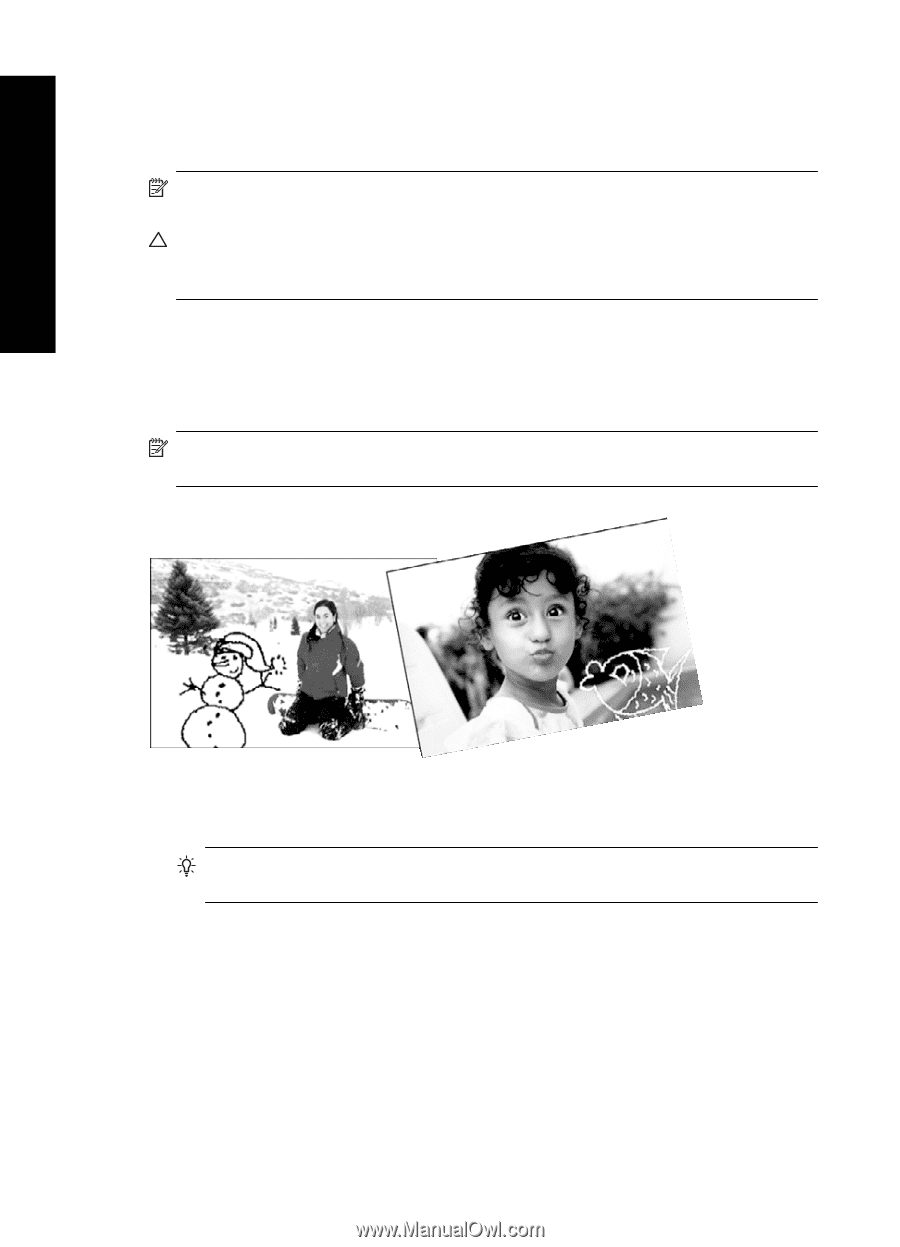
Chapter 3 You can apply multiple creative features to the same photo and then print the modified photo. Use the stylus to draw on a photo or to enter a caption for a photo through the touch screen keyboard. The stylus is placed on the printer, taped into the storage area above the printer memory card slots. Remove the packing tape to use the stylus. NOTE: Get Creative actions are not saved with the photo, so your original file remains untouched. CAUTION: To prevent damage to the touch screen, never use any sharp objects or any device other than the stylus that comes with the printer or an approved replacement. Draw on photos The Draw creative option lets you draw or write on the current photo with the stylus. You can change the color and line weight or switch to an eraser tool to edit drawings already on the photo. NOTE: You have to select the Draw option from the Get Creative menu to be able to draw on the screen. English To use the Draw creative option 1. Touch Get Creative when viewing a photo in 1-up view. TIP: To access the 1-up view, touch the center of the photo in the thumbnail or 9-up view. 2. Touch the Draw creative option. Use the onscreen scroll bar to navigate to this option if it is not visible. 3. Select a draw color and line weight by touching the appropriate button on the touch screen. 4. Use the stylus to draw or write on the current photo. You can touch the eraser button on the touch screen to switch to the eraser tool and then erase part of anything you have drawn. After a drawing has been added to a photo, you can later delete it by touching the Get Creative button in 1-up view and then touching Remove Drawing. 16 HP Photosmart A820 series
-
 1
1 -
2
-
3
-
4
-
5
-
6
-
7
-
8
-
9
-
10
-
 11
11 -
 12
12 -
 13
13 -
 14
14 -
 15
15 -
 16
16 -
 17
17 -
 18
18 -
 19
19 -
 20
20 -
 21
21 -
22
-
23
-
24
-
25
-
26
-
27
-
28
-
29
-
30
-
31
-
32
-
33
-
34
-
35
-
36
-
37
-
38
-
39
-
40
-
41
-
42
-
43
-
44
-
45
-
46
-
47
-
48
-
49
-
50
-
51
-
52
-
53
 |
 |