HP BladeSystem bc2500 User Guide HP BladeSystem PC Blade Enclosure Integrated - Page 20
Identifying Integrated Administrator Components, Determining the Integrated Administrator’s Initial
 |
View all HP BladeSystem bc2500 manuals
Add to My Manuals
Save this manual to your list of manuals |
Page 20 highlights
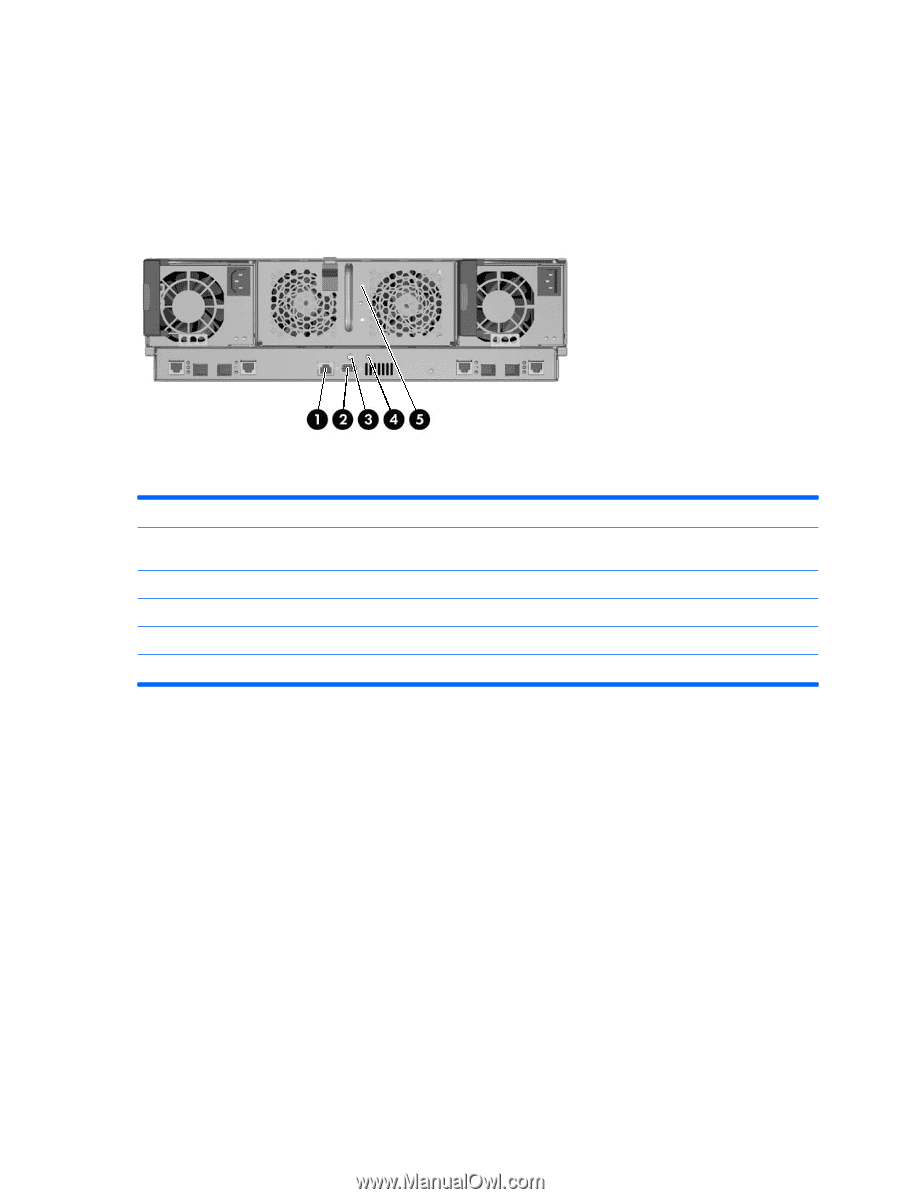
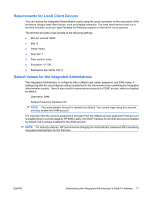
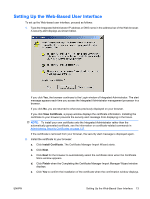
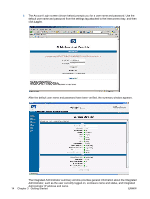
Identifying Integrated Administrator Components Each HP PC Blade Enclosure interconnect tray ships with the Integrated Administrator module already installed and provides external connectivity using two connectors on the rear panel. Table 3-1 Integrated Administrator Rear Panel Components Item Description 1 Management (10/100 Ethernet) connector for remote access through a Web-based user interface, Telnet, or Secure Shell. 2 Console (serial) connector for local access to the command line interface using a laptop computer. 3 Integrated Administrator reset button. 4 Integrated Administrator health LED 5 Enclosure Unit Identification button/LED Determining the Integrated Administrator's Initial IP Address HP recommends that you connect a local client device, such as a laptop computer, to the console (serial) connector in order to determine the initial IP address used by the network to recognize the Integrated Administrator. After using that IP address to access the Integrated Administrator locally using the console (serial) connector, you can use the Integrated Administrator default values to complete the initial configuration. The organization of this section reflects this process: ● Requirements for local client devices ● Default values for the Integrated Administrator ● Determining the IP address using the local console 10 Chapter 3 Getting Started ENWW
-
 1
1 -
2
-
3
-
4
-
5
-
6
-
7
-
8
-
9
-
10
-
11
-
12
-
13
-
14
-
 15
15 -
 16
16 -
 17
17 -
 18
18 -
 19
19 -
 20
20 -
 21
21 -
 22
22 -
 23
23 -
 24
24 -
 25
25 -
26
-
27
-
28
-
29
-
30
-
31
-
32
-
33
-
34
-
35
-
36
-
37
-
38
-
39
-
40
-
41
-
42
-
43
-
44
-
45
-
46
-
47
-
48
-
49
-
50
-
51
-
52
-
53
-
54
-
55
-
56
-
57
-
58
-
59
-
60
-
61
-
62
-
63
-
64
-
65
-
66
-
67
-
68
-
69
-
70
-
71
-
72
-
73
-
74
-
75
-
76
-
77
-
78
-
79
-
80
-
81
-
82
-
83
-
84
-
85
-
86
-
87
-
88
-
89
-
90
-
91
-
92
-
93
-
94
-
95
-
96
-
97
-
98
-
99
-
100
-
101
-
102
-
103
-
104
-
105
-
106
-
107
-
108
-
109
-
110
-
111
-
112
-
113
-
114
-
115
-
116
-
117
-
118
-
119
-
120
-
121
-
122
-
123
-
124
-
125
-
126
-
127
-
128
-
129
-
130
-
131
-
132
-
133
-
134
-
135
-
136
-
137
-
138
-
139
-
140
-
141
-
142
-
143
-
144
-
145
-
146
-
147
-
148
-
149
-
150
-
151
-
152
-
153
-
154
-
155
-
156
-
157
-
158
-
159
-
160
-
161
-
162
-
163
 |
 |