HP C4599 User Guide - Page 67
Print photos, To insert a memory card, Found
 |
UPC - 884420050278
View all HP C4599 manuals
Add to My Manuals
Save this manual to your list of manuals |
Page 67 highlights
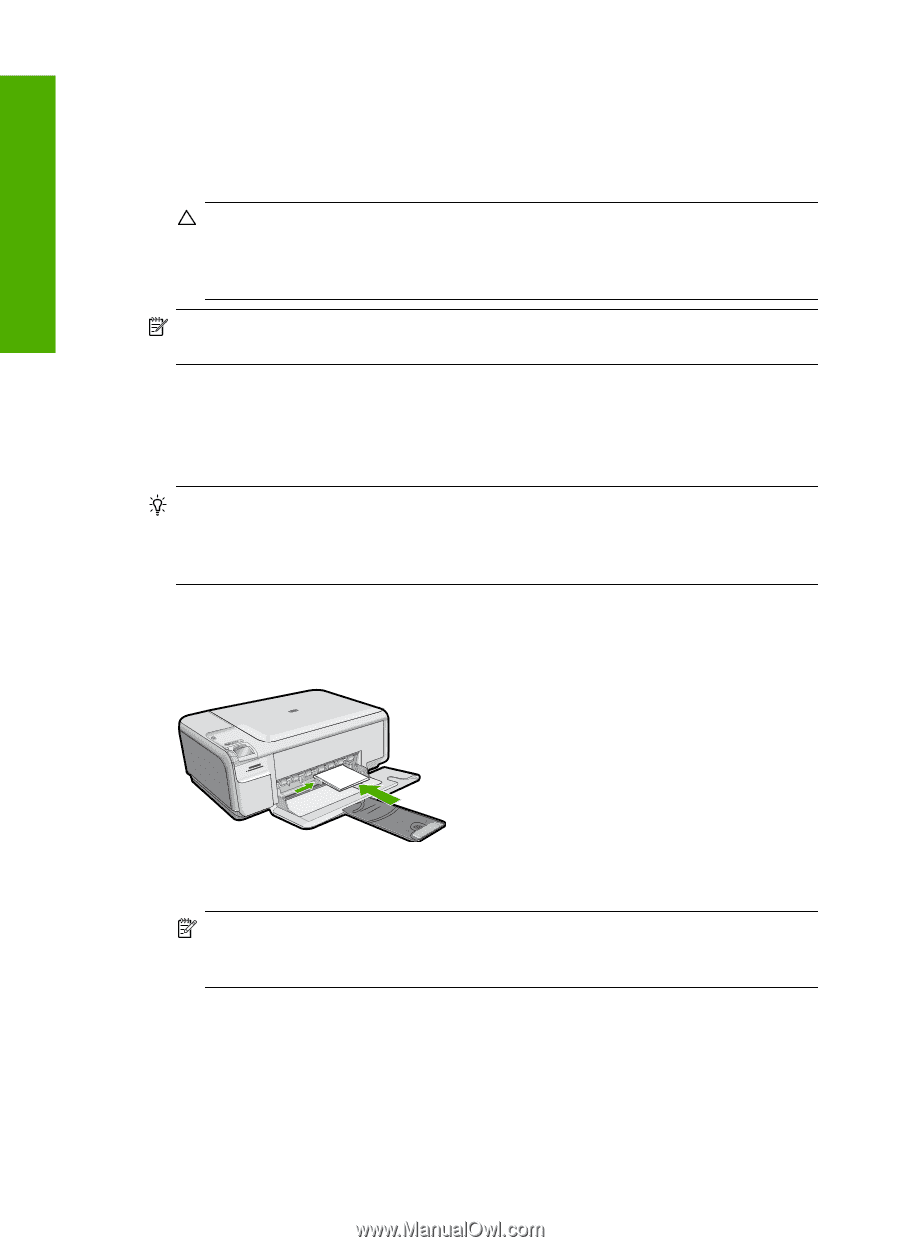
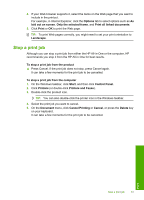
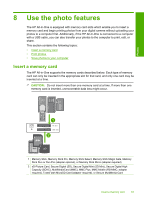
Photos Chapter 8 To insert a memory card 1. Make sure the product is on. 2. Insert the memory card into the appropriate slot. The memory card has a Photo light (below the camera icon) that indicates the status of the memory card. When it is solid green, your photos are ready to be viewed. CAUTION: Do not pull out the memory card while the Photo light is flashing. A flashing light means the product is accessing the memory card. Wait until the light remains solid. Removing a memory card while it is being accessed might corrupt information on the card or damage the product or memory card. NOTE: The product only recognizes the JPG and TIF file formats on your memory card. Print photos The HP All-in-One enables you to print one borderless or bordered photo per page directly from your memory card, without first having to transfer the files to a computer. TIP: To achieve the best print quality, HP recommends using HP papers that are specifically designed for the type of project you are printing along with genuine HP ink. HP papers and HP ink are specifically designed to work well together to provide high-quality output. To print photos 1. Load 10 x 15 cm (4 x 6 inch) photo paper in the input tray. 2. Insert your memory card into the appropriate slot on the product. NOTE: If there are camera-selected photos on the memory card, the DPOF Found screen appears. Select OK to print the camera-selected photos, or select Cancel to browse through the photos on the memory card. 3. Press the buttons next to the up arrow or down arrow icons on the display to scroll through the photos on your memory card until the photo you want to print appears. 64 Use the photo features
-
 1
1 -
2
-
3
-
4
-
5
-
6
-
7
-
8
-
9
-
10
-
11
-
12
-
13
-
14
-
15
-
16
-
17
-
18
-
19
-
20
-
21
-
22
-
23
-
24
-
25
-
26
-
27
-
28
-
29
-
30
-
31
-
32
-
33
-
34
-
35
-
36
-
37
-
38
-
39
-
40
-
41
-
42
-
43
-
44
-
45
-
46
-
47
-
48
-
49
-
50
-
51
-
52
-
53
-
54
-
55
-
56
-
57
-
58
-
59
-
60
-
61
-
 62
62 -
 63
63 -
 64
64 -
 65
65 -
 66
66 -
 67
67 -
 68
68 -
 69
69 -
 70
70 -
 71
71 -
 72
72 -
73
-
74
-
75
-
76
-
77
-
78
-
79
-
80
-
81
-
82
-
83
-
84
-
85
-
86
-
87
-
88
-
89
-
90
-
91
-
92
-
93
-
94
-
95
-
96
-
97
-
98
-
99
-
100
-
101
-
102
-
103
-
104
-
105
-
106
-
107
-
108
-
109
-
110
-
111
-
112
-
113
-
114
-
115
-
116
-
117
-
118
-
119
-
120
-
121
-
122
-
123
-
124
-
125
-
126
-
127
-
128
-
129
-
130
-
131
-
132
-
133
-
134
-
135
-
136
-
137
-
138
-
139
-
140
-
141
-
142
-
143
-
144
-
145
-
146
-
147
-
148
-
149
-
150
-
151
-
152
-
153
-
154
-
155
-
156
-
157
-
158
-
159
-
160
-
161
-
162
-
163
-
164
-
165
-
166
-
167
-
168
-
169
-
170
-
171
-
172
-
173
-
174
-
175
-
176
-
177
-
178
-
179
-
180
-
181
-
182
-
183
-
184
-
185
-
186
-
187
-
188
-
189
-
190
-
191
-
192
-
193
-
194
-
195
-
196
-
197
-
198
-
199
-
200
-
201
-
202
-
203
-
204
-
205
-
206
-
207
-
208
-
209
-
210
-
211
-
212
-
213
-
214
-
215
-
216
-
217
-
218
-
219
-
220
-
221
-
222
-
223
-
224
-
225
-
226
-
227
-
228
-
229
-
230
-
231
-
232
-
233
-
234
-
235
-
236
-
237
-
238
-
239
-
240
-
241
-
242
-
243
-
244
-
245
-
246
-
247
-
248
-
249
-
250
-
251
-
252
-
253
-
254
-
255
-
256
-
257
-
258
-
259
-
260
-
261
 |
 |