HP DF1200A1 User Manual - Page 7
Getting Started - digital picture frame
 |
UPC - 844149050508
View all HP DF1200A1 manuals
Add to My Manuals
Save this manual to your list of manuals |
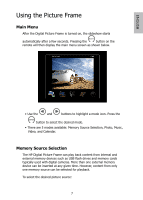
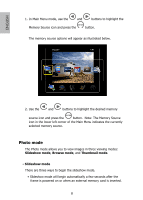
Page 7 highlights
ENGLISH DC 12V Getting Started 1. Plug the adapter into a power outlet and connect the power cord into the DC input of the digital picture frame as illustrated below. 2. The HP Digital Picture Frame is preloaded with pictures that illustrate the basic features of this product. If you want to view these pictures, turn the frame on as illustrated in step 4. The slideshow will begin in a few seconds. 3. Insert a memory card or USB storage device (external memory) containing desired pictures, music, and/or video into the appropriate card slot or USB port as illustrated below. Note: Memory cards and USB storage devices must be orientated correctly. 3
-
 1
1 -
 2
2 -
 3
3 -
 4
4 -
 5
5 -
 6
6 -
 7
7 -
 8
8 -
 9
9 -
 10
10 -
 11
11 -
 12
12 -
13
-
14
-
15
-
16
-
17
-
18
-
19
-
20
-
21
-
22
-
23
-
24
-
25
-
26
-
27
-
28
-
29
-
30
-
31
-
32
-
33
-
34
-
35
-
36
-
37
-
38
-
39
-
40
-
41
-
42
-
43
-
44
-
45
-
46
-
47
-
48
-
49
-
50
-
51
-
52
-
53
-
54
-
55
-
56
-
57
-
58
-
59
-
60
-
61
-
62
-
63
-
64
-
65
-
66
-
67
-
68
-
69
-
70
-
71
-
72
-
73
-
74
-
75
-
76
-
77
-
78
-
79
-
80
-
81
-
82
-
83
-
84
-
85
-
86
 |
 |
3
ENGLISH
Getting Started
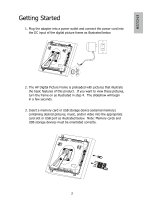
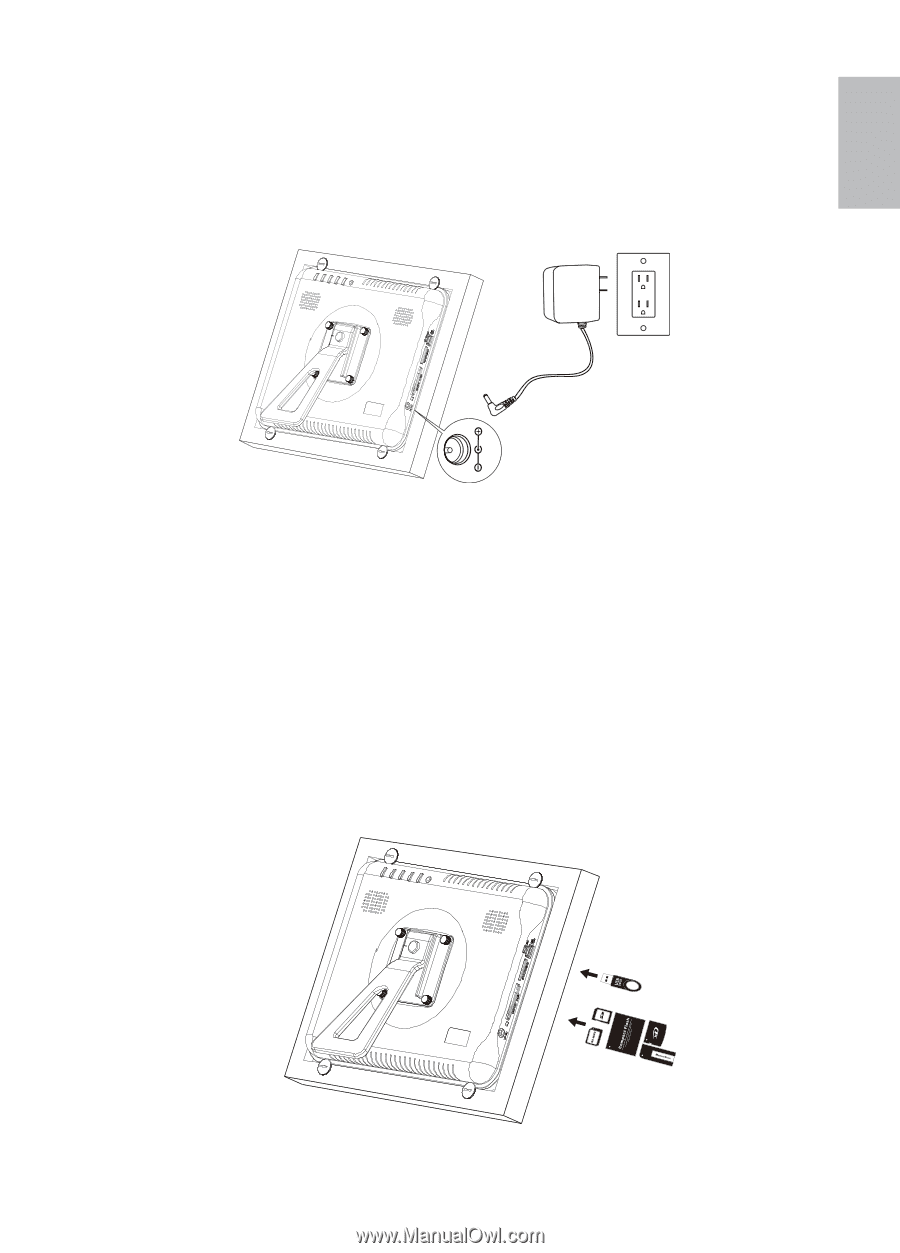
Plug the adapter into a power outlet and connect the power cord into
1.
the DC input of the digital picture frame as illustrated below.
DC 12V
The HP Digital Picture Frame is preloaded with pictures that illustrate
2.
the basic features of this product.
If you want to view these pictures,
turn the frame on as illustrated in step 4.
The slideshow will begin
in a few seconds.
Insert a memory card or USB storage device (external memory)
3.
containing desired pictures, music, and/or video into the appropriate
card slot or USB port as illustrated below.
Note: Memory cards and
USB storage devices must be orientated correctly.