HP DL785 Read Before Install - HP ProLiant DL-Series Carrier-Grade Servers - Page 7
screws are only accessible with the retainer bracket removed. - weight
 |
UPC - 883585262809
View all HP DL785 manuals
Add to My Manuals
Save this manual to your list of manuals |
Page 7 highlights
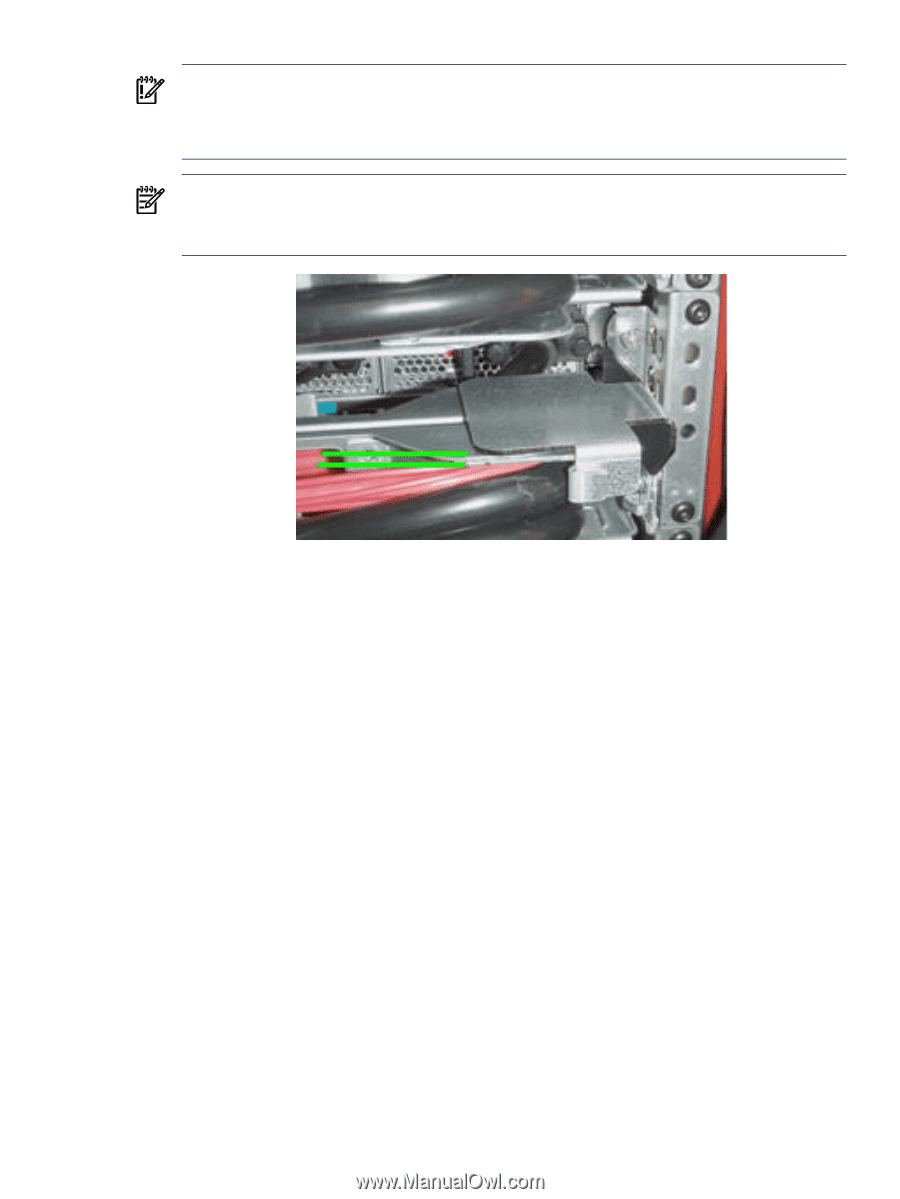
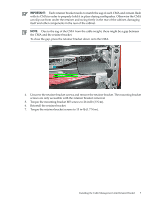
IMPORTANT: Each retainer bracket needs to match the sag of each CMA and remain flush with its CMA in order to properly hold it in place during earthquakes. Otherwise the CMA can slip out from under the retainer and swing freely in the rear of the cabinet, damaging itself and other components in the rear of the cabinet. NOTE: Due to the sag of the CMA from the cable weight, there might be a gap between the CMA and the retainer bracket. To close the gap, press the retainer bracket down onto the CMA. 4. Unscrew the retainer bracket screws and remove the retainer bracket. The mounting bracket screws are only accessible with the retainer bracket removed. 5. Torque the mounting bracket M5 screws to 26 in-lb (3 N-m). 6. Reinstall the retainer bracket. 7. Torque the retainer bracket screws to 15 in-lb (1.7 N-m). Installing the Cable Management Arm Retainer Bracket 7
-
 1
1 -
 2
2 -
 3
3 -
 4
4 -
 5
5 -
 6
6 -
 7
7 -
 8
8
 |
 |