HP Dc5850 AHCI and RAID on HP Compaq dc5850 Business PCs - 2nd Edition - Page 12
Configuring RAID on non-factory preinstalled configurations - bios reset
 |
UPC - 884962022993
View all HP Dc5850 manuals
Add to My Manuals
Save this manual to your list of manuals |
Page 12 highlights
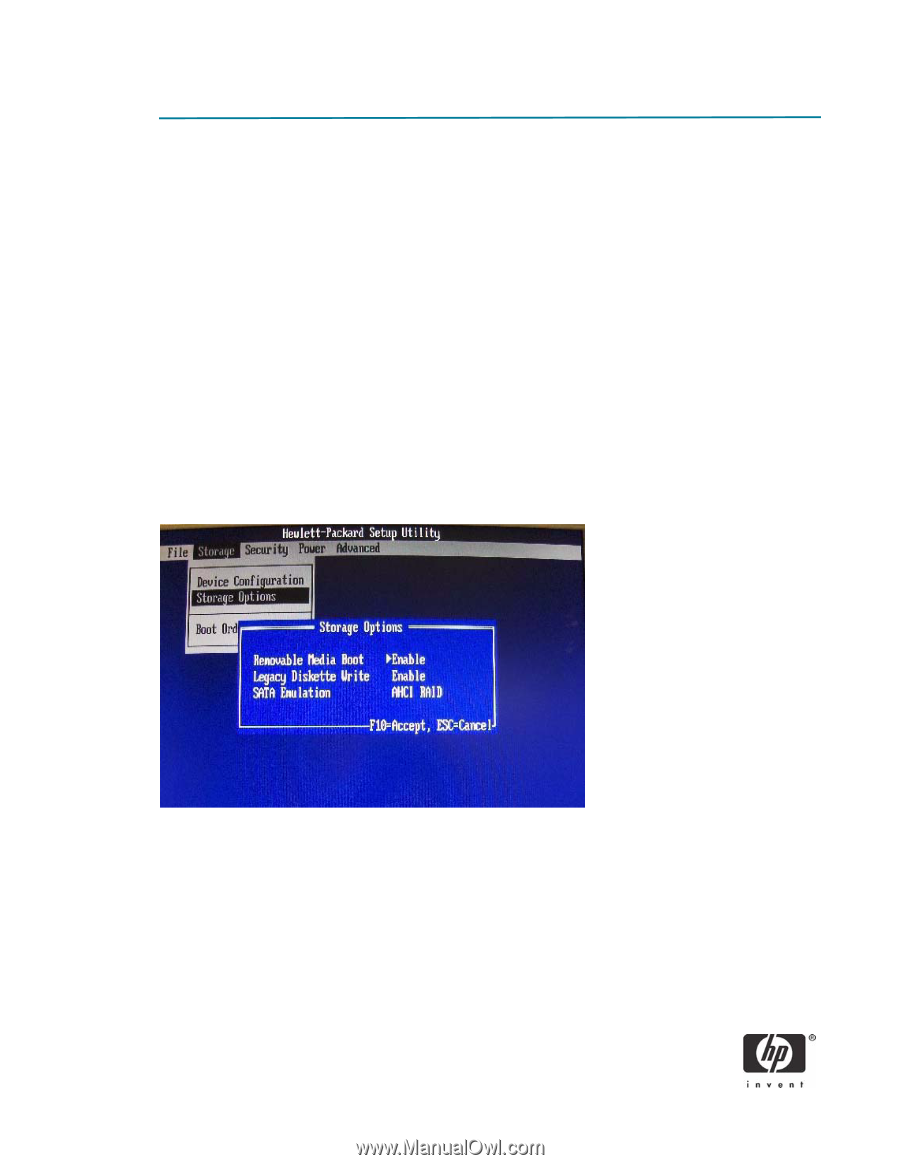
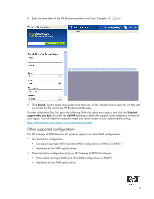
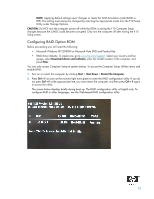
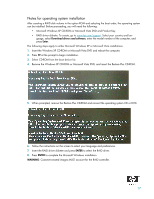
Configuring RAID on non-factory preinstalled configurations The remaining sections of this white paper describe steps to set up supported RAID configurations where customers have not purchased factory preinstalled RAID configurations. WARNING: Before configuring RAID in the Option ROM interface, be sure to back up all data. Once a RAID configuration is saved, the drives will no longer be bootable until an operating system is re-installed. NOTE: You will need a diskette drive to use the downloaded HP softpaq required for Windows XP CD or Microsoft Vista DVD installation. The softpaq must be downloaded to a diskette. Enabling RAID through F10 System BIOS 1. Turn on or restart the computer by clicking Start > Shut Down > Restart the Computer. 2. Press F10 as soon as the monitor light turns green. If you do not press F10 at the appropriate time, you must restart the computer, and then press F10 again to access the utility. 3. Select your language from the list, and then press Enter. 4. Use the arrow keys to select the Storage menu. 5. Use the down arrow key to select Storage Options, and then press Enter. 6. On the Storage Options menu, use the down arrow key to select SATA Emulation. 7. Press the right arrow key until AHCI RAID displays, and then press F10 to accept. 8. To apply and save changes, select File > Save Changes and Exit. • If you do not want to apply your changes, select Ignore Changes and Exit. • To reset to factory settings, select Apply Defaults and Exit. 12
-
 1
1 -
2
-
3
-
4
-
5
-
6
-
 7
7 -
 8
8 -
 9
9 -
 10
10 -
 11
11 -
 12
12 -
 13
13 -
 14
14 -
 15
15 -
 16
16 -
 17
17 -
18
-
19
-
20
-
21
-
22
 |
 |