HP Deskjet 1220c HP Deskjet 1220c printer - (English) User's Guide - Page 16
Using Your Printer on a Network, Add New Hardware Wizard, Browse, Windows\Win98usb, Finish, Details - troubleshooting
 |
View all HP Deskjet 1220c manuals
Add to My Manuals
Save this manual to your list of manuals |
Page 16 highlights
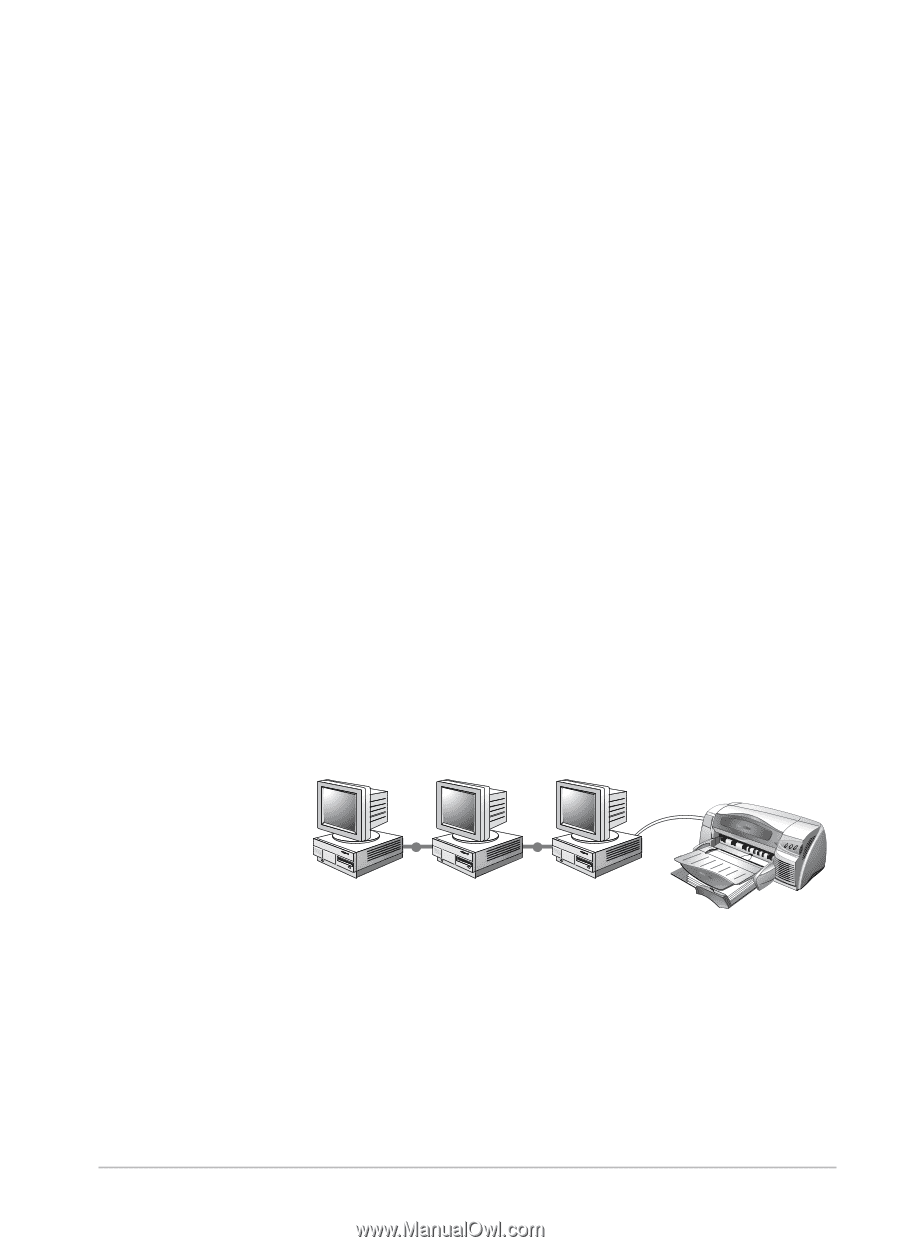
2. Turn off the printer and connect the USB cable (purchased separately; part number C6518A). 3. Turn on the printer. If the computer is properly configured to use USB, Windows will detect the printer. 4. The Add New Hardware Wizard dialog box appears. a. Click Next until you are asked to specify a location for the software. b. Click Browse, double-click on the CD icon (typically the D: drive), click on the Windows\Win98usb directory, and then click OK. c. Click Next to the see the subsequent dialog boxes, and click Finish. d. Click Back if Windows was unable to locate a driver and repeat steps 4a to 4c. If the Add New Hardware Wizard screen disappears before completing the installation, detach and reattach the USB cable, and repeat step 4. 5. Install the printer software. Click Next, and follow the instructions that appear on the screen to complete the installation. Note: Do not connect a USB and a parallel cable to printer at the same time. To verify the installation: 1. Make sure the USB cable is properly connected and the printer is on. 2. Open the printer's properties from the printer control panel. 3. In the Details tab, check that the printer is set to the USB port. 4. In the General tab, click Print Test Page. If the test page does not print, see Troubleshooting on page 21. Using Your Printer on a Network Your printer can be shared in a network environment by connecting it directly to a network via an optional HP JetDirect external print server. For information about installation and setup of HP JetDirect print servers, refer to your HP JetDirect Hardware and Software Installation Guides. Note: Although alternate installation methods are described below, the Starter CD is all you need to guide you through a shared printer installation. Installing a network printer with the Add Printer command: 1. Click Start, select Settings, and then select Printers. 10
-
 1
1 -
2
-
3
-
4
-
5
-
6
-
7
-
8
-
9
-
10
-
 11
11 -
 12
12 -
 13
13 -
 14
14 -
 15
15 -
 16
16 -
 17
17 -
 18
18 -
 19
19 -
 20
20 -
 21
21 -
22
-
23
-
24
-
25
-
26
-
27
-
28
-
29
-
30
-
31
-
32
-
33
-
34
-
35
-
36
-
37
-
38
-
39
-
40
-
41
-
42
-
43
-
44
-
45
-
46
-
47
-
48
-
49
 |
 |