HP Deskpro 4000 Compaq Reference Guide Deskpro 4000 and Deskpro 6000 Series of - Page 138
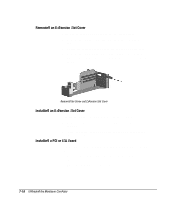
Removing an Expansion Slot Cover, Installing a PCI or ISA Board
 |
View all HP Deskpro 4000 manuals
Add to My Manuals
Save this manual to your list of manuals |
Page 138 highlights
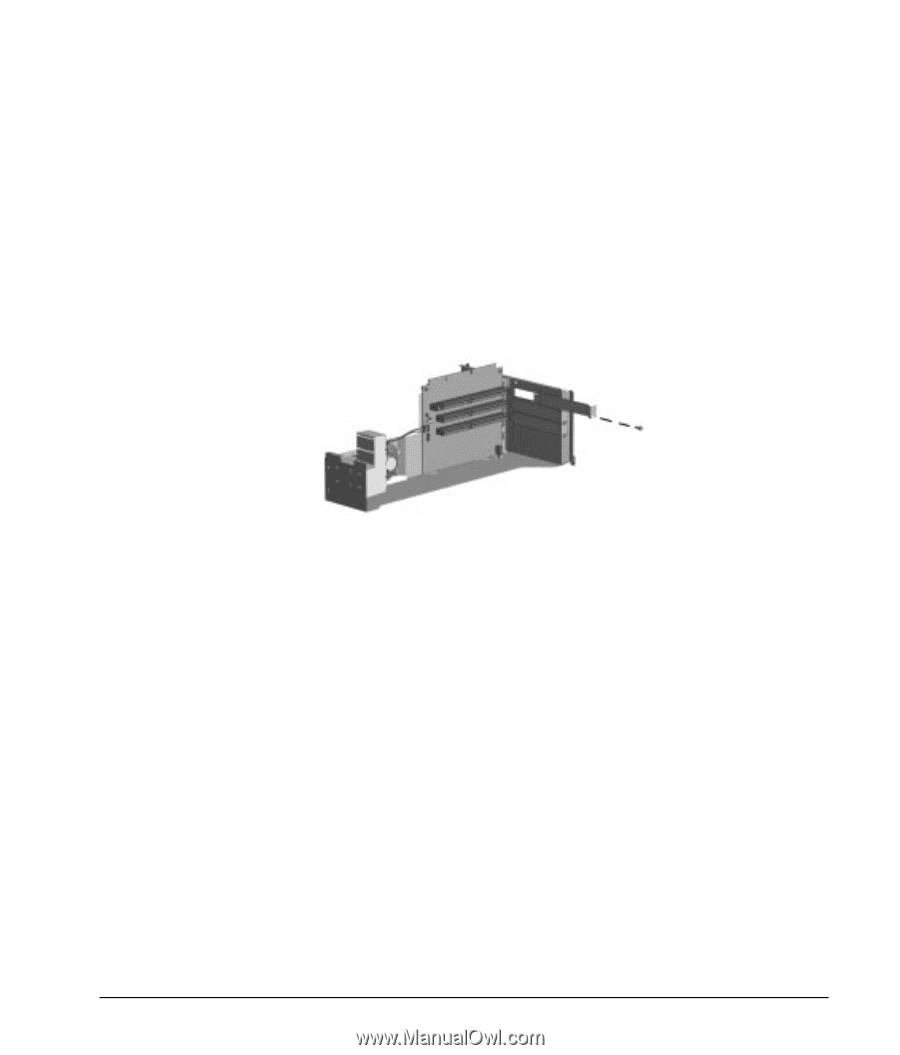
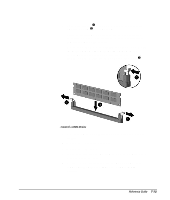
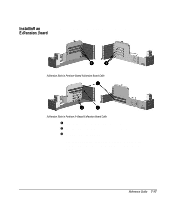
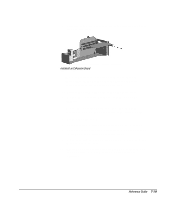
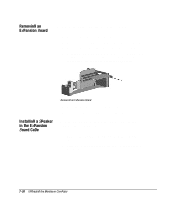
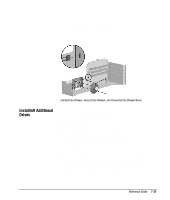
Removing an Expansion Slot Cover To remove an expansion slot cover, follow these steps: 1. Remove the expansion board cage from the computer chassis. 2. Locate the correct vacant slot in the expansion board cage. 3. Remove the screw at the side of the expansion slot, then remove the expansion slot cover from the slot as illustrated below. Removing the Screw and Expansion Slot Cover Installing an Expansion Slot Cover To install an expansion slot cover, follow these steps: 1. Slide the expansion slot cover into place over the slot opening. 2. Install the screw at the side of the expansion slot to secure the slot cover. Installing a PCI or ISA Board To install a PCI or ISA expansion board, complete the following steps: 1. Remove the expansion board cage from the computer chassis. 2. Remove the expansion slot cover. 7-18 Upgrading the Minitower Computer
-
 1
1 -
2
-
3
-
4
-
5
-
6
-
7
-
8
-
9
-
10
-
11
-
12
-
13
-
14
-
15
-
16
-
17
-
18
-
19
-
20
-
21
-
22
-
23
-
24
-
25
-
26
-
27
-
28
-
29
-
30
-
31
-
32
-
33
-
34
-
35
-
36
-
37
-
38
-
39
-
40
-
41
-
42
-
43
-
44
-
45
-
46
-
47
-
48
-
49
-
50
-
51
-
52
-
53
-
54
-
55
-
56
-
57
-
58
-
59
-
60
-
61
-
62
-
63
-
64
-
65
-
66
-
67
-
68
-
69
-
70
-
71
-
72
-
73
-
74
-
75
-
76
-
77
-
78
-
79
-
80
-
81
-
82
-
83
-
84
-
85
-
86
-
87
-
88
-
89
-
90
-
91
-
92
-
93
-
94
-
95
-
96
-
97
-
98
-
99
-
100
-
101
-
102
-
103
-
104
-
105
-
106
-
107
-
108
-
109
-
110
-
111
-
112
-
113
-
114
-
115
-
116
-
117
-
118
-
119
-
120
-
121
-
122
-
123
-
124
-
125
-
126
-
127
-
128
-
129
-
130
-
131
-
132
-
 133
133 -
 134
134 -
 135
135 -
 136
136 -
 137
137 -
 138
138 -
 139
139 -
 140
140 -
 141
141 -
 142
142 -
 143
143 -
144
-
145
-
146
-
147
-
148
-
149
-
150
-
151
-
152
-
153
-
154
-
155
-
156
-
157
-
158
-
159
-
160
-
161
-
162
-
163
-
164
-
165
-
166
-
167
-
168
-
169
-
170
-
171
-
172
-
173
-
174
-
175
-
176
-
177
-
178
-
179
-
180
-
181
-
182
-
183
-
184
-
185
-
186
-
187
-
188
-
189
-
190
-
191
-
192
-
193
-
194
-
195
-
196
-
197
-
198
-
199
-
200
-
201
-
202
-
203
-
204
-
205
-
206
-
207
-
208
-
209
-
210
-
211
-
212
-
213
-
214
-
215
-
216
-
217
-
218
-
219
-
220
-
221
-
222
-
223
-
224
-
225
-
226
-
227
-
228
-
229
-
230
-
231
-
232
-
233
-
234
 |
 |