HP LTE 5000 LTE 5000 Family of Personal Computers Maintenance and Service Guid - Page 132
Installing the Auxiliary Battery, compartment
 |
View all HP LTE 5000 manuals
Add to My Manuals
Save this manual to your list of manuals |
Page 132 highlights
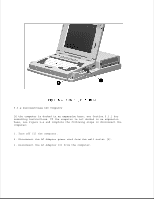
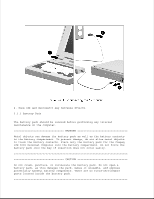
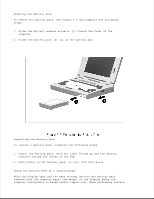
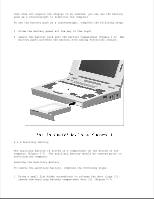
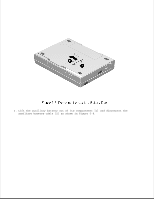
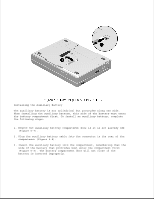
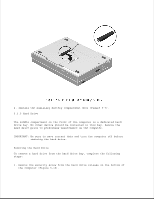
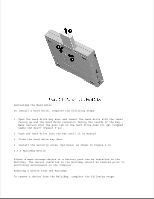
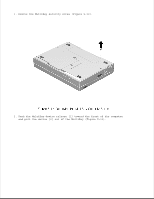
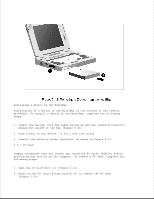
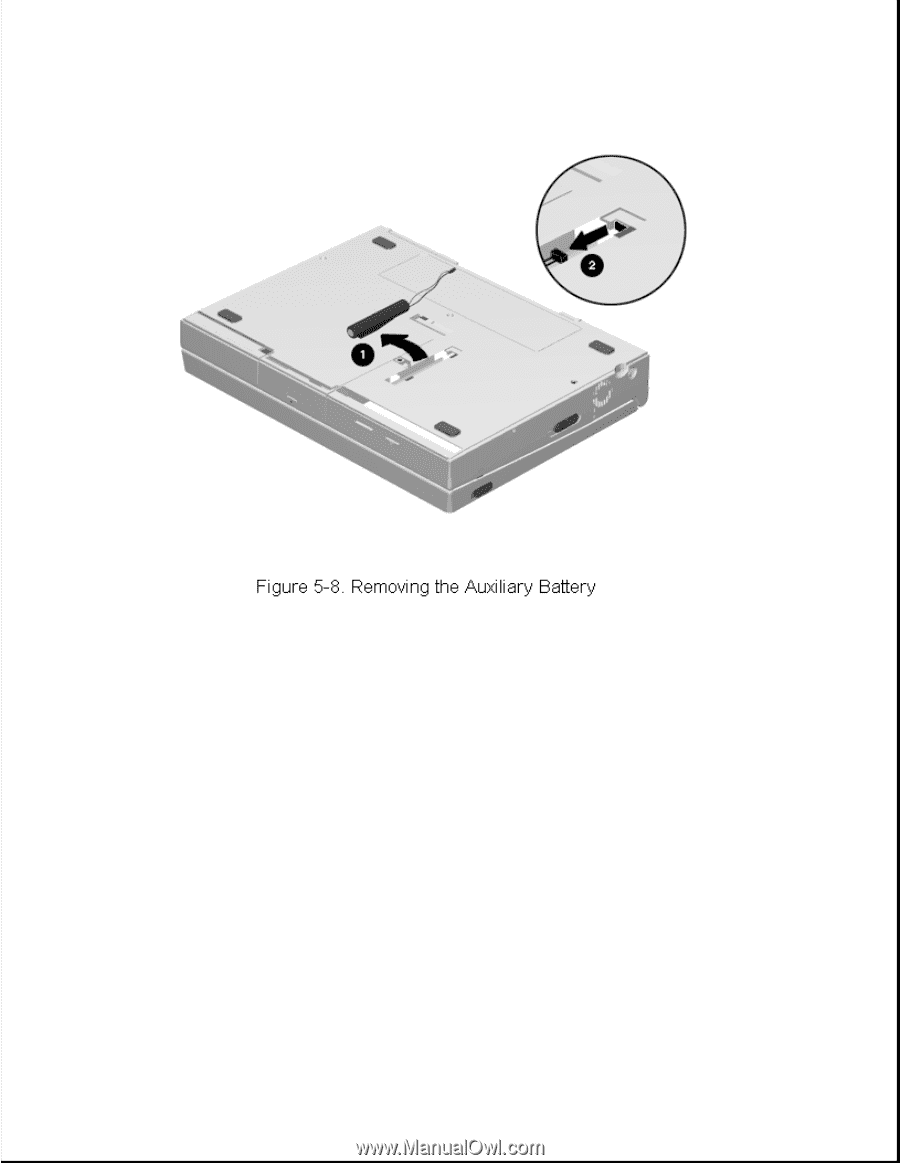
Installing the Auxiliary Battery The auxiliary battery is not cylindrical but protrudes along one side. When installing the auxiliary battery, this side of the battery must enter the battery compartment first. To install an auxiliary battery, complete the following steps: 1. Remove the auxiliary battery compartment door if it is not already off (Figure 5-7). 2. Plug the auxiliary battery cable into the connector in the rear of the compartment (Figure 5-8). 3. Insert the auxiliary battery into the compartment, remembering that the side of the battery that protrudes must enter the compartment first (Figure 5-9). The battery compartment door will not close if the battery is inserted improperly.
-
 1
1 -
2
-
3
-
4
-
5
-
6
-
7
-
8
-
9
-
10
-
11
-
12
-
13
-
14
-
15
-
16
-
17
-
18
-
19
-
20
-
21
-
22
-
23
-
24
-
25
-
26
-
27
-
28
-
29
-
30
-
31
-
32
-
33
-
34
-
35
-
36
-
37
-
38
-
39
-
40
-
41
-
42
-
43
-
44
-
45
-
46
-
47
-
48
-
49
-
50
-
51
-
52
-
53
-
54
-
55
-
56
-
57
-
58
-
59
-
60
-
61
-
62
-
63
-
64
-
65
-
66
-
67
-
68
-
69
-
70
-
71
-
72
-
73
-
74
-
75
-
76
-
77
-
78
-
79
-
80
-
81
-
82
-
83
-
84
-
85
-
86
-
87
-
88
-
89
-
90
-
91
-
92
-
93
-
94
-
95
-
96
-
97
-
98
-
99
-
100
-
101
-
102
-
103
-
104
-
105
-
106
-
107
-
108
-
109
-
110
-
111
-
112
-
113
-
114
-
115
-
116
-
117
-
118
-
119
-
120
-
121
-
122
-
123
-
124
-
125
-
126
-
 127
127 -
 128
128 -
 129
129 -
 130
130 -
 131
131 -
 132
132 -
 133
133 -
 134
134 -
 135
135 -
 136
136 -
 137
137 -
138
-
139
-
140
-
141
-
142
-
143
-
144
-
145
-
146
-
147
-
148
-
149
-
150
-
151
-
152
-
153
-
154
-
155
-
156
-
157
-
158
-
159
-
160
-
161
-
162
-
163
-
164
-
165
-
166
-
167
-
168
-
169
-
170
-
171
-
172
-
173
-
174
-
175
-
176
-
177
-
178
-
179
-
180
-
181
-
182
-
183
-
184
-
185
-
186
-
187
-
188
-
189
-
190
-
191
-
192
-
193
-
194
-
195
-
196
-
197
-
198
-
199
-
200
-
201
-
202
-
203
-
204
-
205
-
206
-
207
-
208
-
209
-
210
-
211
-
212
-
213
-
214
-
215
-
216
-
217
-
218
-
219
-
220
-
221
-
222
-
223
-
224
-
225
-
226
-
227
-
228
-
229
-
230
-
231
-
232
-
233
-
234
-
235
-
236
-
237
-
238
-
239
-
240
-
241
-
242
-
243
-
244
-
245
-
246
-
247
-
248
-
249
-
250
-
251
-
252
-
253
-
254
-
255
-
256
-
257
-
258
-
259
-
260
-
261
-
262
-
263
-
264
-
265
-
266
-
267
-
268
-
269
-
270
-
271
-
272
-
273
-
274
-
275
-
276
-
277
-
278
-
279
-
280
-
281
-
282
-
283
-
284
-
285
-
286
-
287
-
288
-
289
-
290
-
291
-
292
-
293
-
294
-
295
-
296
-
297
-
298
-
299
-
300
-
301
-
302
-
303
-
304
-
305
-
306
-
307
-
308
-
309
-
310
-
311
-
312
-
313
-
314
 |
 |
Installing the Auxiliary Battery
The auxiliary battery is not cylindrical but protrudes along one side.
When installing the auxiliary battery, this side of the battery must enter
the battery compartment first. To install an auxiliary battery, complete
the following steps:
1. Remove the auxiliary battery compartment door if it is not already off
(Figure 5-7).
2. Plug the auxiliary battery cable into the connector in the rear of the
compartment (Figure 5-8).
3. Insert the auxiliary battery into the compartment, remembering that the
side of the battery that protrudes must enter the compartment first
(Figure 5-9). The battery compartment door will not close if the
battery is inserted improperly.