HP Scanjet 4890 User's Manual - Page 14
Scan Film, HP Scanning, Picture, Scan positives, including 35 mm slides, using the TMA, Show Preview - user manual
 |
View all HP Scanjet 4890 manuals
Add to My Manuals
Save this manual to your list of manuals |
Page 14 highlights
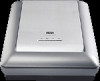
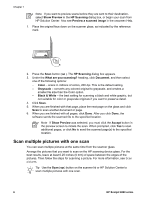
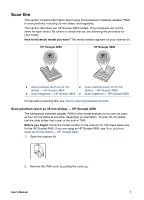
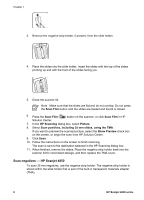
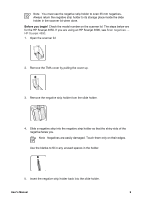
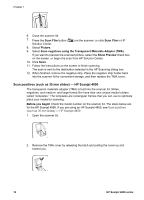
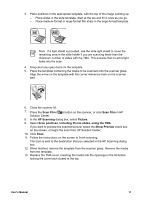
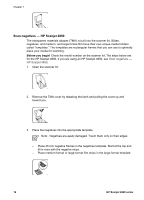
3. Place positives in the appropriate template, with the top of the image pointing up. - Place slides in the slide template. Start at the top and fill in rows as you go. - Place medium-format or large-format film strips in the large-format template. Note If a light shield is provided, use the slide light shield to cover the remaining area in the slide holder if you are scanning fewer than the maximum number of slides with the TMA. This ensures that no extra light leaks into the scan. 4. Snap shut any open doors on the template. 5. Place the template containing the media to be scanned onto the scanner glass. Align the arrow on the template with the corner reference mark on the scanner bed. 6. Close the scanner lid. 7. Press the Scan Film ( ) button on the scanner, or click Scan Film in HP Solution Center. 8. In the HP Scanning dialog box, select Picture. 9. Select Scan positives, including 35 mm slides, using the TMA. If you want to preview the scanned picture, select the Show Preview check box on the screen, or begin the scan from HP Solution Center. 10. Click Scan. 11. Follow the instructions on the screen to finish scanning. The scan is sent to the destination that you selected in the HP Scanning dialog box. 12. When finished, remove the template from the scanner glass. Remove the media from the template. 13. Replace the TMA cover, inserting the hooks into the openings in the lid before locking the cover latch closed at the top. User's Manual 11
-
 1
1 -
2
-
3
-
4
-
5
-
6
-
7
-
8
-
 9
9 -
 10
10 -
 11
11 -
 12
12 -
 13
13 -
 14
14 -
 15
15 -
 16
16 -
 17
17 -
 18
18 -
 19
19 -
20
-
21
-
22
-
23
-
24
-
25
-
26
-
27
 |
 |