HP XM600 hp brio ba410 pcs, hp kayak xm600 series 2 pcs, e-Diagtools 3.01 and - Page 19
Overview, Running e-Diagtools from the Utility Partition on your Hard Disk - kayak
 |
View all HP XM600 manuals
Add to My Manuals
Save this manual to your list of manuals |
Page 19 highlights
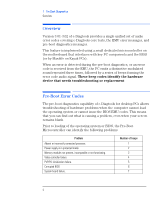
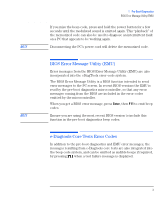
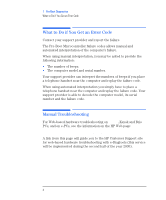
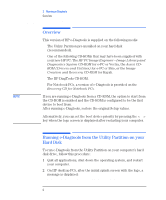
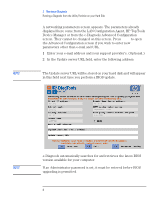
2 Running e-Diagtools Overview Overview This version of HP e-Diagtools is supplied on the following media: ❒ The Utility Partition pre-installed on your hard disk (recommended). ❒ One of the following CD-ROMs that may have been supplied with your new HP PC: The HP PC Image Engineer - Image Library and Diagnostics System CD-ROM for e-PC or Vectra, the Assist CDROM (Drivers and Utilities) for e-PC or Brio, or the Image Creation and Recovery CD-ROM for Kayak. ❒ The HP DiagTools CD-ROM. ❒ For Notebook PCs, a version of e-Diagtools is provided on the Recovery CD for Notebook PCs. NOTE If you are running e-Diagtools from a CD-ROM, the option to start from the CD-ROM is enabled and the CD-ROM is configured to be the first device to boot from. After running e-Diagtools, restore the original Setup values. Alternatively, you can set the boot device priority by pressing the key when the logo screen is displayed after restarting your computer. Running e-Diagtools from the Utility Partition on your Hard Disk To run e-Diagtools from the Utility Partition on your computer's hard disk drive, follow this procedure: 1 Quit all applications, shut down the operating system, and restart your computer. 2 On HP desktop PCs, after the initial splash screen with the logo, a message is displayed: Press to enter the Utility Partition 6 English
-
 1
1 -
2
-
3
-
4
-
5
-
6
-
7
-
8
-
9
-
10
-
11
-
12
-
13
-
 14
14 -
 15
15 -
 16
16 -
 17
17 -
 18
18 -
 19
19 -
 20
20 -
 21
21 -
 22
22 -
 23
23 -
 24
24 -
25
-
26
-
27
-
28
-
29
-
30
-
31
-
32
-
33
-
34
-
35
-
36
-
37
-
38
-
39
-
40
-
41
-
42
-
43
-
44
-
45
-
46
-
47
-
48
-
49
-
50
-
51
-
52
-
53
-
54
-
55
-
56
-
57
-
58
-
59
-
60
-
61
-
62
-
63
-
64
-
65
-
66
-
67
-
68
-
69
-
70
-
71
-
72
-
73
-
74
-
75
-
76
-
77
-
78
-
79
-
80
-
81
-
82
-
83
-
84
-
85
-
86
-
87
-
88
-
89
-
90
-
91
-
92
-
93
-
94
-
95
-
96
-
97
-
98
-
99
-
100
-
101
-
102
-
103
-
104
-
105
-
106
-
107
-
108
-
109
-
110
-
111
-
112
-
113
-
114
-
115
-
116
-
117
-
118
-
119
-
120
-
121
-
122
-
123
 |
 |