Hotpoint GSM2260NSS Installation Instructions - Page 9
Dishwasher Installation
 |
View all Hotpoint GSM2260NSS manuals
Add to My Manuals
Save this manual to your list of manuals |
Page 9 highlights
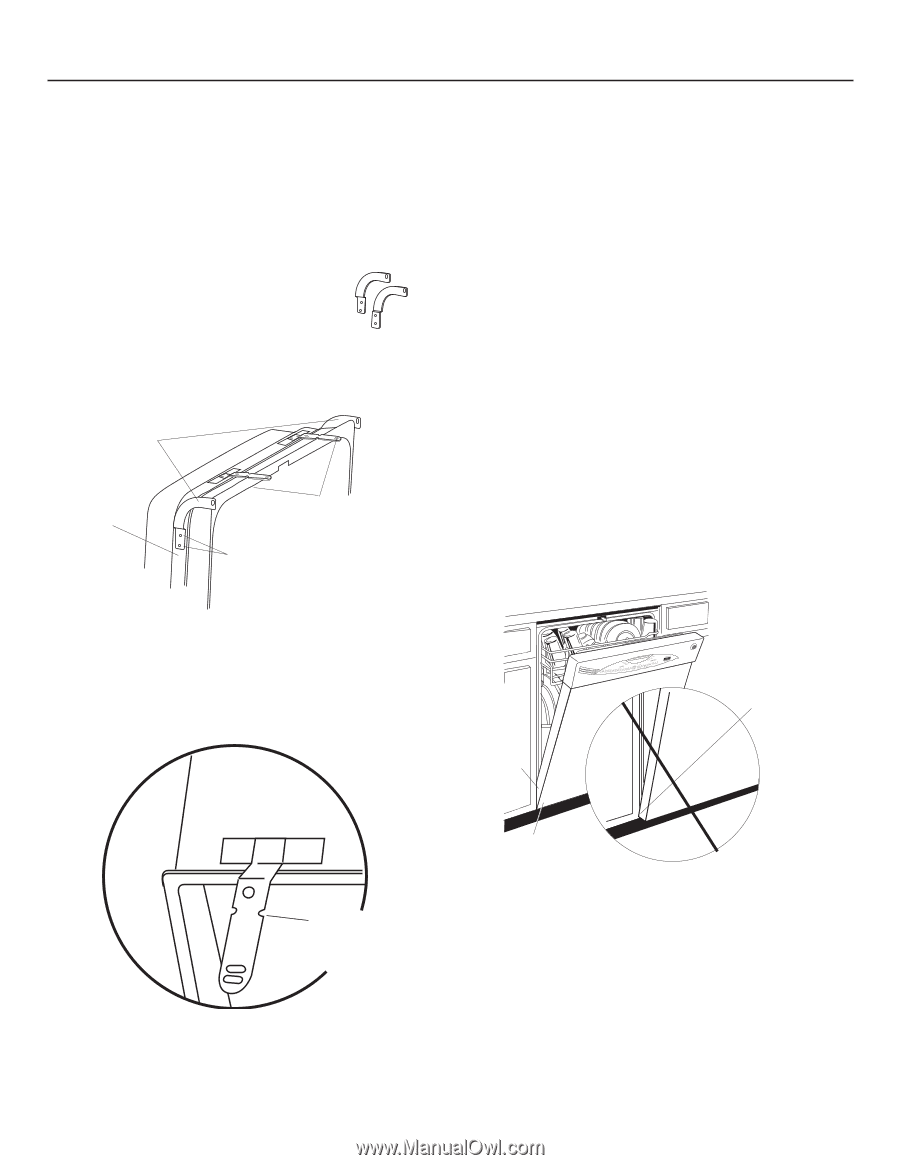
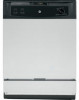
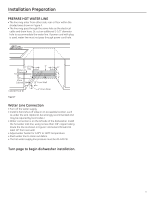
Dishwasher Installation STEP 12: INSTALL GPF65 SIDE-MOUNT BRACKETS Skip this step if underside of countertop is wood or wood-like material. In this step you will need the side-mount kit you set aside in Step 1. • Install side-mount brackets if underside of countertop is granite or similar material that will not accept wood screws. • Fasten the left-hand bracket to the left side of the dishwasher frame and the right-hand bracket to the right side of the dishwasher frame, using the #8 pan-head screws included with the kit. Refer to instructions Optional included in kit for orientation and Side-Mount placement of the brackets. Bracket Kit Side-Mounting Brackets Tub Frame Countertop Brackets Bracket Attachment Screws (2 Each Side) STEP 13: PUSH DISHWASHER INTO FINAL POSITION • Check the tub insulation blanket, if equipped, to be sure it is smoothly wrapped around the tub. It should not be "bunched up" and it must not interfere with the door springs. If the insulation is "bunched up" or interfering with the springs, straighten and recenter the blanket prior to sliding the dishwasher into its final position. • Slide the dishwasher into the final position by pushing on the sides of the door panel. Do not use a knee or push on the center of the panel. If you do, damage to the panel will likely result . • The dishwasher is in the final position when the edges of the front panel are flush with the adjacent cabinets and the dishwasher is centered in the cabinet opening. IMPORTANT - Before opening the dishwasher door, be certain the edges of the dishwasher door panel are behind the face of the adjacent cabinet and not up against the cabinet face. Refer to Figure Q. If the dishwasher door is opened when the edge of the door is against the face of the cabinet, dishwasher door damage and cabinet damage will occur. • Open and close the dishwasher door to be sure it operates smoothly, and does not rub on the adjacent cabinet. • If you are installing the dishwasher under a counter with a short overhang, the countertop brackets may extend beyond the edge of the counter. If this is the case, remove the excess length by repeatedly bending the brackets at the notches until they break off. Door Fits and Swings Back Behind Cabinet Frame Door Catches on Cabinet Frame Bend back and forth at notch Correct Alignment Figure Q Incorrect Alignment will result in door damage Tip: Prevent unnecessary service charges for panel damage or wash performance. Check dishwasher alignment prior to opening dishwasher door to prevent panel damage. Make sure utility lines are not trapped or crushed behind dishwasher. Crushed lines will restrict water flow. 9
-
 1
1 -
2
-
3
-
 4
4 -
 5
5 -
 6
6 -
 7
7 -
 8
8 -
 9
9 -
 10
10 -
 11
11 -
 12
12 -
 13
13 -
 14
14 -
15
-
16
-
17
-
18
-
19
-
20
-
21
-
22
-
23
-
24
-
25
-
26
-
27
-
28
-
29
-
30
-
31
-
32
 |
 |