Hunter 42999 Owner's Manual - Page 15
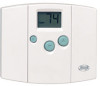
See - digital thermostat part number b
 |
View all Hunter 42999 manuals
Add to My Manuals
Save this manual to your list of manuals |
Page 15 highlights
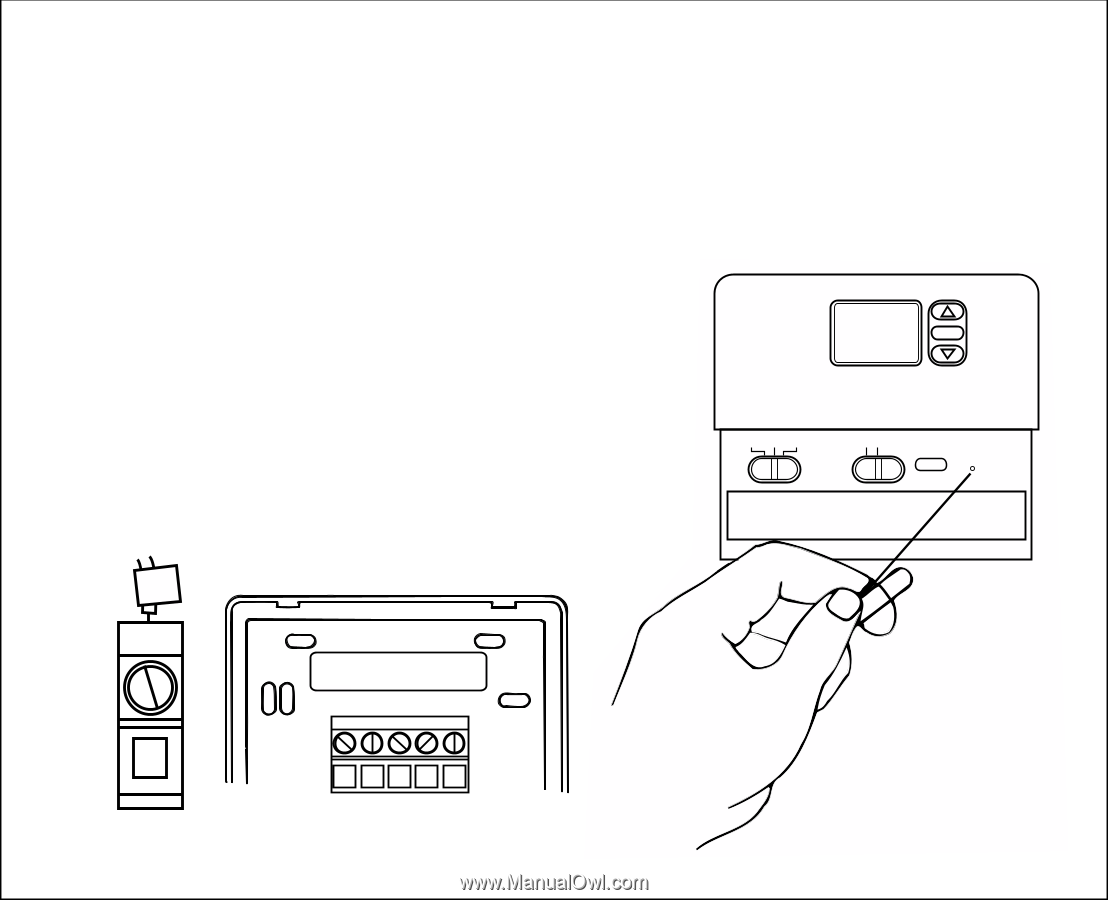
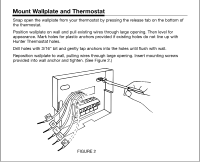
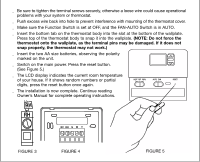
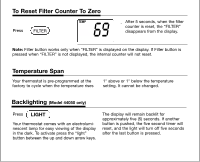
s Be sure to tighten the terminal screws securely, otherwise a loose wire could cause operational problems with your system or thermostat. s Push excess wire back into hole to prevent interference with mounting of the thermostat cover. s Make sure the Function Switch is set at OFF, and the FAN-AUTO Switch is in AUTO. s Insert the bottom tab on the thermostat body into the slot at the bottom of the wallplate. Press top of the thermostat body to snap it into the wallplate. (NOTE: Do not force the thermostat onto the wallplate, as the terminal pins may be damaged. If it does not snap properly, the thermostat may not work.) s Insert the two AA size batteries, observing the polarity marked on the unit. s Switch on the main power. Press the reset button. (See Figure 5.) s The LCD display indicates the current room temperature of your house. If it shows random numbers or partial HEAT OFF COOL AUTO FAN RESET digits, press the reset button once again. s The installation is now complete. Continue reading Owner's Manual for complete operating instructions. RH RH RC RH G W Y FIGURE 3 FIGURE 4 FIGURE 5
-
 1
1 -
2
-
3
-
4
-
5
-
6
-
7
-
8
-
9
-
 10
10 -
 11
11 -
 12
12 -
 13
13 -
 14
14 -
 15
15 -
 16
16 -
 17
17 -
 18
18 -
 19
19 -
 20
20 -
21
-
22
-
23
-
24
 |
 |