Image Fitness 10.6 Treadmill English Manual - Page 13
VErtrio
 |
View all Image Fitness 10.6 Treadmill manuals
Add to My Manuals
Save this manual to your list of manuals |
Page 13 highlights
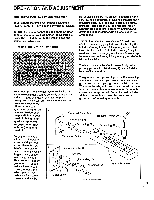
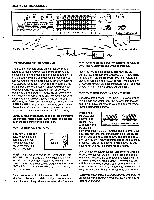
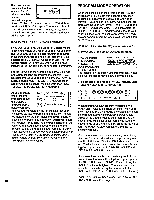
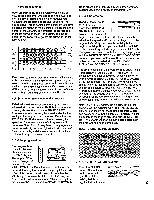
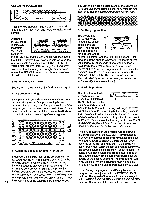
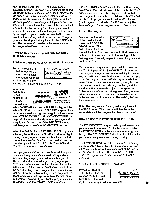
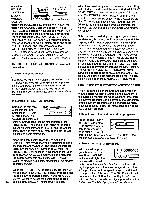
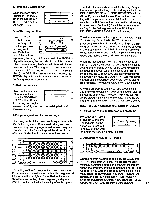
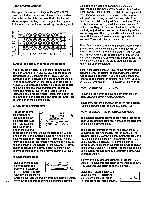
3. The program settings Each program is divided into twenty equal time periods, called segments. One speed setting and/or one incline setting (depending on which mode[s] you selected) are programmed for each segment. The speed and/or incline settings of the program you have selected are shown in the columns of indicators in the center of the console. The setting(s) of the first segment are shown in the far left column, and the setting(s) of the twentieth segment are shown in the far right column. 0M D AZ LS 4.2 ILO 3.9 7.5 3.6 7.0 3.3 6.5 30 6.0 2.7. 5.5 2.4 5.0 2.1 4.5 1.0 .4.0 1.5 3.5 0 0 ETNE55 LEVEL 160 12 150 11 140 10 130 9 120 0 110 7 100 6 90 5 00 70 3 60 2 0 0 If you selected the WALK or RUN mode, red indicators will show the speed setting of each segment. If you selected the INCLINE mode, green indicators will show the incline setting of each segment. If you selected the WALK and INCLINE modes or the RUN and INCLINE modes, both red and green indicators will be lit. 4..Adjust the difficulty level of the program If desired, the difficulty level of the program can be adjusted with the FITNESS LEVEL buttons (see the drawing above). Each time the FITNESS LEVEL increase button is pressed, the speed and/or incline settings of all segments will increase. Each time the FITNESS LEVEL decrease button is pressed, the speed and/or incline settings of all segments will decrease. Note: The difficulty level of the program can be increased only until the highest indicator in any of the columns is lit, and decreased only until the lowest indicator in any of the columns is lit. 5. Set the program time The program is set to last for 20 min- Grade 12 TIME E /1/1-111-/1 utes, as shown in 11 0 0 •0 0 j the TIME display. 10 9 O TUE O SEGME1011ME The length of time a irg sEr can be changed, if 7 6 desired, with the TIME SET buttons. Each time one of the buttons is pressed, the length of time will change by 20 seconds. If one of the buttons is held down, the length of time will change in increments of 1 minute. The program can be set to last for a minimum of 5 minutes, up to a maximum of 80 minutes. (If the SEGMENT TIME but- ton is pressed, the TIME display will show how many seconds each of the twenty segments will last.) 6. Start the program Stand on the foot rails of the treadmill and press the PROGRAM PROGRAM START ) START button. The first column of indicators will begin to flash, and the treadmill will automatically adjust to the speed and/or incline setting(s) of the first segment. Carefully step onto the walking belt and begin exercising. Note: If you selected the INCLINE mode, the walking belt will begin to move at 1.0 mph. The speed can then be controlled during the program with the INCREASE SPEED and DECREASE SPEED buttons. If you selected the WALK or RUN mode, the incline can be controlled with the INCREASE INCLINE and DECREASE INCLINE buttons. The time remaining in the program will be shown in the TIME display. (If the SEGMENT TIME button is pressed, the number of seconds remaining in the first segment will be shown). During the last three seconds of the first segment, the TIME display will flash three times. When the first segment is completed, the second column of indicators will begin to flash, and the treadmill will automatically adjust to tkie speed and/or incline setting(s) of the second segment. The program will continue until the twentieth column is flashing and no time remains. The walking belt will then slow to a stop. Note: During the program, the difficulty level of the program can be adjusted with the FITNESS LEVEL buttons. The length of time that the program will last can be changed with the TIME SET buttons. The program can be stopped at any time with the STOP button. The console will then be in the same state as if the program had been completed. HOW TO USE THE PULSE MODE rs Sit Unact 'c lawn attoi t • ota: medic tion.wrpilhtayfsfiecciatnyour VErtrio EindoirteifOfisliion:i•istmakestgitiondeell 1. Select the PLATEAU program Press the PLATEAU button. The indicator on the button will light. Note: If the RV Or s o =rt`,ur`- O MOUNTAIN O RIAW walking belt is mov- ing, it will slow to a stop. 13
-
 1
1 -
2
-
3
-
4
-
5
-
6
-
7
-
 8
8 -
 9
9 -
 10
10 -
 11
11 -
 12
12 -
 13
13 -
 14
14 -
 15
15 -
 16
16 -
 17
17 -
 18
18 -
19
-
20
-
21
-
22
-
23
-
24
-
25
-
26
-
27
 |
 |
