Intel DQ57TM Intel Desktop Board DQ57TM Product Guide English - Page 61
Clearing CMOS Memory
 |
View all Intel DQ57TM manuals
Add to My Manuals
Save this manual to your list of manuals |
Page 61 highlights
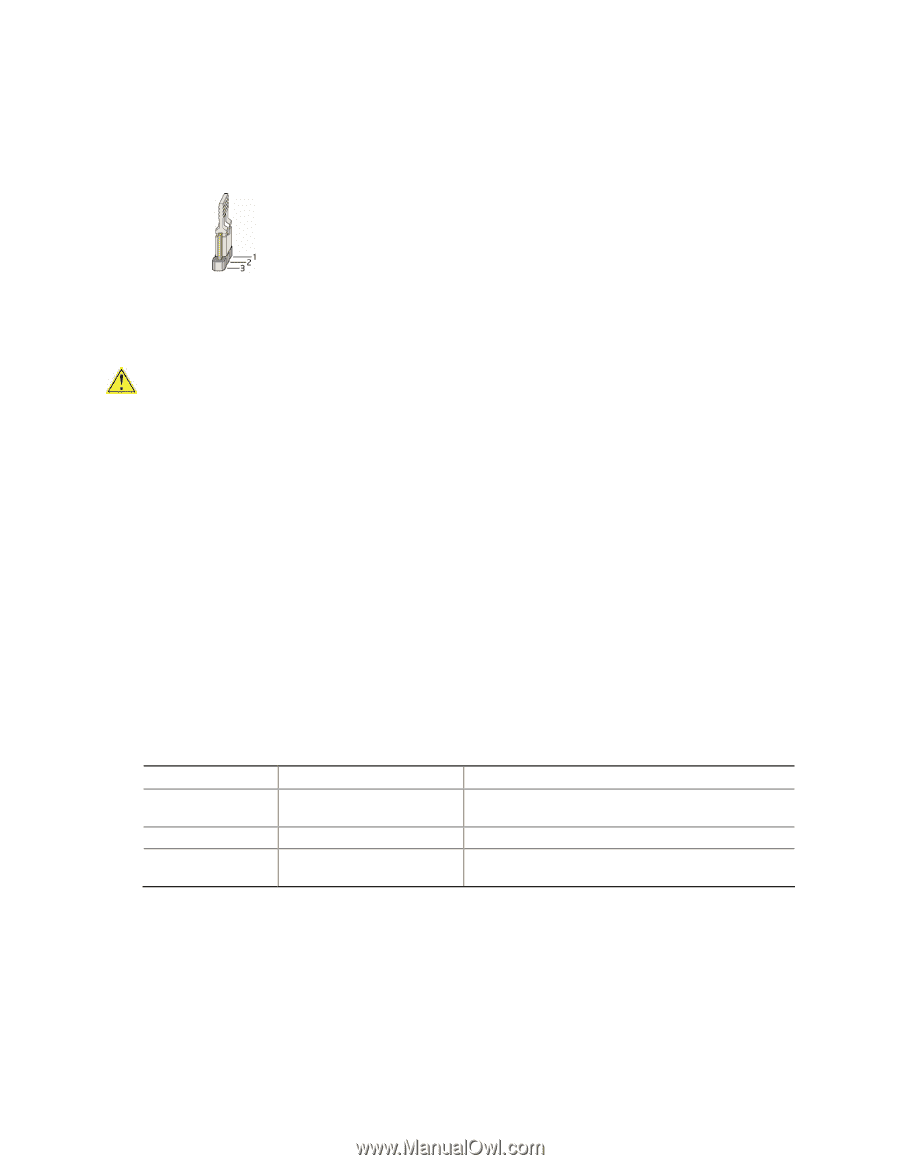
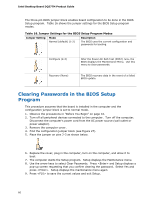
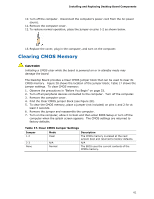
Installing and Replacing Desktop Board Components 10. Turn off the computer. Disconnect the computer's power cord from the AC power source. 11. Remove the computer cover. 12. To restore normal operation, place the jumper on pins 1-2 as shown below. 13. Replace the cover, plug in the computer, and turn on the computer. Clearing CMOS Memory CAUTION Initiating a CMOS clear while the board is powered on or in standby mode may damage the board. The Desktop Board provides a Clear CMOS jumper block that can be used to clear its CMOS memory. Figure 28 shows the location of the jumper block; Table 17 shows the jumper settings. To clear CMOS memory: 1. Observe the precautions in "Before You Begin" on page 33. 2. Turn off all peripheral devices connected to the computer. Turn off the computer. 3. Remove the computer cover. 4. Find the Clear CMOS jumper block (see Figure 28). 5. To clear the CMOS memory, place a jumper (not included) on pins 1 and 2 for at least 2 seconds. 6. Remove the jumper and reassemble the computer. 7. Turn on the computer, allow it to boot and then enter BIOS Setup or turn off the computer when the splash screen appears. The CMOS settings are returned to factory defaults. Table 17. Clear CMOS Jumper Settings Jumper 1-2 2-3 None Mode Clear N/A Normal Description The CMOS memory is erased at the next system boot and returned to factory defaults. N/A The BIOS uses the current contents of the CMOS memory. 61
-
 1
1 -
2
-
3
-
4
-
5
-
6
-
7
-
8
-
9
-
10
-
11
-
12
-
13
-
14
-
15
-
16
-
17
-
18
-
19
-
20
-
21
-
22
-
23
-
24
-
25
-
26
-
27
-
28
-
29
-
30
-
31
-
32
-
33
-
34
-
35
-
36
-
37
-
38
-
39
-
40
-
41
-
42
-
43
-
44
-
45
-
46
-
47
-
48
-
49
-
50
-
51
-
52
-
53
-
54
-
55
-
 56
56 -
 57
57 -
 58
58 -
 59
59 -
 60
60 -
 61
61 -
 62
62 -
 63
63 -
 64
64 -
 65
65 -
 66
66 -
67
-
68
-
69
-
70
-
71
-
72
-
73
-
74
-
75
-
76
-
77
-
78
-
79
-
80
-
81
-
82
-
83
-
84
-
85
-
86
-
87
-
88
 |
 |