Intel ISP2150 Quick Start Guide - Page 11
Installing a Hard Drive - server hard drive
 |
UPC - 735858134668
View all Intel ISP2150 manuals
Add to My Manuals
Save this manual to your list of manuals |
Page 11 highlights
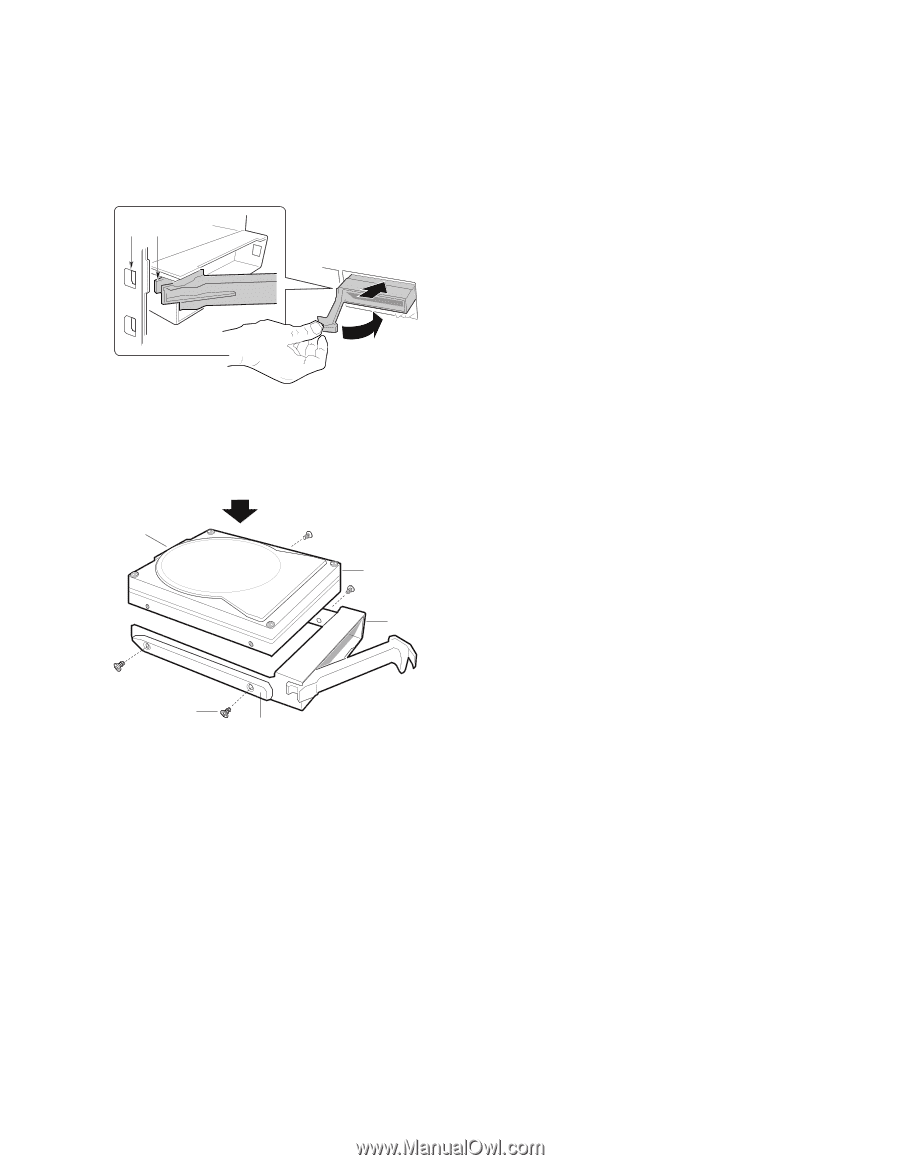
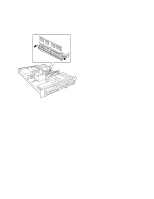
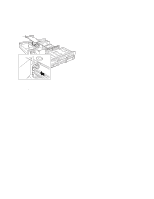
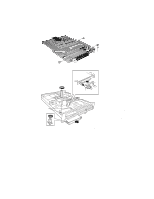
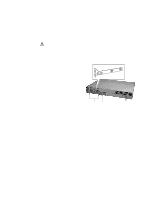
Installing a Hard Drive AB E D C OM09317 Your server does not include a hard drive. You must purchase them separately and install them. The server has four hot-swappable SCSI hard drive bays. 1. Remove the drive carrier(s) from the drive bays by unclipping the retention lever on the right side of the handle. Pull the retention lever toward you until the tab end (B) of the lever is free of the housing slot (A). Pull the drive forward and out of the housing. 2. Remove the hard drive from its wrapper and place it on an antistatic surface. A B OM09323 3. Remove and save the four screws (D) from the drive carrier/drive slide track. 4. Align the drive holes to the holes in the drive carrier slide track (C), insert the screws that you previously removed, and attach the carrier (B) to the drive (A). Make sure that the connector end of the drive (E) is facing the back of the carrier and the drive top is facing upward before inserting the screws. 5. Slide the carrier/drive into the chassis with the retention mechanism extended in the open position, then push the arm towards the front of the chassis until the lever tab clicks into the chassis slot indicating that it is closed. ISP2150 2U Rack Server Platform Quick Start Guide 13
-
 1
1 -
2
-
3
-
4
-
5
-
 6
6 -
 7
7 -
 8
8 -
 9
9 -
 10
10 -
 11
11 -
 12
12 -
 13
13 -
 14
14 -
 15
15 -
 16
16 -
17
-
18
-
19
-
20
-
21
-
22
-
23
-
24
-
25
-
26
-
27
-
28
 |
 |