Jensen JiMS 220 User Guide - Page 5
Location Of Controls, Installation - remote
 |
UPC - 077283932014
View all Jensen JiMS 220 manuals
Add to My Manuals
Save this manual to your list of manuals |
Page 5 highlights
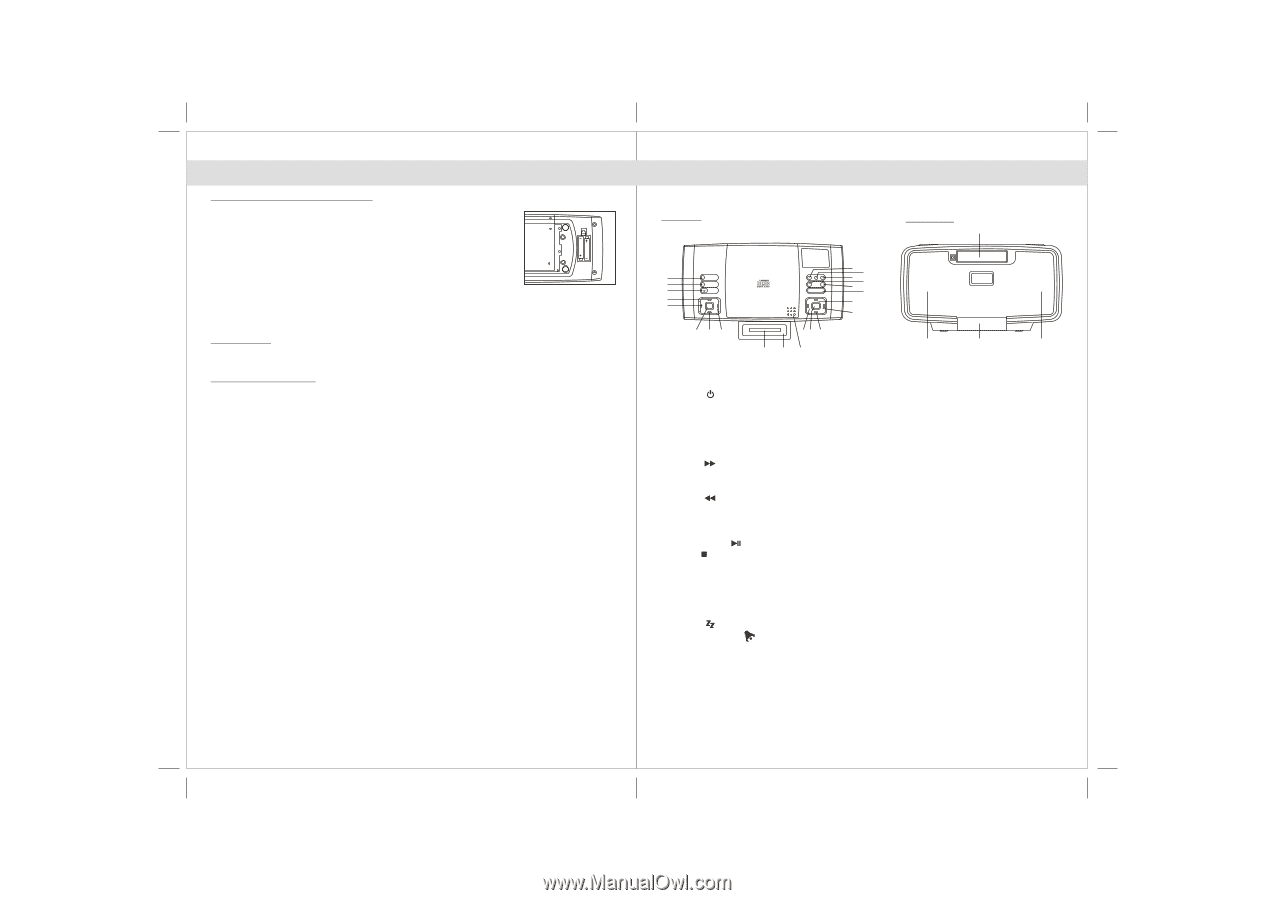
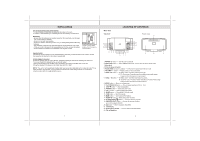
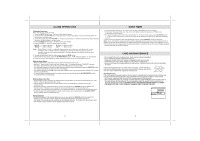
INSTALLATION For Clock and Radio preset station backup 1. A clock battery compartment is located at the bottom of the unit. 2. Install 2 x AAA batteries (not included) into the Clock battery compartment. WARNING: - Be sure that the batteries are installed correctly. Wrong polarity may damage the unit and void the warranty. - Do not mix old and new batteries. - Do not mix alkaline, standard (carbon-zinc) or rechargeable (nickel-cadmium) batteries. - Only batteries of the same or equivalent type as recommend are to be used. - If the unit is not to be used for an extended period of time, remove the battery. - Do not dispose of batteries in fire, batteries may explode or leak. Install 2 pieces AAA battery into the battery compartment. Remote Control The remote control operates on one CR2032 battery (included). To activate the remote control, remove the insulation tab attached in the battery compartment. AC-DC Adaptor Connection An AC-DC Adaptor with the output DC10V 1000mA (included) is required for operating the main unit. To connect the AC-DC Adaptor to the unit and AC outlet: 1.Firmly and securely insert the DC plug of the adaptor (included) to the DC Jack on the unit 2.Plug the Adaptor's AC plugs into an outlet rated at 240V~ 50Hz NOTE: This unit is not magnetically shielded and may cause color distortion on the screen of some TVs or video monitors. To avoid this, you may need to move the unit further away from the TV or monitor if unnatural color shifts or image distortion occurs. 7 Main Unit Top view LOCATION OF CONTROLS Front view 21 16 15 20 14 2 18 17 1 19 11 6 13 7 12 10 13 89 6 4 35 23 22 23 1. POWER button ---- Turn the unit on and off. 2. FUNCTION button ---- Select AM/FM radio, iPod, CD and AUX (auxiliary input) mode. 3. iPod dock 4. iPod docking connector 5. PUSH OPEN CD Cover Location ---- Press here to Open/Close the CD cover. 6. VOLUME + / - button ---- Adjust volume level up and down. 7. TUNE + button ---- A. Radio mode: Tune the radio frequency up. B. CD, iPod mode: Press the button and skip to next track (song). Press and hold the button for fast forward. 8. TUNE - button ---- A. Radio mode: Tune the radio frequency down. B. CD, iPod mode: Press the button and skip to previous track (song). Press and hold the button for fast backward. 9. MODE button ---- Enter the setting mode. 10. PLAY/PAUSE button ---- Play or pause playback of CD or iPod. 11. STOP button ---- Stop CD playback. 12. P-MODE button ---- Select CD play mode. 13. CH +/- button ---- Select preset radio station. 14. BAND button ---- Selects AM / FM radio band 15 PGM button ---- Set CD program. 16. MEM button ---- Save radio preset station. 17. SLEEP button ---- Select sleep timer duration. 18. ALARM ON/OFF button ---- Turn the alarm on and off. 19. SNOOZE/LIGHT button ---- Activate the snooze function; turn LCD backlight ON/OFF. 20. EQ button ---- Select equalizer (EQ) effect. 21. LCD display 22. iPod docking drawer ---- Push to Open/Close the drawer. 23. Pair of Speakers 8
-
 1
1 -
 2
2 -
 3
3 -
 4
4 -
 5
5 -
 6
6 -
 7
7 -
 8
8 -
 9
9 -
 10
10
 |
 |