Karcher CVH 2 Operating instructions 1 - Page 10
Operation, Warranty
 |
View all Karcher CVH 2 manuals
Add to My Manuals
Save this manual to your list of manuals |
Page 10 highlights
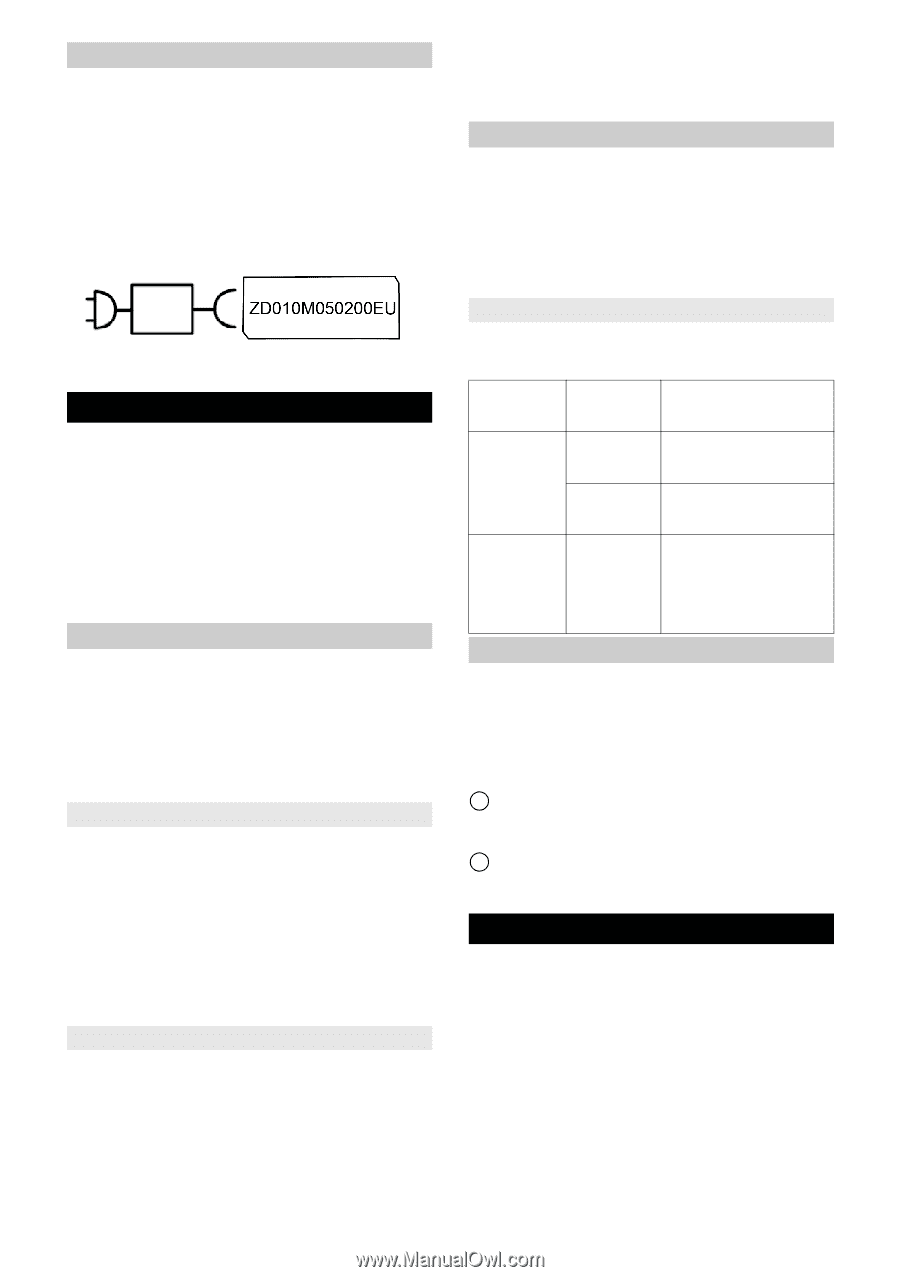
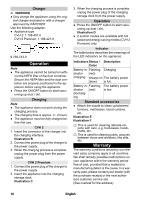
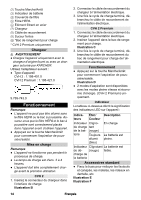
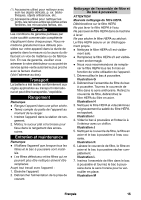
Charger ṇ WARNING ● Only charge the appliance using the orig- inal charger enclosed or with a charger approved by KÄRCHER. Use the following adapter: ● Appliance type CVH 2: 1.198-401.0 CVH 2 Premium: 1.198-421.0 9.769-743.0 Operation Note ● The appliance cannot be turned on with- out the HEPA filter or the dust container. Ensure the HEPA filter and the dust container are properly positioned in the appliance before using the appliance. ● Press the ON/OFF button to start vacuuming up dust / dirt. Charging Note ● The appliance does not work during the charging process. ● The charging time is approx. 3 - 4 hours. ● The appliance must be fully charged be- fore first use. CVH 2 1. Insert the connector of the charger into the charging interface. Illustration B 2. Connect the power plug of the charger to the power supply. 3. When the charging process is complete, unplug the power plug from the power supply. CVH 2 Premium 1. Connect the power plug of the charger to the power supply. 2. Insert the appliance into the charging storage dock. Illustration C 3. When the charging process is complete, unplug the power plug of the charging storage dock from the power supply. Operation ● Press the ON/OFF button to start vacu- uming up dust / dirt. Illustration D ● 2 suction modes are available with full speed and energy saving modes.(CVH 2 Premium) only. Indicator The table below describes the meanings of the LED indicators on the appliance: Indicators Status / Description Color Battery in- Flashing Charging dicator (red) charging Always on The battery power (blue) is full. Battery in- Flashing dicator (red) discharging The battery power is low. Standard accessories ● Attach the nozzle to clean upholstered furniture, mattresses, laced curtains, etc. Illustration E Illustration F 1 This is used for cleaning delicate objects with care, e.g. bookcases, handicrafts, etc. 2 This is used for cleaning joints, grooves between doors and windows, tiny slits, etc. Warranty The warranty conditions issued by our relevant sales company apply in all countries. We shall remedy possible malfunctions on your appliance within the warranty period free of cost, provided that a material or manufacturing defect is the cause. In a warranty case, please contact your dealer (with the purchase receipt) or the next authorised customer service site. (See overleaf for the address) 10 English
-
 1
1 -
2
-
3
-
4
-
 5
5 -
 6
6 -
 7
7 -
 8
8 -
 9
9 -
 10
10 -
 11
11 -
 12
12 -
 13
13 -
 14
14 -
 15
15 -
16
-
17
-
18
-
19
-
20
-
21
-
22
-
23
-
24
-
25
-
26
-
27
-
28
-
29
-
30
-
31
-
32
-
33
-
34
-
35
-
36
-
37
-
38
-
39
-
40
-
41
-
42
-
43
-
44
-
45
-
46
-
47
-
48
-
49
-
50
-
51
-
52
-
53
-
54
-
55
-
56
-
57
-
58
-
59
-
60
-
61
-
62
-
63
-
64
-
65
-
66
-
67
-
68
-
69
-
70
-
71
-
72
-
73
-
74
-
75
-
76
-
77
-
78
-
79
-
80
-
81
-
82
-
83
-
84
-
85
-
86
-
87
-
88
-
89
-
90
-
91
-
92
-
93
-
94
-
95
-
96
-
97
-
98
-
99
-
100
-
101
-
102
-
103
-
104
-
105
-
106
-
107
-
108
-
109
-
110
-
111
-
112
-
113
-
114
-
115
-
116
-
117
-
118
-
119
-
120
-
121
-
122
-
123
-
124
-
125
-
126
 |
 |