Kenmore 7748 Use and Care Guide - Page 20
General, Care & Cleaning - sears
 |
View all Kenmore 7748 manuals
Add to My Manuals
Save this manual to your list of manuals |
Page 20 highlights
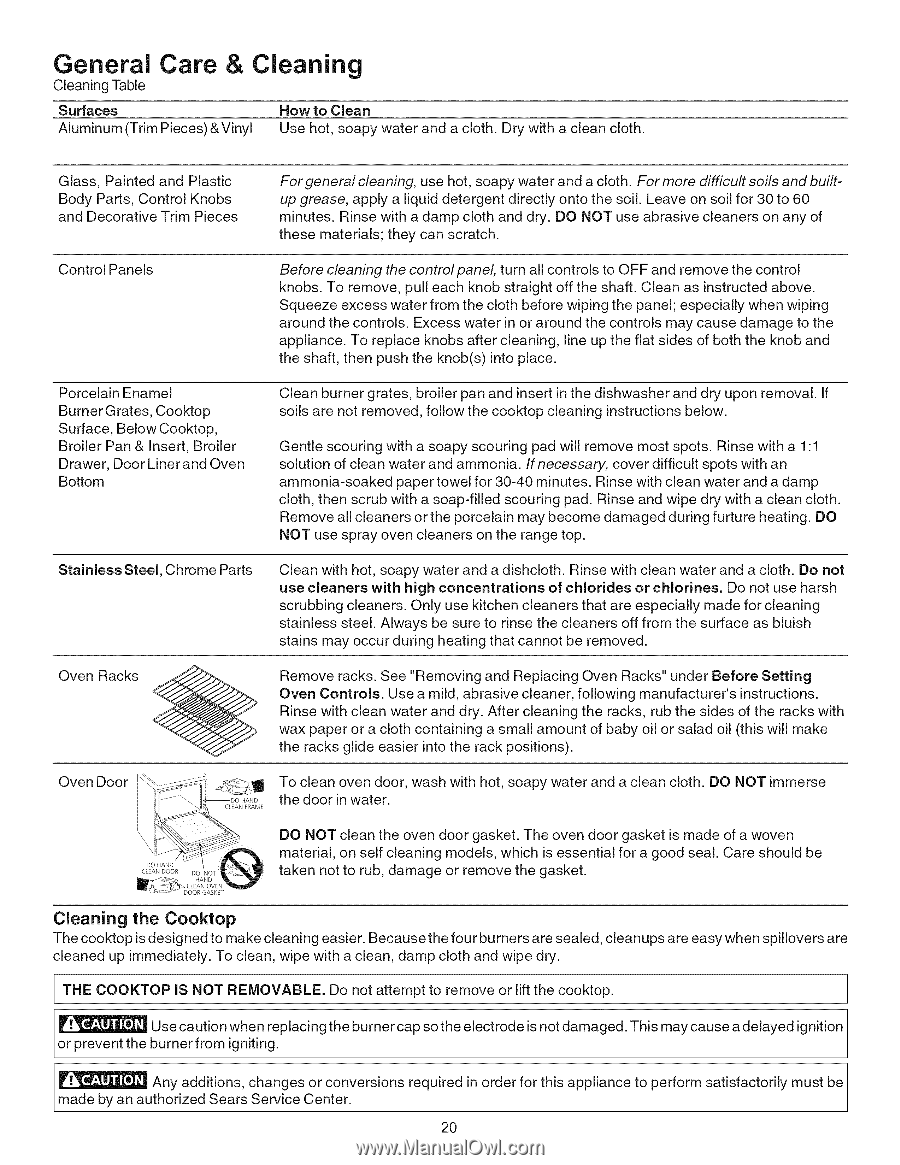
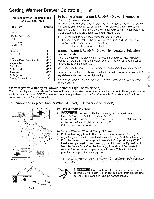
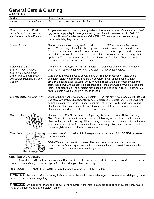
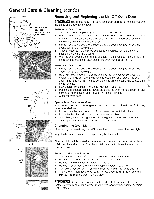
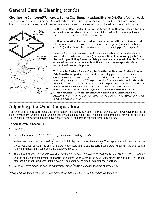
General Care & Cleaning Cleaning Table Surfaces Aluminum (Trim Pieces) &Vinyl How to Clean Use hot, soapy water and a cloth. Dry with a clean cloth. Glass, Painted and Plastic Body Parts, Control Knobs and Decorative Trim Pieces For general cleaning, use hot, soapy water and a cloth. For more difficult soils and builtup grease, apply a liquid detergent directly onto the soil. Leave on soil for 30 to 60 minutes. Rinse with a damp cloth and dry. DO NOT use abrasive cleaners on any of these materials; they can scratch. Control Panels Before cleaning the controlpanel, turn all controls to OFF and remove the control knobs. To remove, pull each knob straight off the shaft. Clean as instructed above. Squeeze excess water from the cloth before wiping the panel; especially when wiping around the controls. Excess water in or around the controls may cause damage to the appliance. To replace knobs after cleaning, line up the flat sides of both the knob and the shaft, then push the knob(s) into place. Porcelain Enamel Burner Grates, Cooktop Surface, Below Cooktop, Broiler Pan & Insert, Broiler Drawer, Door Linerand Oven Bottom Clean burner grates, broiler pan and insert in the dishwasher and dry upon removal. If soils are not removed, follow the cooktop cleaning instructions below. Gentle scouring with a soapy scouring pad will remove most spots. Rinse with a 1:1 solution of clean water and ammonia. If necessary, cover difficult spots with an ammonia-soaked paper towel for 30-40 minutes. Rinse with clean water and a damp cloth, then scrub with a soap-filled scouring pad. Rinse and wipe dry with a clean cloth. Remove all cleaners orthe porcelain may become damaged during furture heating. DO NOT use spray oven cleaners on the range top. Stainless Steel, Chrome Parts Clean with hot, soapy water and a dishcloth. Rinse with clean water and a cloth. Do not use cleaners with high concentrations of chlorides or chlorines. Do not use harsh scrubbing cleaners. Only use kitchen cleaners that are especially made for cleaning stainless steel. Always be sure to rinse the cleaners off from the surface as bluish stains may occur during heating that cannot be removed. Oven Racks Remove racks. See "Removing and Replacing Oven Racks" under Before Setting Oven Controls. Use a mild, abrasive cleaner, following manufacturer's instructions. Rinse with clean water and dry. After cleaning the racks, rub the sides of the racks with wax paper or a cloth containing a small amount of baby oil or salad oil (this will make the racks glide easier into the rack positions). Oven Door 1 _,_- j' I ....... \\ d'_ _DO ¢ ....... HAND To clean oven door, wash with hot, soapy water and a clean cloth. DO NOT immerse the door in water. C O0 _-p_ DO NOT lAND DO NOT clean the oven door gasket. The oven door gasket is made of a woven material, on self cleaning models, which is essential for a good seal. Care should be taken not to rub, damage or remove the gasket. Cleaning the Cooktop The cooktop is designed to make cleaning easier. Because the four burners are sealed, cleanups are easy when spillovers are cleaned up immediately. To clean, wipe with a clean, damp cloth and wipe dry. THE COOKTOP IS NOT REMOVABLE. Do not attempt to remove or lift the cooktop. Use caution when replacing the burner cap so the electrode is not damaged. This may cause a delayed ignition or prevent the burner from igniting. Any additions, changes or conversions required in order for this appliance to perform satisfactorily must be made by an authorized Sears Service Center. 2O
-
 1
1 -
2
-
3
-
4
-
5
-
6
-
7
-
8
-
9
-
10
-
11
-
12
-
13
-
14
-
 15
15 -
 16
16 -
 17
17 -
 18
18 -
 19
19 -
 20
20 -
 21
21 -
 22
22 -
 23
23 -
 24
24 -
 25
25 -
26
 |
 |