KitchenAid KEMS309BSS Microwave Use and Care - Page 12
Positioning Baking Tray, Microwave Cooking Power, Doneness, Sensor Cook - specifications
 |
View all KitchenAid KEMS309BSS manuals
Add to My Manuals
Save this manual to your list of manuals |
Page 12 highlights
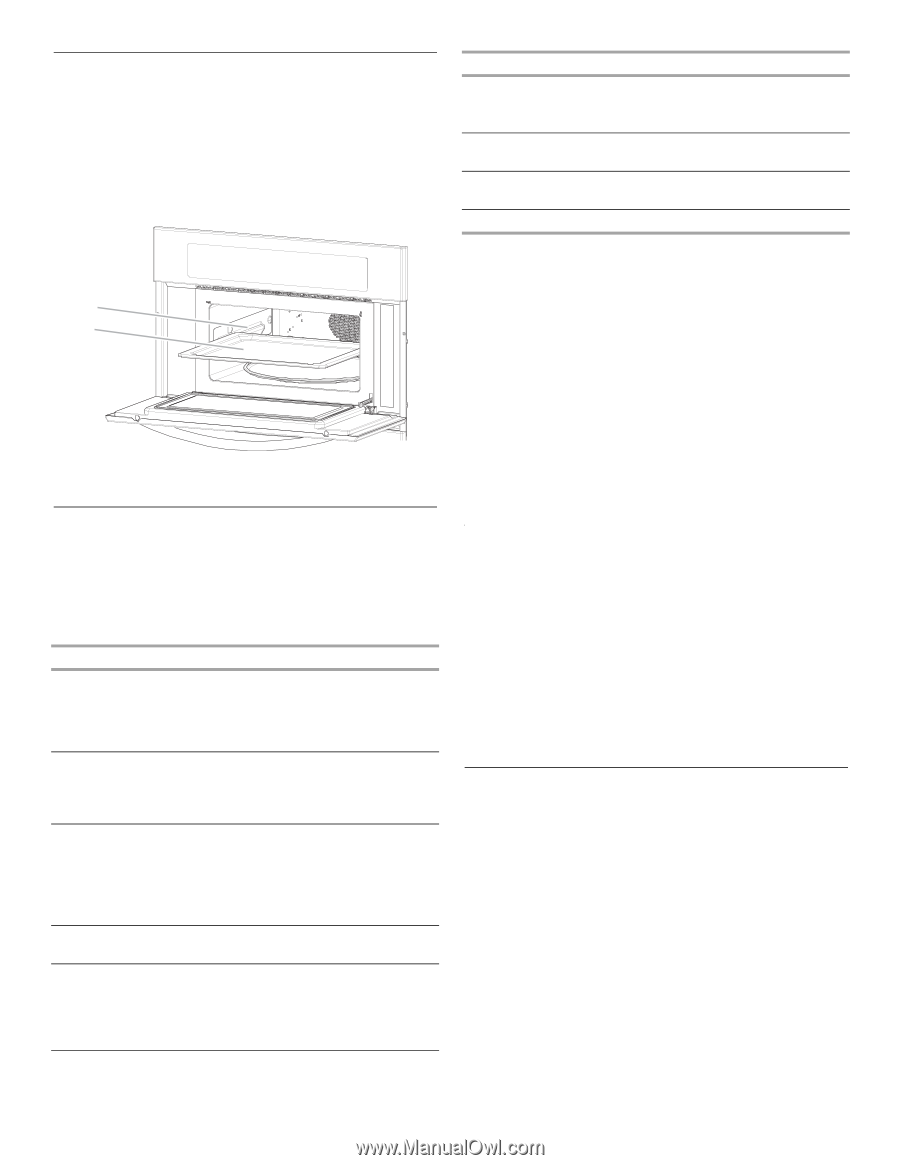
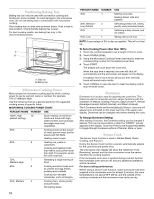
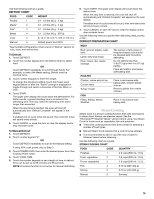
Positioning Baking Tray Baking tray can only be used with convection cooking and broiling (on some models). To avoid damage to the microwave oven, do not use baking tray in combination with microwave cooking. Place baking tray on slide rails as shown below. Push in tray to stop position. Check that the baking tray is level. For best cooking results, use baking tray only in the recommended position. A B A. Slide rail B. Baking tray Microwave Cooking Power Many recipes for microwave cooking specify which cooking power to use by percent, name or number. For example, 70%=7=Medium-High. Use the following chart as a general guide for the suggested cooking power of specific foods. MICROWAVE COOKING POWER CHART PERCENT/NAME NUMBER USE 100%, High 10 (default setting) Quick heating convenience foods and foods with high water content, such as soups, beverages and most vegetables. 90% 9 Cooking small, tender pieces of meat, ground meat, poultry pieces and fish fillets. Heating cream soups. 80% 8 Heating rice, pasta or casseroles. Cooking and heating foods that need a cook power lower than high. For example, whole fish and meat loaf. 70%, 7 Medium-High Reheating a single serving of food. 60% 6 Cooking sensitive foods such as cheese and egg dishes, pudding and custards. Cooking non-stirrable casseroles, such as lasagna. 50%, Medium 5 Cooking ham, whole poultry and pot roasts. Simmering stews. 12 PERCENT/NAME NUMBER 40% 4 30%, Medium- 3 Low, Defrost 20% 2 10%, Low 1 USE Melting chocolate. Heating bread, rolls and pastries. Defrosting bread, fish, meats, poultry and precooked foods. Softening butter, cheese, and ice cream. Taking chill out of fruit. NOTE: A percentage of 0% is also acceptable. This will not heat up. To Set a Cooking Power other than 100%: 1. Touch the number keypads to set a length of time to cook. 2. Touch POWER LEVEL. 3. Using the Microwave Cooking Power chart above, enter the corresponding number for the desired power level. 4. Touch START. The display will count down the cook time. When the stop time is reached, the oven will shut off automatically and the end screen will appear on the display. If enabled, end-of-cycle tones will sound, then reminder tones will sound every minute. 5. Touch CANCEL or open the door to clear the display and/or stop reminder tones. Doneness Doneness is a function used for adjusting the cook time. This feature is used on all sensor and non-sensor functions with the exception of Manual Cooking, Popcorn, EasyConvect™, Reheat (beverage-manual), Defrost (manual), and Steam (manual). The 3 Doneness levels are Normal (default), More or Less and will appear once activated on the lower text line of the upper oven display. Doneness can be changed only before starting the cycle. To Change Doneness Setting: After setting a function, the Doneness setting can be changed if desired. This can be done before or after the "START?" prompt appears in the display. Touch the Power Level keypad repeatedly to toggle through Doneness options of Normal, More, or Less. Sensor Cook The Sensor Cook function is used in Reheat (Meal), Steam Cooking, and Popcorn. During the Sensor Cook function a sensor automatically adjusts for the cook time and power level. The microwave oven display will show the "Maximum Time Remaining" prompt and the time countdown once the sensor identifies the cooking duration. If the microwave oven door is opened during a sensor function the microwave oven will turn off, and any additional operations will be canceled. For best cooking performance: Before using a sensor cook function, make sure power has been supplied to the microwave oven for at least 2 minutes, the room temperature is not above 95°F (35°C), and the outside of the cooking container and the microwave oven cavity are dry.
-
 1
1 -
2
-
3
-
4
-
5
-
6
-
 7
7 -
 8
8 -
 9
9 -
 10
10 -
 11
11 -
 12
12 -
 13
13 -
 14
14 -
 15
15 -
 16
16 -
 17
17 -
18
-
19
-
20
-
21
-
22
-
23
-
24
-
25
-
26
-
27
-
28
-
29
-
30
-
31
-
32
-
33
-
34
-
35
-
36
-
37
-
38
-
39
-
40
-
41
-
42
-
43
-
44
-
45
-
46
-
47
-
48
 |
 |