Kodak 5300 User Manual - Page 10
Calibrate Printer - troubleshooting
 |
UPC - 041778804056
View all Kodak 5300 manuals
Add to My Manuals
Save this manual to your list of manuals |
Page 10 highlights
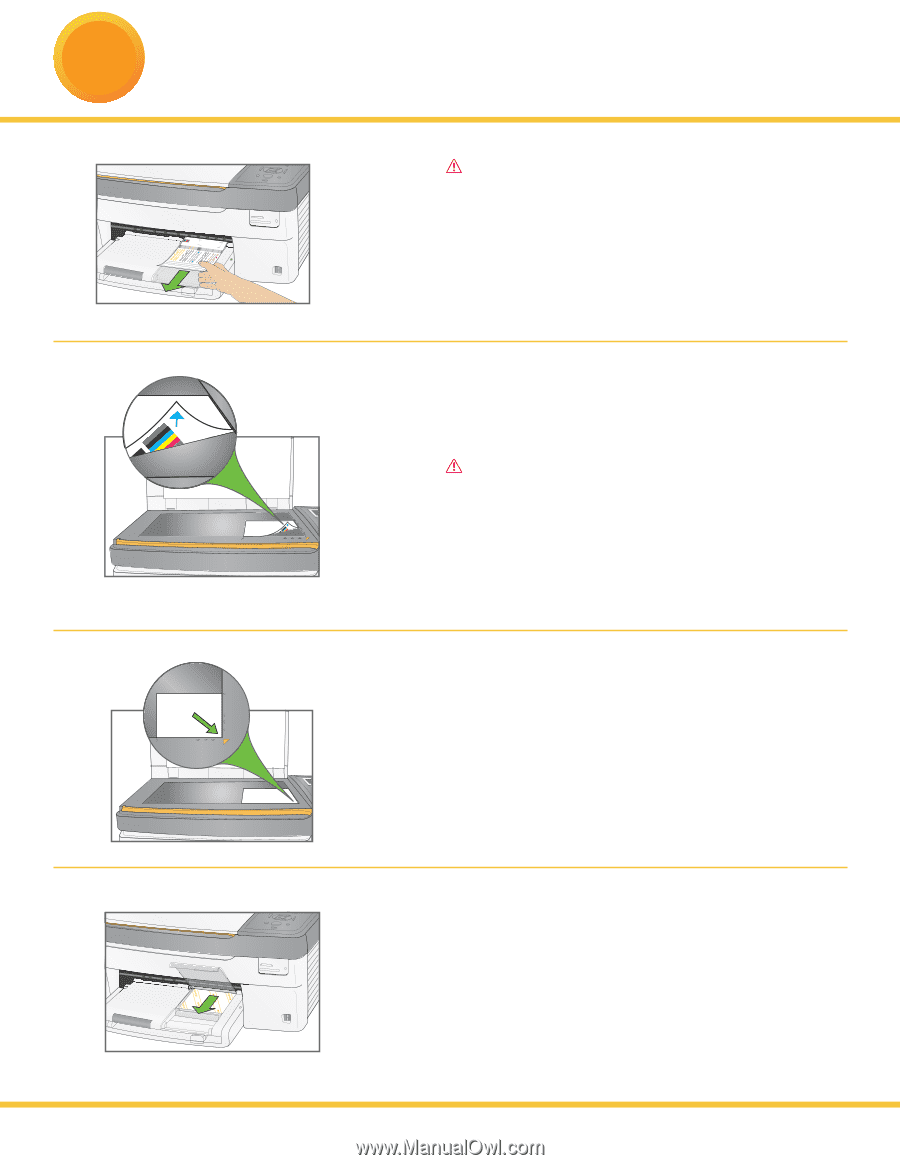
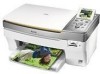
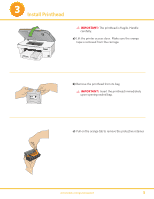
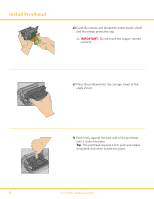
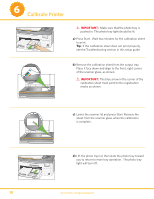
6 Calibrate Printer IMPORTANT: Make sure that the photo tray is pushed in. The photo tray light should be lit. a) Press Start. Wait two minutes for the calibration sheet to print. Tip: If the calibration sheet does not print properly, see the Troubleshooting section in this setup guide. b) Remove the calibration sheet from the output tray. Place it face down and align to the front, right corner of the scanner glass, as shown. IMPORTANT: The blue arrow in the corner of the calibration sheet must point to the registration marks as shown. 4x6 4x6 4x6 c) Lower the scanner lid and press Start. Remove the sheet from the scanner glass when the calibration is complete. d) Lift the photo tray lid, then slide the photo tray toward you to return to main tray operation. The photo tray light will turn off. 10 www.kodak.com/go/aiosupport
-
 1
1 -
2
-
3
-
4
-
 5
5 -
 6
6 -
 7
7 -
 8
8 -
 9
9 -
 10
10 -
 11
11 -
 12
12 -
 13
13 -
 14
14 -
 15
15 -
16
-
17
-
18
-
19
-
20
 |
 |