Kyocera KM-1650 1650/2050/2550 Operation Guide Rev-4 (Basic) - Page 91
Job Separator
 |
View all Kyocera KM-1650 manuals
Add to My Manuals
Save this manual to your list of manuals |
Page 91 highlights
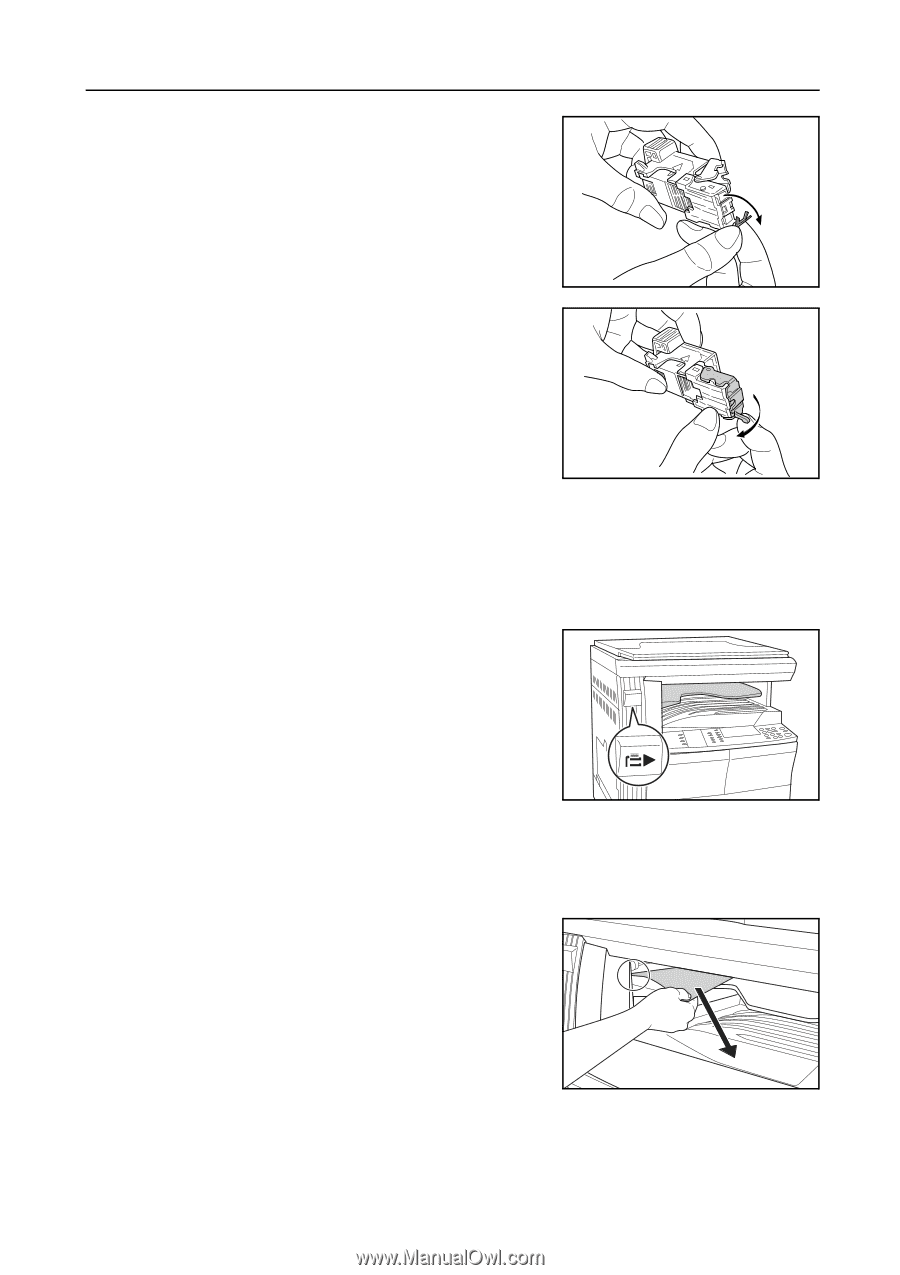
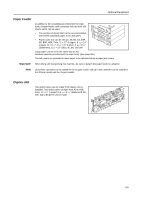
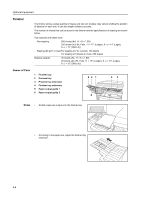
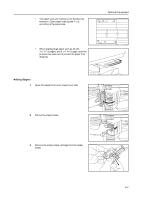
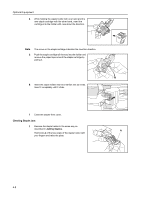
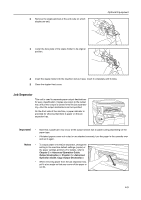
2 Remove the staple jammed at the end (side on which staples are set). Optional Equipment 3 Lower the face plate of the staple holder to its original position. 4 Insert the staple holder into the insertion slot as it was. Insert it completely until it clicks. 5 Close the stapler front cover. Job Separator This unit is used to separate paper output destinations for easy classification. Copies are output to the output tray, and printer output is ejected onto the job separator tray. Also the output destinations can be specified. On the front side of the machine, a paper indicator is provided for showing that there is paper on the job separator tray. Important! • Note that a paper jam may occur at the output section due to paper curling depending on the paper type. • If finished papers come out curled or are stacked unevenly, turn the paper in the cassette over and set it again. Notes • To output paper onto the job separator, change the setting in the machine default settings (copier) or the paper settings (printer). (For details, refer to Chapter 2 in Advanced Operation Guide, Output Destination or Chapter 3 in Advanced Operation Guide, Copy Output Destination.) • When removing paper from the job separator tray, pull it at an angle so that any corner of the paper is not hit. 4-9
-
 1
1 -
2
-
3
-
4
-
5
-
6
-
7
-
8
-
9
-
10
-
11
-
12
-
13
-
14
-
15
-
16
-
17
-
18
-
19
-
20
-
21
-
22
-
23
-
24
-
25
-
26
-
27
-
28
-
29
-
30
-
31
-
32
-
33
-
34
-
35
-
36
-
37
-
38
-
39
-
40
-
41
-
42
-
43
-
44
-
45
-
46
-
47
-
48
-
49
-
50
-
51
-
52
-
53
-
54
-
55
-
56
-
57
-
58
-
59
-
60
-
61
-
62
-
63
-
64
-
65
-
66
-
67
-
68
-
69
-
70
-
71
-
72
-
73
-
74
-
75
-
76
-
77
-
78
-
79
-
80
-
81
-
82
-
83
-
84
-
85
-
 86
86 -
 87
87 -
 88
88 -
 89
89 -
 90
90 -
 91
91 -
 92
92 -
 93
93 -
 94
94 -
 95
95 -
 96
96 -
97
-
98
-
99
-
100
-
101
-
102
-
103
-
104
-
105
-
106
-
107
-
108
-
109
-
110
-
111
-
112
-
113
-
114
-
115
-
116
-
117
-
118
-
119
-
120
-
121
-
122
-
123
-
124
-
125
-
126
-
127
-
128
-
129
-
130
-
131
-
132
-
133
-
134
-
135
-
136
-
137
-
138
-
139
-
140
 |
 |