Lexmark P450 User's Guide - Page 41
Using a genuine Lexmark print cartridge, Print Test - ink cartridge
 |
View all Lexmark P450 manuals
Add to My Manuals
Save this manual to your list of manuals |
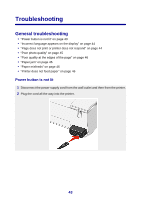
Page 41 highlights
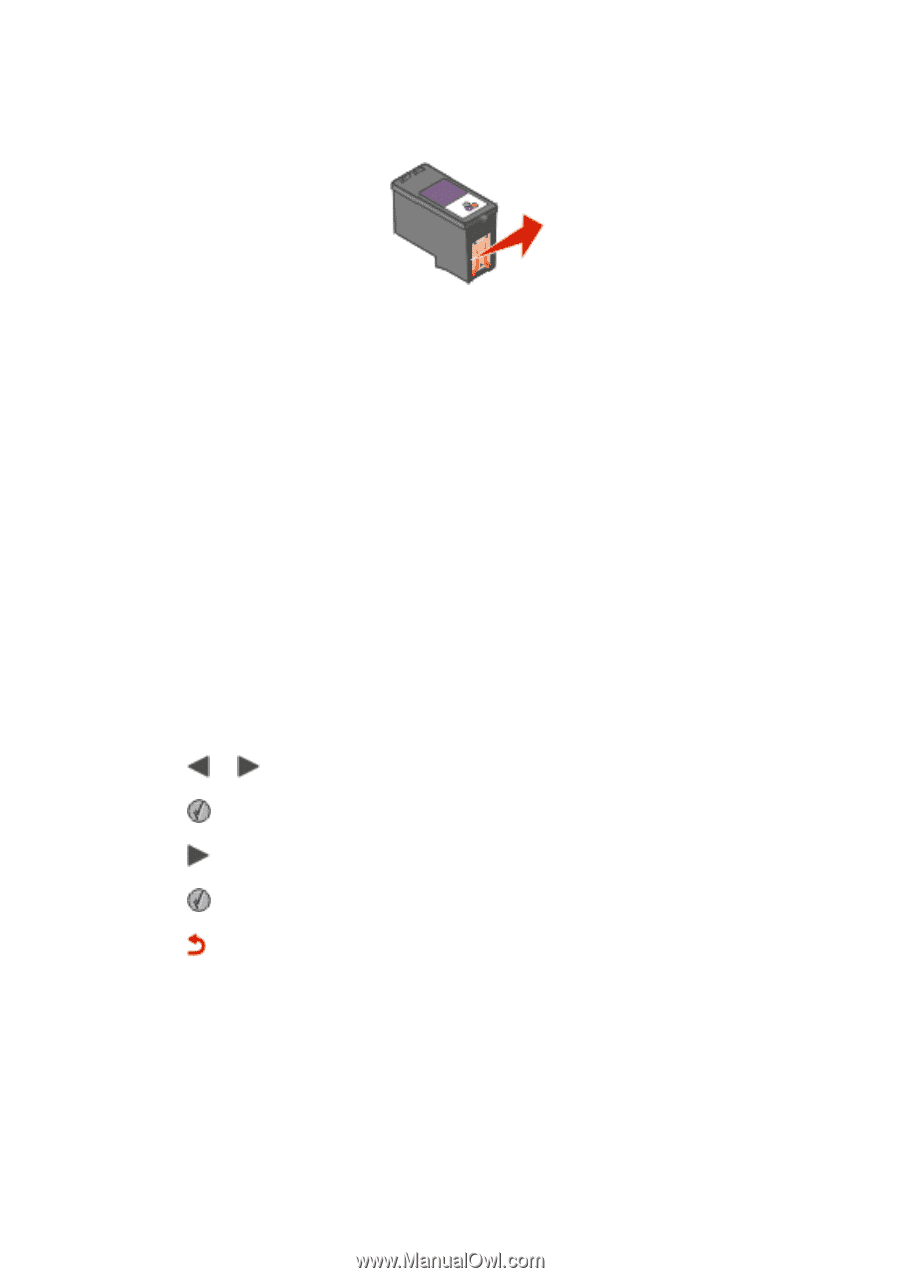
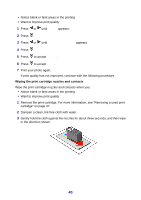
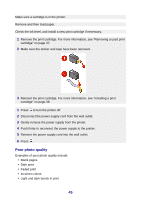
4 Using another clean section of the cloth, gently hold the cloth against the contacts for about three seconds, and then wipe in the direction shown. 5 With another clean section of the cloth, repeat step 3 and step 4. 6 Let the nozzles and contacts dry completely. 7 Reinsert the print cartridge. 8 Close the access cover. 9 Clean the cartridge by selecting Clean Cartridge from the control panel. For more information, see "Cleaning the print cartridge from the control panel" on page 39. 10 Print the photo again. Notes: • If the print quality does not improve, repeat step 3 and step 4 on page 41 up to two more times. • If print quality is not satisfactory after cleaning, replace the print cartridge. Printing a test page 1 Press or until Setup appears. 2 Press . 3 Press until Print Test Page appears. 4 Press twice. 5 Press to return to the Setup menu. Using a genuine Lexmark print cartridge When you install a print cartridge, one of the following messages appears: • Lexmark recommends genuine ink. • Non-Lexmark cartridge detected. See user guide for details. • Thank you for using genuine Lexmark supplies. 41
-
 1
1 -
2
-
3
-
4
-
5
-
6
-
7
-
8
-
9
-
10
-
11
-
12
-
13
-
14
-
15
-
16
-
17
-
18
-
19
-
20
-
21
-
22
-
23
-
24
-
25
-
26
-
27
-
28
-
29
-
30
-
31
-
32
-
33
-
34
-
35
-
 36
36 -
 37
37 -
 38
38 -
 39
39 -
 40
40 -
 41
41 -
 42
42 -
 43
43 -
 44
44 -
 45
45 -
 46
46 -
47
-
48
-
49
-
50
-
51
-
52
-
53
-
54
-
55
-
56
 |
 |