Lexmark X854E Setup Guide - Page 40
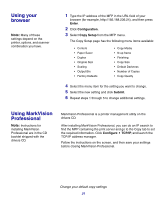
Changing optional settings, Using MarkVision, Professional to set fax, information, Setting up a fax - printer driver
 |
UPC - 734646002813
View all Lexmark X854E manuals
Add to My Manuals
Save this manual to your list of manuals |
Page 40 highlights
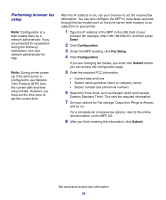
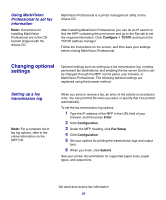
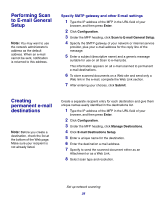
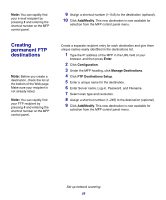
Using MarkVision Professional to set fax information Note: Instructions for installing MarkVision Professional are in the CD booklet shipped with the drivers CD. MarkVision Professional is a printer management utility on the drivers CD. After installing MarkVision Professional, you can do an IP search to find the MFP containing the print server and go to the Fax tab to set the required information. Click Configure TCP/IP, and launch the TCP/IP address manager. Follow the instructions on the screen, and then save your settings before closing MarkVision Professional. Changing optional settings Optional settings such as setting up a fax transmission log, creating permanent fax destinations, and enabling the fax server function can be changed through the MFP control panel, your browser, or MarkVision Professional. The following optional settings are explained using the browser method. Setting up a fax transmission log Note: For a complete list of fax log options, refer to the online information on the MFP CD. When you send or receive a fax, an entry of the activity is recorded in a file. You can print this file when you want, or specify that it be printed automatically. To set the fax transmission log options: 1 Type the IP address of the MFP in the URL field of your browser, and then press Enter. 2 Click Configuration. 3 Under the MFP heading, click Fax Setup. 4 Click Configuration. 5 Set your options for printing the transmission logs and output bins. 6 When you finish, click Submit. See your printer documentation for supported paper sizes, paper types, and output bins. Set send and receive fax information 35
-
 1
1 -
2
-
3
-
4
-
5
-
6
-
7
-
8
-
9
-
10
-
11
-
12
-
13
-
14
-
15
-
16
-
17
-
18
-
19
-
20
-
21
-
22
-
23
-
24
-
25
-
26
-
27
-
28
-
29
-
30
-
31
-
32
-
33
-
34
-
 35
35 -
 36
36 -
 37
37 -
 38
38 -
 39
39 -
 40
40 -
 41
41 -
 42
42 -
 43
43 -
 44
44 -
 45
45 -
46
-
47
-
48
-
49
-
50
-
51
-
52
-
53
-
54
-
55
-
56
-
57
 |
 |