MSI GP60 User Manual - Page 41
Knowing the Touchpad, Mouse Properties, Control Panel
 |
View all MSI GP60 manuals
Add to My Manuals
Save this manual to your list of manuals |
Page 41 highlights
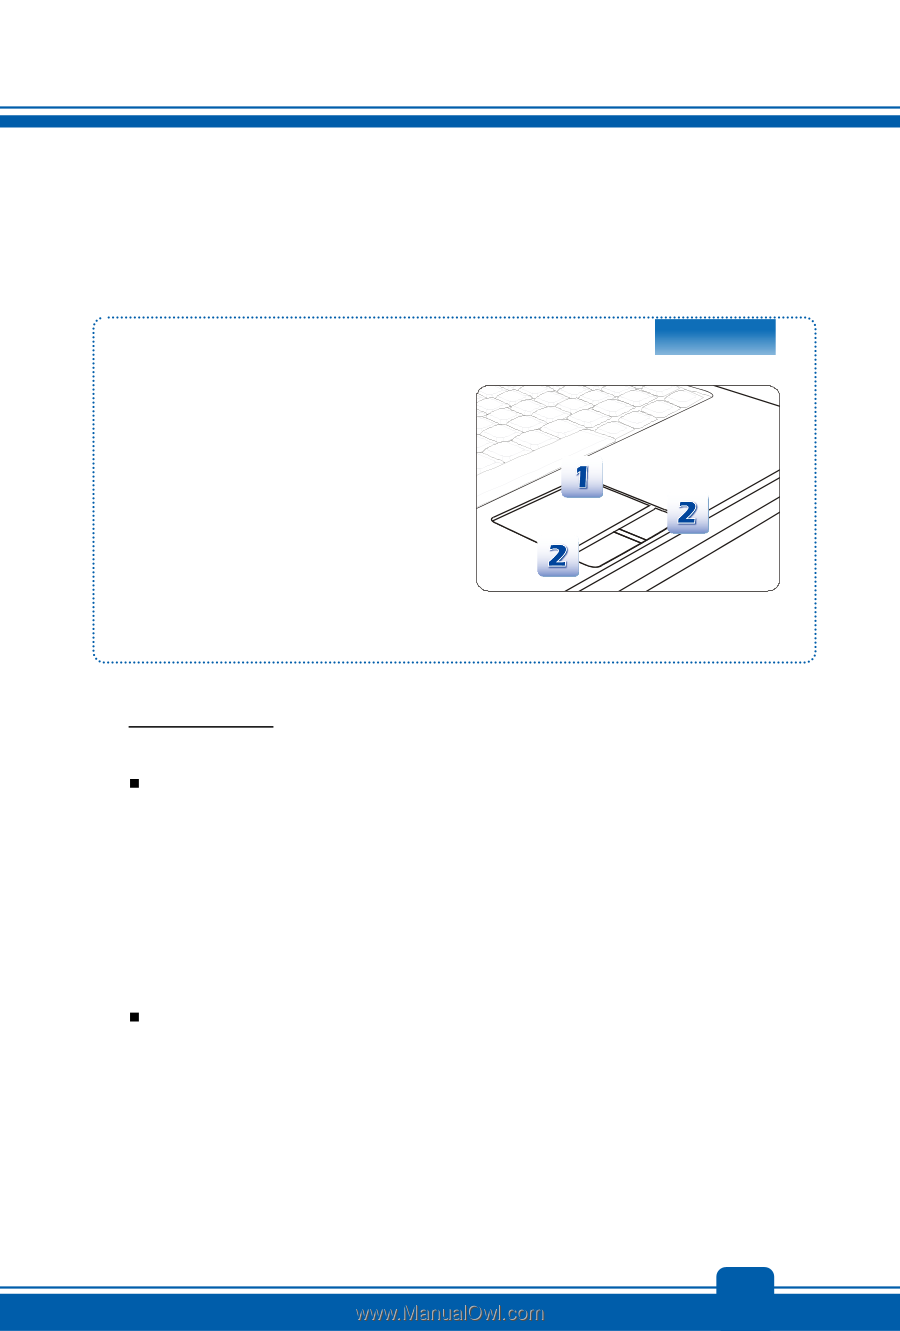
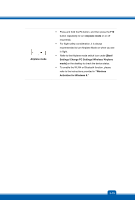
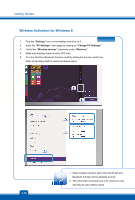
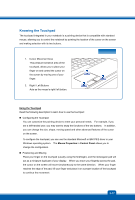
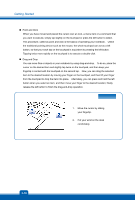
Knowing the Touchpad The touchpad integrated in your notebook is a pointing device that is compatible with standard mouse, allowing you to control the notebook by pointing the location of the cursor on the screen and making selection with its two buttons. 1. Cursor Movement Area This pressure-sensitive area of the touchpad, allows you to place your finger on and control the cursor on the screen by moving one of your finger. 2. Right / Left Buttons Acts as the mouse's right/ left button. Using the Touchpad Read the following description to learn how to use the touchpad: „ Configuring the Touchpad You can customize the pointing device to meet your personal needs. For example, if you are a left-handed user, you may want to swap the functions of the two buttons. In addition, you can change the size, shape, moving speed and other advanced features of the cursor on the screen. To configure the touchpad, you can use the standard Microsoft or IBM PS/2 driver in your Windows operating system. The Mouse Properties in Control Panel allows you to change the configuration. „ Positioning and Moving Place your finger on the touchpad (usually using the forefinger), and the rectangular pad will act as a miniature duplicate of your display. When you move your fingertip across the pad, the cursor on the screen will move simultaneously to the same direction. When your finger reaches the edge of the pad, lift your finger and place it on a proper location of the touchpad to continue the movement. 3-17
-
 1
1 -
2
-
3
-
4
-
5
-
6
-
7
-
8
-
9
-
10
-
11
-
12
-
13
-
14
-
15
-
16
-
17
-
18
-
19
-
20
-
21
-
22
-
23
-
24
-
25
-
26
-
27
-
28
-
29
-
30
-
31
-
32
-
33
-
34
-
35
-
 36
36 -
 37
37 -
 38
38 -
 39
39 -
 40
40 -
 41
41 -
 42
42 -
 43
43 -
 44
44 -
 45
45 -
 46
46 -
47
-
48
 |
 |