Magellan eXplorist 400 Manual - English (for the UK) - Page 91
Saving Map Regions, Save the Region to Your Computer's Hard Drive - gps review
 |
UPC - 763357111613
View all Magellan eXplorist 400 manuals
Add to My Manuals
Save this manual to your list of manuals |
Page 91 highlights
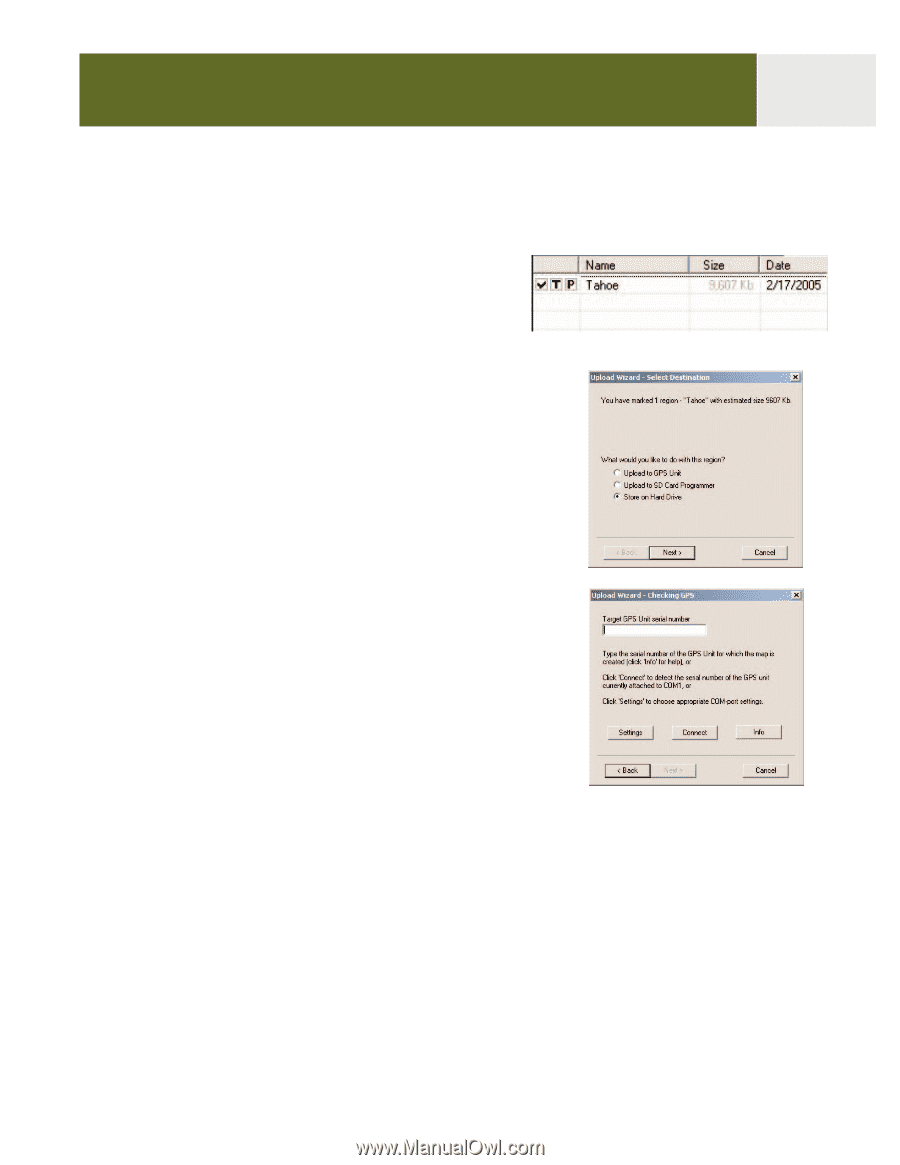
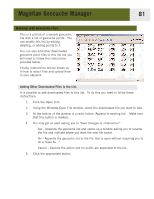
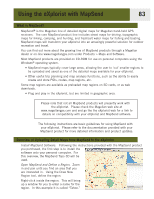
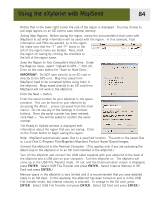
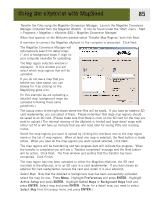
Using the eXplorist with MapSend 84 Notice that in the lower right corner the size of the region is displayed. You may choose to put large regions on an SD card to save internal memory. Saving Map Regions. Before saving the region, review the documentation that came with MapSend to set what information will be saved with the region. In this example, Topo information and POIs are wanted, so in the region list make sure that the "T" and "P" boxes to the left of the region name are bolded. Next, mark the region for saving by clicking the checkbox to the left of the region name. Save the Region to Your Computer's Hard Drive. Under the Regions menu, select "Upload to GPS..." (Ctrl+U). Click on the radio button for "Save on Hard Drive." IMPORTANT: Do NOT save directly to an SD card or directly to the GPS unit. Map files saved from MapSend need to be converted before using them in the eXplorist. Maps saved directly to an SD card from MapSend will not work in the eXplorist. Click the Next > button. Enter the serial number for your eXplorist in the space provided. This can be found on your eXplorist by accessing the About... screen (accessed from the main menu). Do not use any of the Settings or Connect buttons. Once the serial number has been entered, click Next >. You will be asked to confirm the serial number. The Ready to Update window is displayed with information about the region that you are saving. Click on the Finish button to begin saving the region. Note: MapSend automatically saves files to a specified location. The path to the saved files is: Local Disk C:\Program Files\Magellan\'MapSend Product Name'\Export\Images. Connect the eXplorist to the Personal Computer: (This applies only if you are uploading the detail map to the eXplorist or to an SD card installed in the eXplorist.) Turn off the eXplorist and connect the USB cable supplied with your eXplorist to the back of the eXplorist and a USB port on your computer. Turn the eXplorist on. The eXplorist will come up in the USB File Transfer mode. (If not, and the Communication screen is displayed, press ENTER. Select USB File Transfer and press ENTER. Select Internal Memory or SD Card and press ENTER.) Memory space in the eXplorist is very limited and it is recommended that you save detailed maps to an SD Card. In this example, the eXplorist has been turned on and is in the USB File Transfer mode, but internal memory is selected. To change to the SD card, press ENTER. Select USB File Transfer and press ENTER. Select SD Card and press ENTER.)
-
 1
1 -
2
-
3
-
4
-
5
-
6
-
7
-
8
-
9
-
10
-
11
-
12
-
13
-
14
-
15
-
16
-
17
-
18
-
19
-
20
-
21
-
22
-
23
-
24
-
25
-
26
-
27
-
28
-
29
-
30
-
31
-
32
-
33
-
34
-
35
-
36
-
37
-
38
-
39
-
40
-
41
-
42
-
43
-
44
-
45
-
46
-
47
-
48
-
49
-
50
-
51
-
52
-
53
-
54
-
55
-
56
-
57
-
58
-
59
-
60
-
61
-
62
-
63
-
64
-
65
-
66
-
67
-
68
-
69
-
70
-
71
-
72
-
73
-
74
-
75
-
76
-
77
-
78
-
79
-
80
-
81
-
82
-
83
-
84
-
85
-
 86
86 -
 87
87 -
 88
88 -
 89
89 -
 90
90 -
 91
91 -
 92
92 -
 93
93 -
 94
94 -
 95
95 -
 96
96 -
97
-
98
-
99
-
100
-
101
-
102
-
103
-
104
-
105
-
106
-
107
-
108
-
109
-
110
-
111
-
112
-
113
-
114
-
115
-
116
-
117
-
118
-
119
 |
 |