Marantz AV9000 AV9000 USER'S MANUAL - Page 29
with the process - do you need an amplifier
 |
View all Marantz AV9000 manuals
Add to My Manuals
Save this manual to your list of manuals |
Page 29 highlights
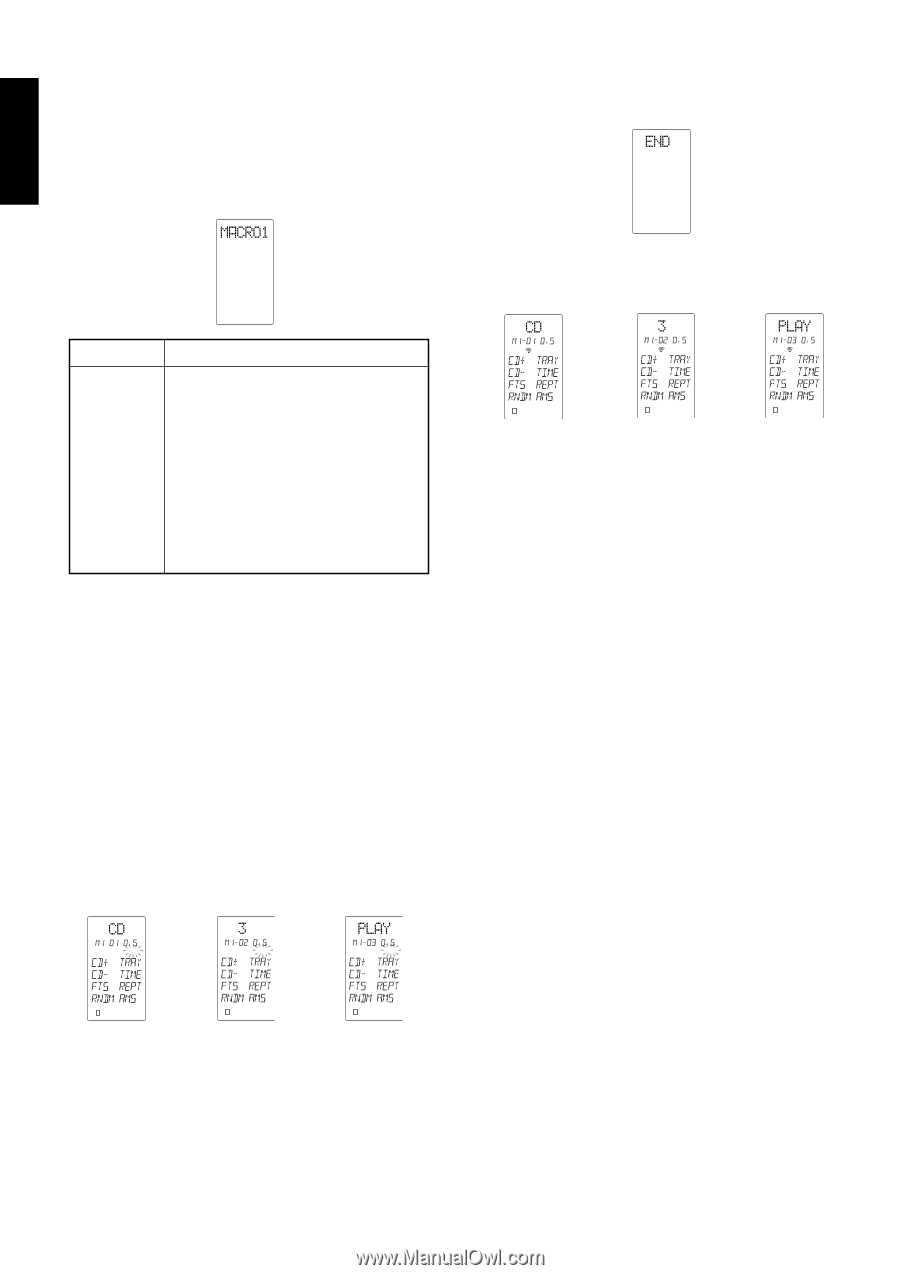
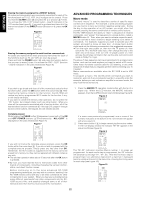
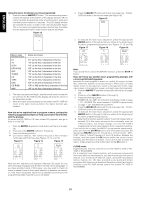
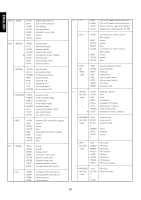
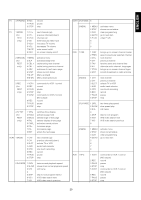
ENGLISH Using the macro function(s) you have programmed: 1. Press the desired MACRO n button. The corresponding macro number will appear at the bottom of the display window, OR if a macro has been programmed under a function button, press and hold that function button for 3 seconds. The LCD display window will indicate the macro number in the LCD window (see Figure 12), or if a macro is programmed under a function key, the status line will display the macro under function buttons as follows: Figure 12 4. Press the MACRO x button with the tip of a paper clip. The RC18SR will revert to the normal mode (see Figure 16). Figure 16 USE 5. To execute the new macro sequence, press the appropriate MACRO button (1 through 4) that you chose at the beginning of the above programming sequence. (see Figures 17, 18, and 19) Figure 17 Figure 18 Figure 19 Macro under function button: LD TV VCR1 DSS/VCR2 AUX TUNER CD TAPE DVD CD-R/MD AMP Status line shows: "LD" as the first 2 characters in the line "TV" as the first 2 characters in the line "VC" as the first 2 characters in the line "DS" as the first 2 characters in the line "AX" as the first 2 characters in the line "TU" as the first 2 characters in the line "CD" as the first 2 characters in the line "TP" as the first 2 characters in the line "DV" as the first 2 characters in the line "CR" or "MD"as the first 2 characters in the line "AP" as the first 2 characters in the line 2. The macro sequence will begin, and the remote control codes will be sent from the RC-18SR and the display will show the names of the transmitted codes. 3. When the macro transmit sequence has ended, the RC-18SR will return to the same mode as before the macro function was initiated. Now that we've explained how to program a macro, perhaps the following suggested example can help you become more familiar with the process: (to switch the RC-18SR to CD, then initiate CD playback, and go to track 3 on the CD) 1. Press the MACRO x operation mode button with the tip of a paper clip. 2. Press one of the MACRO buttons (1 through 4). 3. Press the following buttons: n CD function selector, then numeric key pad 3, then transport control key pad PLAY key. (see Figures 13, 14, and 15) Figure 13 Figure 14 Figure 15 LOW LEARN NAME LOW LEARN NAME LOW LEARN NAME 1234 1234 1234 Note that this sequence will operate a Marantz CD player (or any other CD player equipped with the RC-5 remote control language). If you have another brand of CD player, you may wish to check its owner's manual to see if direct track selection is possible via remote, or if the macro sequence needs to be adjusted according to the programming steps required by your CD player. LOW USE NAME LOW LEARN USE NAME LOW LEARN NAME 1234 1234 1234 Note: If you would like to cancel the MACRO function, press the STOP ⁄5 button. Now, we'll show you another macro programming example, with a more sophisticated sequence: (activate the main amplifier's power on, switch the source to laser disc, switch the amplifier's surround mode to PRO LOGIC or Dolby Digital, switch on the television, switch to the television's AUX video input, power on the laser disc player, and begin laser disc playback). 1. Press the MACRO x operation mode button with the tip of a paper clip. 2. Press one of the MACRO buttons (1 through 4). 3. Press the following buttons: POWER ON, LD, AMP, direct function D-2 (Dolby mode) on page 1, TV*, SOURCE ON, direct function D-3 (VIDEO input selector) on page 1, LD*, SOURCE ON, and PLAY. 4. Press the MACRO x button with the tip of a paper clip. The RC18SR will revert to the normal mode. 5. To execute the new macro sequence, press the appropriate MACRO button (1 through 4) that you chose at the beginning of the above programming sequence. n Note that the function selector buttons TV and LD marked with an asterisk (*) in this macro sequence do not actually send out infrared codes, but simply change over the RC-18SR's programmed memory code banks for those respective functions. If you would like to clear the MACRO programmed sequence(s), press and hold the CLEAR ⁄4 button and simultaneously press the appropriate MACRO button (1 through 4) or function button. "MR1CLR?" (macro 1-clear?) appears in the LCD window. Release the buttons, and then press the OK button (within the cursor control buttons), and the macro is erased. If you do not wish to erase the macro, simply press any other button (but not the OK button ). CLONE mode: Duplicating the memory contents of one RC-18SR to another RC18SR or RC2000MKII. For a complete home theater system, with numerous components from many different manufacturers, you may find that you have stored dozens, even hundreds of different codes, along with specialized names, macros, etc. We have provided a very quick and simple procedure that allows you to download the entire customized memory contents of one RC-18SR remote control into another RC-18SR or RC2000MKII. 24
-
 1
1 -
2
-
3
-
4
-
5
-
6
-
7
-
8
-
9
-
10
-
11
-
12
-
13
-
14
-
15
-
16
-
17
-
18
-
19
-
20
-
21
-
22
-
23
-
 24
24 -
 25
25 -
 26
26 -
 27
27 -
 28
28 -
 29
29 -
 30
30 -
 31
31 -
 32
32 -
 33
33 -
 34
34 -
35
-
36
-
37
-
38
-
39
-
40
-
41
 |
 |