Marantz DV4001 DV4001 User Manual - Page 38
Tv Aspect, Progressive
 |
View all Marantz DV4001 manuals
Add to My Manuals
Save this manual to your list of manuals |
Page 38 highlights
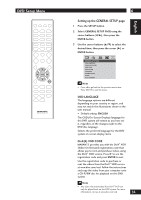
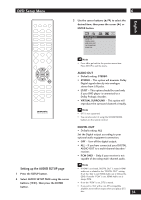
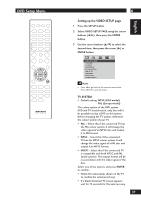
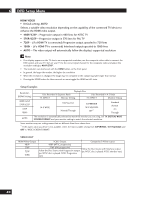
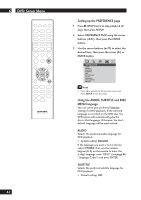
6 DVD Setup Menu CHANGING PAL TO NTSC 1.ENSURE THAT YOUR TV SYSTEM SUPPORTS NTSC STANDARD. 2.IF THERE IS A DISTORTED PICTURE DISPLAYED ON THE TV.WAIT IS SECONDS FOR AUTO RECOVER OK CANCEL Video output format Disc Format NTSC PAL TV system PAL NTSC MULTI PAL NTSC MULTI Output Format YCbCr Video/S-Video PAL Progressive PAL NTSC Progressive NTSC NTSC Progressive NTSC PAL Progressive PAL NTSC Progressive NTSC PAL Progressive PAL To change the TV system manually: 1) Press OPEN CLOSE 0 to open the disc tray. 2) Press 3 (RIGHT) on the remote control. 3) Press AUDIO on the remote control to change the TV system setting. PAL Æ NTSC NTSC Æ PAL MULTI Æ depends on the disc TV ASPECT • Default setting: 16:9 WIDE Set the aspect ratio of the DVD system according to the TV type you have connected. The format you select must be available on the disc. If it is not, the setting for TV display will not affect the picture during playback. • 4:3 PAN SCAN - Select this if you have a conventional TV and want both sides of the picture to be trimmed or formatted to fit your TV. • 4:3 LETTER BOX - Select this if you have a conventional TV. In this case, a wide picture with black bands on the upper and lower portions of the TV will be displayed. • 16:9 WIDE - Select this if you have a wide-screen TV. Select one of the options and press ENTER to confirm. Note • Some discs will not allow you to change the aspect ratio. PROGRESSIVE • Default setting: OFF Progressive scanning displays twice the number of frames per second as interlaced scanning (ordinary normal TV system). With nearly double the number of lines, progressive scanning offers higher picture resolution and quality. Before you start... Ensure that you have connected this DVD system to a progressive scan TV using the YCbCr connection (see page 11 "Home theater video connections"). • ON - Turns on progressive scan mode. The instruction menu appears on the TV. ACTIVATING PROGRESSIVE SCAN: 1. ENSURE YOUR TV HAS PROGRESSIVE SCAN. 2. CONNECT USING YPBPR (GBR) VIDEO CABLE. 3. IF THERE IS A DISTORTED PICTURE, WAIT 15 SECONDS FOR AUTO RECOVERY. OK CANCEL 1) Press 2 to highlight "OK" in the menu and press ENTER to confirm. The picture on your TV will remain distorted in this state until you turn on the progressive scan mode on your TV. 2) Turn on your TV's progressive scan mode (refer to the user manual for your TV.) The following menu appears on the TV. 38
-
 1
1 -
2
-
3
-
4
-
5
-
6
-
7
-
8
-
9
-
10
-
11
-
12
-
13
-
14
-
15
-
16
-
17
-
18
-
19
-
20
-
21
-
22
-
23
-
24
-
25
-
26
-
27
-
28
-
29
-
30
-
31
-
32
-
 33
33 -
 34
34 -
 35
35 -
 36
36 -
 37
37 -
 38
38 -
 39
39 -
 40
40 -
 41
41 -
 42
42 -
 43
43 -
44
-
45
-
46
-
47
-
48
-
49
-
50
-
51
-
52
-
53
-
54
 |
 |