Maytag MIR8890AS Use & Care Guide - Page 10
Oven Use - induction range
 |
View all Maytag MIR8890AS manuals
Add to My Manuals
Save this manual to your list of manuals |
Page 10 highlights
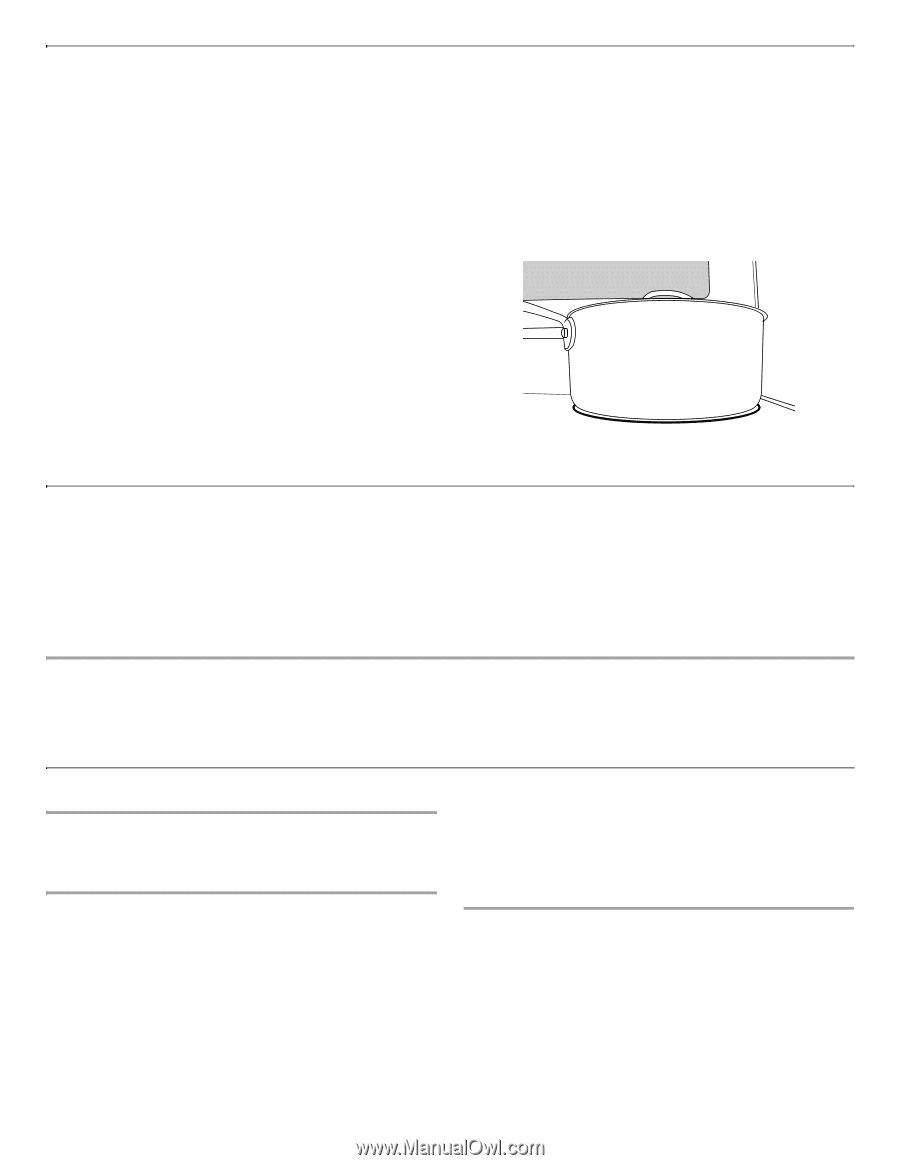
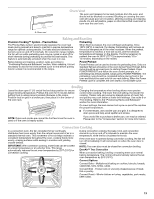
Cookware IMPORTANT: This range has induction cooktop elements. Pan size, material and positioning are very important to achieve the best results. See "Induction Cooking" in the "Cooktop Use" section before using the cooktop. Only ferromagnetic pans can be used for induction cooking. Ferromagnetic materials include: ■ Enameled steel ■ Cast iron ■ Stainless steel designed for induction cooking Non-ferromagnetic materials include: These types of pans will not work with induction cooking. ■ Stainless steel The number on the surface cooking area heat setting display will flash if no pan is placed on the surface cooking area, or the pan is not made of the right material, or it is not the right size. It will stop flashing once a suitable pan is placed on the surface cooking area. If you take longer than 90 seconds to place the correct pan on the surface cooking area, the surface cooking area will turn off. Ideal cookware should have a flat bottom, straight sides and a wellfitting lid, and the material should be of medium-to-heavy thickness. Choose the correct pan size for each surface cooking area. The diameter of the pan's base should correspond to the size of the surface cooking area. ■ Glass ■ Ceramic ■ Copper or aluminum pans To find out whether your pans can be used with an induction cooktop, flip the pan over, hold a magnet to the bottom of the pan, and see whether it sticks. If the magnet sticks to the bottom of the pan, the pan is ferromagnetic and can be used for induction cooking. NOTE: Cookware manufacturers often give the diameter across the top of the pan. This is usually larger than the diameter of the base. Pans with rough finishes may scratch the cooktop. Home Canning Canning can be performed on the induction cooktop. When canning for long periods, alternate the use of surface cooking areas or elements between batches. This allows time for the most recently used areas to cool. ■ Center the canner on the largest surface cooking area or element. On electric cooktops, canners should not extend more than ½" (1.3 cm) beyond the surface cooking area or element. ■ Do not place canner on 2 surface cooking areas or elements at the same time. ■ On ceramic glass models, use only flat-bottomed canners to avoid damage to the cooktop and elements. ■ For more information, contact your local agricultural extension office, or refer to published home canning guides. Companies that manufacture home canning products can also offer assistance. OVEN USE Odors and smoke are normal when the oven is used the first few times, or when it is heavily soiled. IMPORTANT: The health of some birds is extremely sensitive to the fumes given off. Exposure to the fumes may result in death to certain birds. Always move birds to another closed and wellventilated room. Electronic Oven Controls Control Display The display will flash when powered up or after a power loss. Press CANCEL to clear. When oven is not in use, the time of day is displayed. Indicator lights show functions that are in use. Three tones ■ Invalid pad press Four tones ■ End of cycle Use the Settings key to change the tone settings. Tones Tones are audible signals, indicating the following: One tone ■ Valid pad press ■ Oven is preheated (long tone) ■ Function has been entered ■ Reminder (on some models), repeating each minute after the end-of-cycle tones Settings Many features of the oven control can be adjusted to meet your personal needs. These changes are made using the Settings key. Use the Settings key to scroll through the features that can be changed. Each press of the Settings key will advance the display to the next setting. After selecting the feature to be changed, the control will prompt you for the required input. After the setting is saved by pressing Start, the control will exit Settings and display the time of day. Details of all of the feature changes are explained in the following sections. Press CANCEL to exit Settings. 10
-
 1
1 -
2
-
3
-
4
-
 5
5 -
 6
6 -
 7
7 -
 8
8 -
 9
9 -
 10
10 -
 11
11 -
 12
12 -
 13
13 -
 14
14 -
 15
15 -
16
-
17
-
18
-
19
-
20
 |
 |