Meade Scope 80mm User Manual - Page 6
Note: Number in brackets, e.g., 3, refer to Fig. 1A, 1B, and 1C unless, noted otherwise., SETTING UP - scope
 |
View all Meade Scope 80mm manuals
Add to My Manuals
Save this manual to your list of manuals |
Page 6 highlights
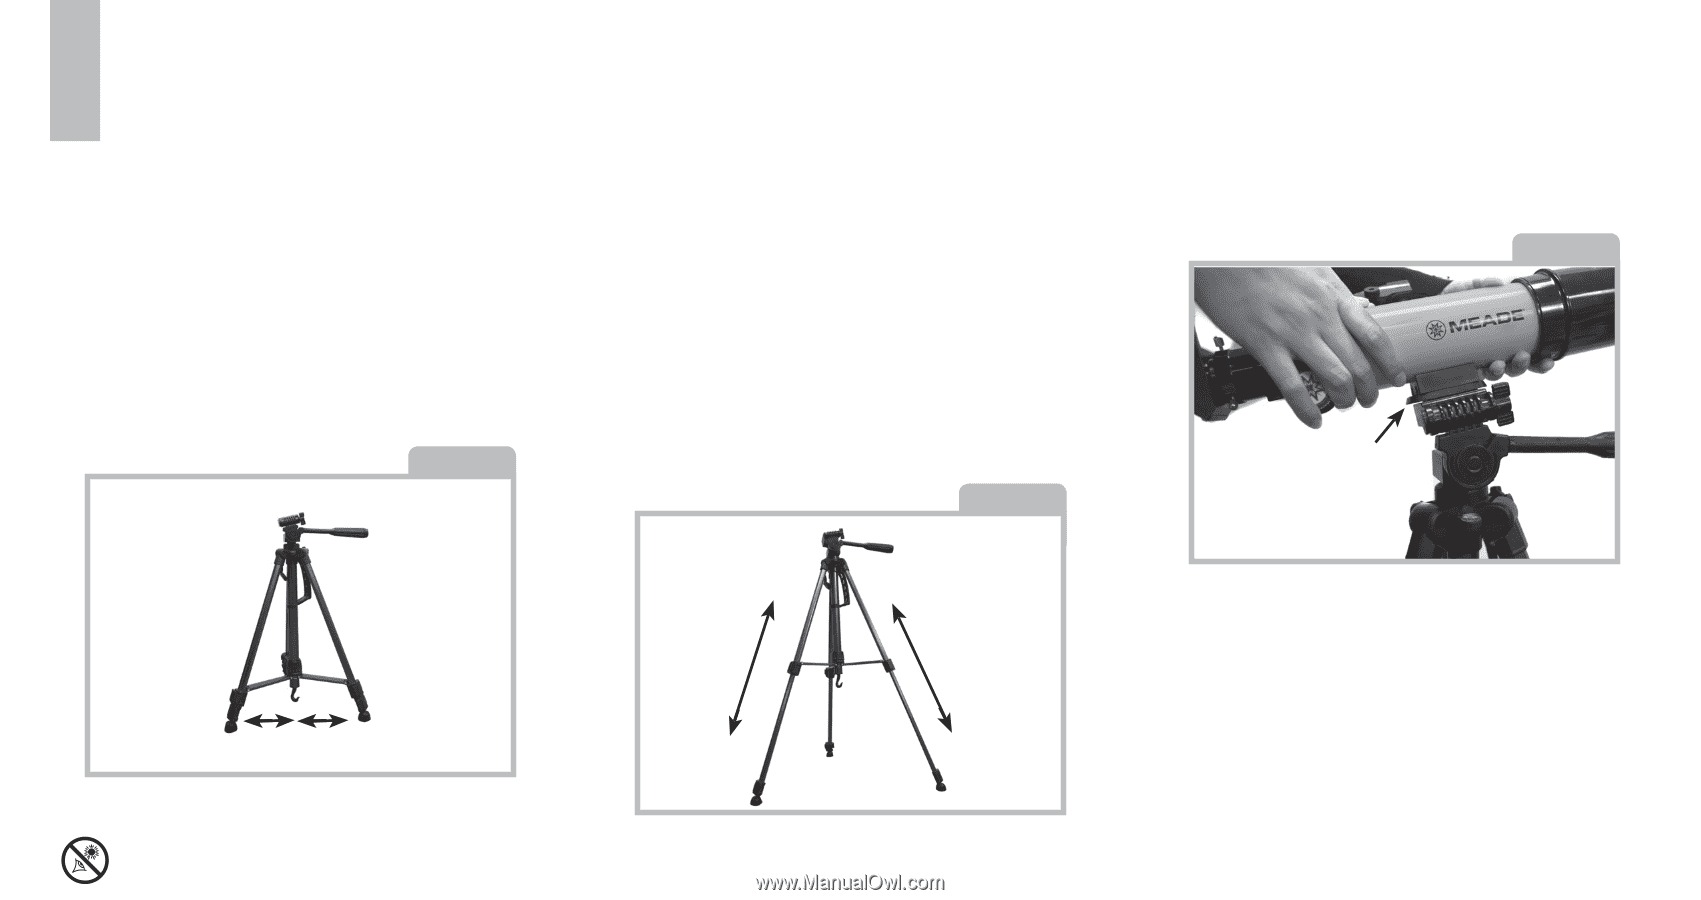
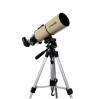
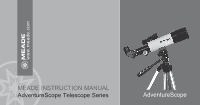
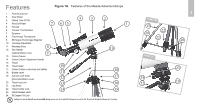
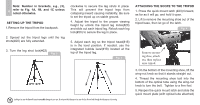
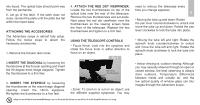
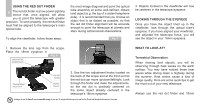
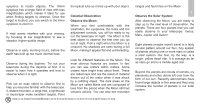
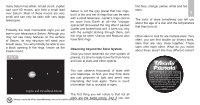
Note: Number in brackets, e.g., (3), 4 refer to Fig. 1A, 1B, and 1C unless noted otherwise. SETTING UP THE TRIPOD 1.Remove the tripod from the backpack. 2. Spread out the tripod legs until the leg struts(#20) are fully extended. 3. Turn the leg strut lock(#22) Fig. 2 clockwise to secure the leg struts in place. This will prevent the tripod legs from collapsing inward causing instability. Be sure to set the tripod up on stable ground. 4. Adjust the tripod to the proper viewing height by unlock the tripod leg locks(#20) and slide out each tripod leg. Relock each leg lock(#20) to secure the leg in place. 5. Adjust each leg so the tripod head(#16) is in the level position. If needed, use the integrated bubble level(#18) located at the top of the tripod leg. Fig. 3 Looking at or near the Sun will cause irreversible damage to your eye. Do not point this telescope at or near the Sun. Do not look through the telescope as it is moving. ATTACHING THE SCOPE TO THE TRIPOD 1. Press the quick mount latch (#23) forward, as far as it will go, and hold it open. 2. Lift to remove the mounting shoe out of the tripod base, then let go of the latch. Fig. 4 Remove mounting shoe, attach ota, then replace onto tripod. 3. On the bottom of the mounting shoe, lift the wing-nut knob so that it stands straight out. 4. Thread the mounting shoe bolt into the bottom of the optical tube using the wing-nut knob to turn the bolt. Tighten to a firm feel. 5. Reopen the quick mount latch and slide the quick mount plate (with optical tube attached)
-
 1
1 -
 2
2 -
 3
3 -
 4
4 -
 5
5 -
 6
6 -
 7
7 -
 8
8 -
 9
9 -
 10
10 -
 11
11 -
 12
12 -
13
-
14
-
15
-
16
-
17
-
18
-
19
-
20
-
21
-
22
 |
 |