Meade Scope 80mm User Manual - Page 8
USING THE RED DOT FINDER, LOOKING THROUGH THE EYEPIECE, WHAT TO LOOK AT?, Terrestrial Observation
 |
View all Meade Scope 80mm manuals
Add to My Manuals
Save this manual to your list of manuals |
Page 8 highlights
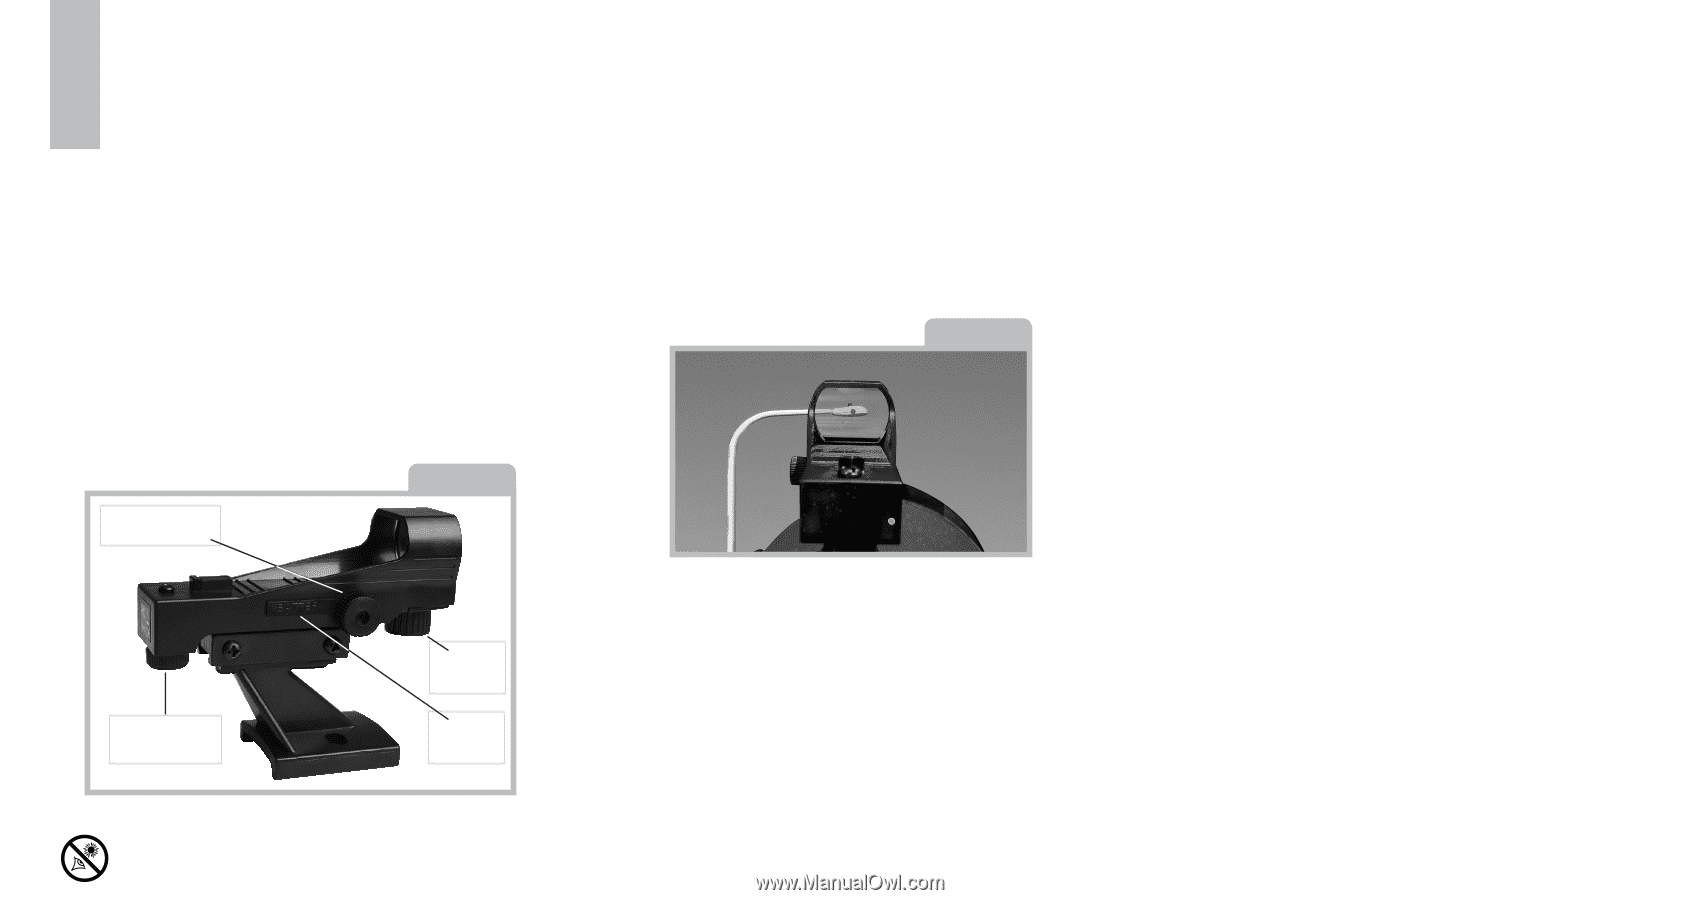
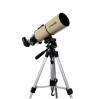
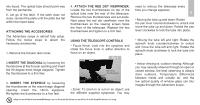
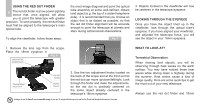
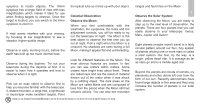
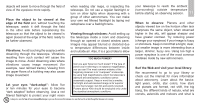
USING THE RED DOT FINDER 6 The red dot finder is a low-power sighting device that, once aligned, will allow you to point the telescope with greater precision. To work properly, the red dot finder must first be aligned to the telescope's main optical tube. To align the viewfinder, follow these steps: the erect-image diagonal and point the optical tube assembly at some well-defined, distant land object (e.g. the top of a distant telephone pole). It is recommended that you choose an object that is as distant as possible, so that the red dot finder alignment will be accurate enough to point the telescope at planets and stars during astronomical observations. Fig. 7 3. Objects located in the viewfinder will now be centered in the telescope eyepiece. LOOKING THROUGH THE EYEPIECE Once you have the object lined up in the viewfinder, look through the optical tube's eyepiece. If you have aligned your viewfinder, and adjusted the telescope focus, you will see the object in your 18mm eyepiece. 1. Remove the lens cap from the scope. Place the 18mm eyepiece in Fig. 6 Horizontal Adjustment Knob Vertical Adjustment Knob On/Off Switch CR2032 Battery 2. Use the two adjustment knobs located on the back of the scope and at the front so that the red dot can move up/down/left/right. Look through the finder and make the adjustments, so the red dot is precisely centered on the same object already centered in the telescope's 18mm eyepiece. Looking at or near the Sun will cause irreversible damage to your eye. Do not point this telescope at or near the Sun. Do not look through the telescope as it is moving. WHAT TO LOOK AT? Terrestrial Observation When viewing land objects, you will be observing through heat waves on the earth surface. You may have noticed these heat waves while driving down a highway during the summer. Heat waves cause a loss of image quality. Here are some quick tips to get the most out of your new telescope. Always use the red dot finder and 18mm
-
 1
1 -
2
-
 3
3 -
 4
4 -
 5
5 -
 6
6 -
 7
7 -
 8
8 -
 9
9 -
 10
10 -
 11
11 -
 12
12 -
 13
13 -
14
-
15
-
16
-
17
-
18
-
19
-
20
-
21
-
22
 |
 |