Meade Scope 80mm User Manual - Page 7
Attaching The Accessories, Insert The Diagonal, Insert The Eyepiece, Attach The Red Dot Viewfinder - adventure
 |
View all Meade Scope 80mm manuals
Add to My Manuals
Save this manual to your list of manuals |
Page 7 highlights
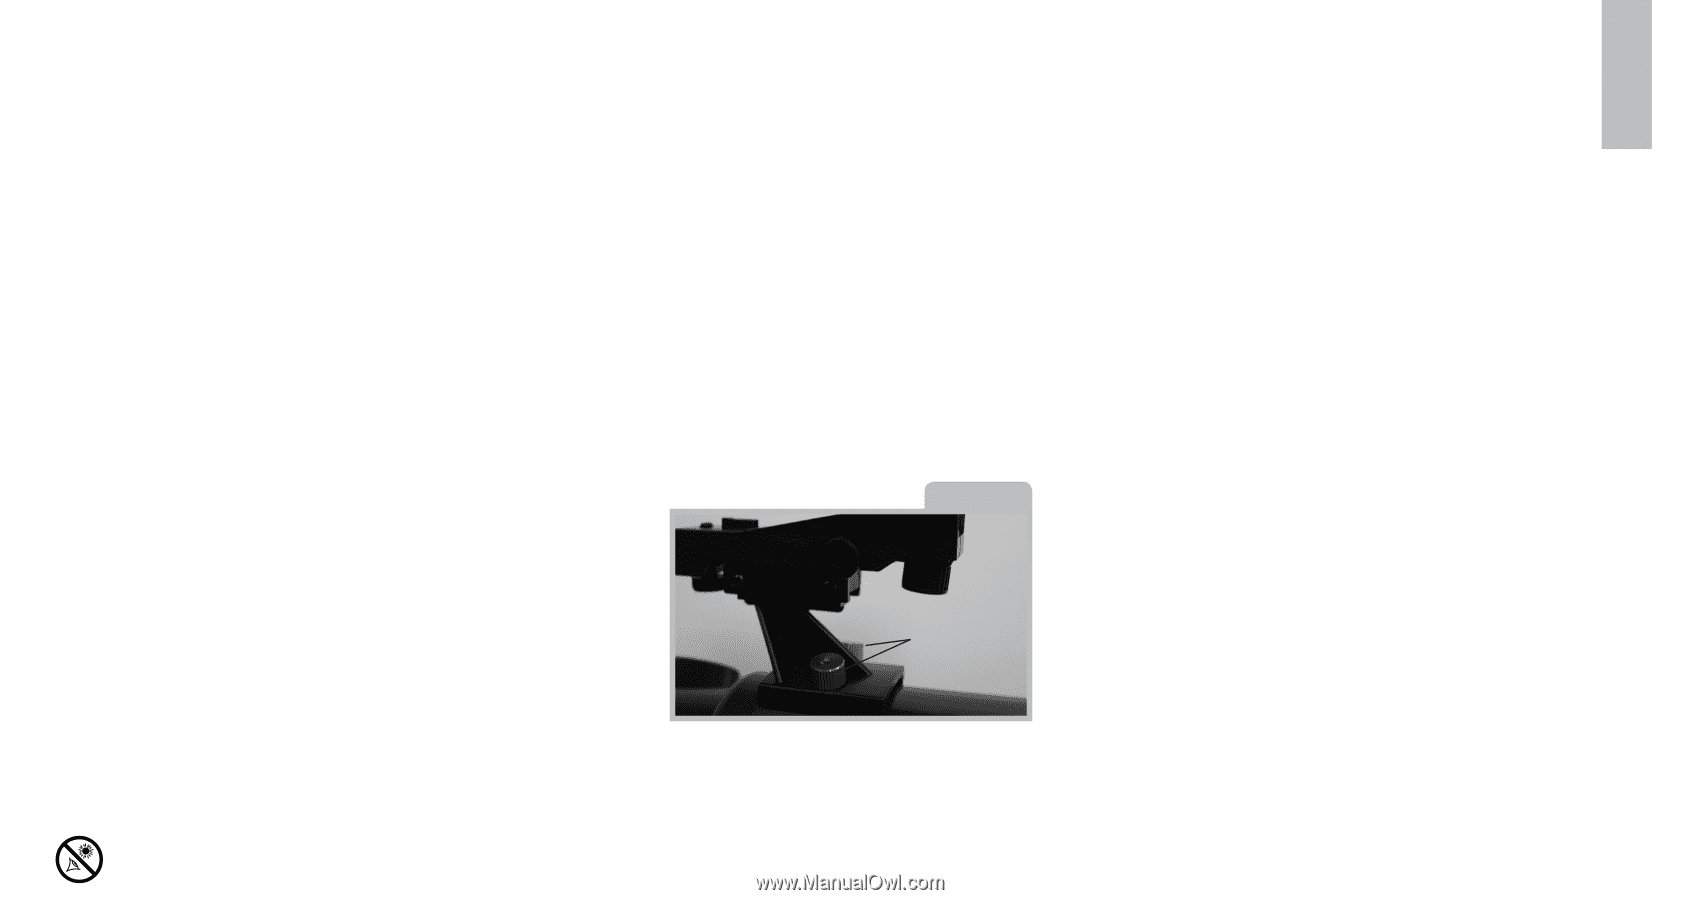
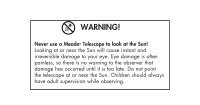
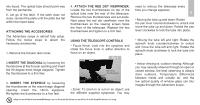
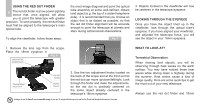
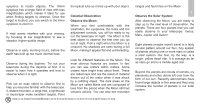
into tripod. The optical tube should point way from the panhandle. 6. Let go of the latch. If the latch does not close, reorient the plate until the plate lies flat within the tripod base. ATTACHING THE ACCESSORIES The Adventure scope is almost fully setup. Follow the below steps to attach the necessary accessories. 1. Remove the focuser dust cover. 2.INSERT THE DIAGONAL by loosening the thumbscrew at the focuser opening and insert the 90 degree erect-image diagonal. Tighten the thumbscrew to a firm feel. 4. ATTACH THE RED DOT VIEWFINDER. Locate the two thumbscrews on top of the optical tube near the rear of the telescope. Remove the two thumbscrews and set aside. Next place the red dot viewfinder over the thumbscrews so the viewing screen faces the front of the telescope. Replace the two thumbscrews and tighten to a firm feel. USING THE TELESCOPE CONTROLS • Focus Knob: Look into the eyepiece and rotate the focus knob in either direction to focus on an object. Fig. 5 Mounting Thumbscrews 3. INSERT THE EYEPIECE by loosening the thumbscrew at the erect-image diagonal opening. Insert the 18mm eyepiece. Re-tighten the thumbscrew to a firm feel. • Zoom: To zoom in or out on an object; use the different supplied eyepieces. You may Looking at or near the Sun will cause irreversible damage to your eye. Do not point this telescope at or near the Sun. Do not look through the telescope as it is moving. need to refocus the telescope every time you change eypieces. 5 • Moving the tube up and down: Rotate the pan lever counterclockwise to unlock and move the tube up and down. Rotate the pan lever clockwise to lock the tube into place. • Moving the tube left and right: Rotate the azimuth knob counterclockwise to unlock and move the tube left and right. Rotate the azimuth knob clockwise to lock the tube into place. • Indoor viewing vs. outdoor viewing: Although you may casually observe through an open or closed window, the best observing is always done outdoors. Temperature differences between inside and outside air, and the low optical quality of window glass can blur images through the Adventure scope.
-
 1
1 -
 2
2 -
 3
3 -
 4
4 -
 5
5 -
 6
6 -
 7
7 -
 8
8 -
 9
9 -
 10
10 -
 11
11 -
 12
12 -
13
-
14
-
15
-
16
-
17
-
18
-
19
-
20
-
21
-
22
 |
 |