Netgear R7900 Installation Guide - Page 2
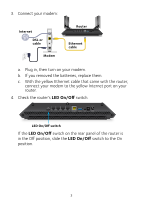
Check the router's LED On/Off switch.
 |
View all Netgear R7900 manuals
Add to My Manuals
Save this manual to your list of manuals |
Page 2 highlights
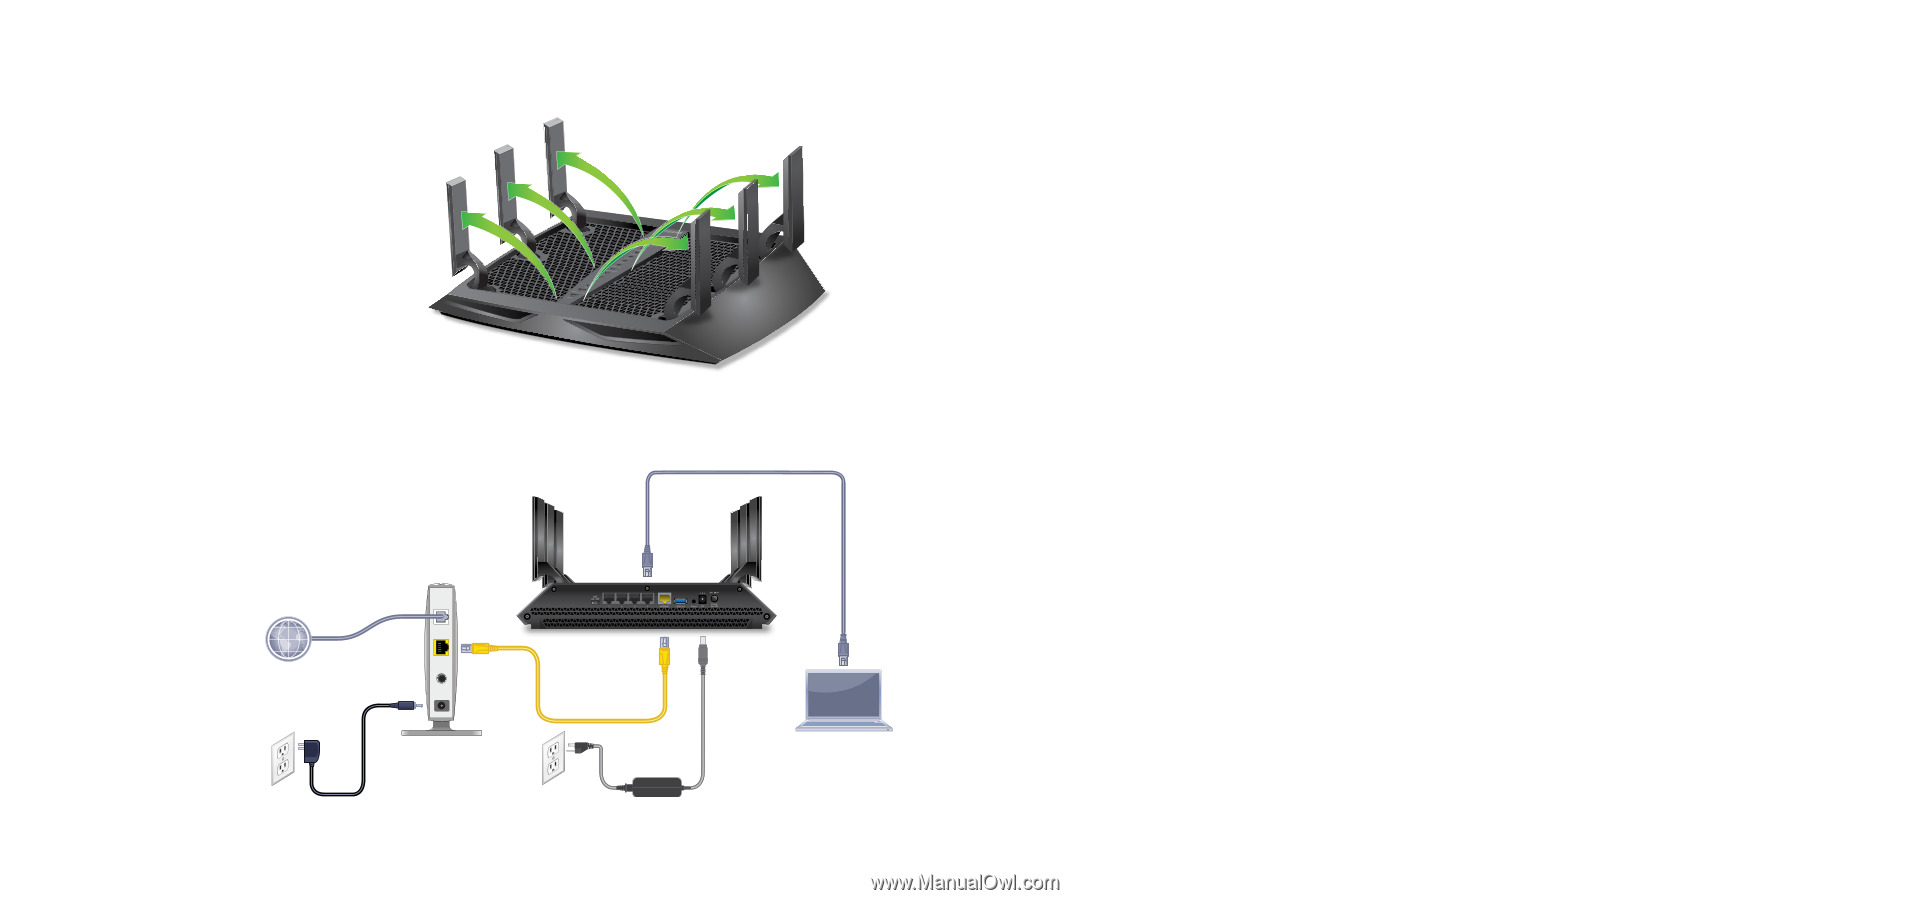
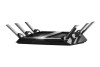
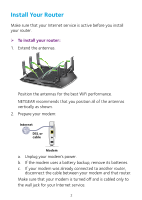
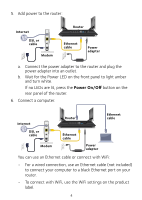
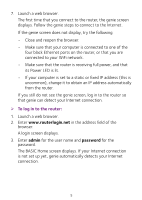
You can use this diagram to connect your router or follow the detailed instructions in this booklet. 1. Extend the antennas. Position the antennas for the best WiFi performance. 6. Connect a computer. You can use an Ethernet cable or connect with WiFi. NETGEAR recommends that you position all of the antennas vertically as shown. 2. Prepare your modem. Unplug your modem's power. If it uses a battery backup, remove the battery. 3. Connect your modem. Plug in your modem. Put the battery back in. Then cable the modem to the yellow Internet port on the router. 4. Check the router's LED On/Off switch. If the LED On/Off switch on the rear panel of the router is in the Off position, slide the LED On/Off switch to the On position. Ethernet cable To connect with WiFi, use the WiFi network name and password on the product label. 7. Log in to the router. Launch a web browser. NETGEAR genie displays. If you do not see genie, enter www.routerlogin.net in the address field of the web browser. When prompted, enter admin for the user name and password for the password. Follow the genie steps to connect to the Internet. 8. Get free apps. During the installation process, genie prompts you to download two free apps: 5. Power on the router. Internet The Power LED lights amber and then turns DSL or cable white when the router is ready. Modem Router Ethernet cable Power adapter • genie app. A personal dashboard that lets you monitor, control, and repair your home network. • ReadySHARE Vault app. Enables automatic continuous backup of a Windows computer to a USB device that's connected to your router. 9. Get the user manual. You can get the user manual online at http://downloadcenter.netgear.com or through a link in the product's user interface.
-
 1
1 -
 2
2 -
 3
3 -
 4
4 -
 5
5 -
 6
6 -
 7
7 -
 8
8 -
9
-
10
-
11
-
12
-
13
-
14
-
15
-
16
-
17
-
18
-
19
-
20
-
21
-
22
 |
 |