Oki ML591 Product Update - Page 12
Local Printer Installation continued - okidata drivers
 |
View all Oki ML591 manuals
Add to My Manuals
Save this manual to your list of manuals |
Page 12 highlights
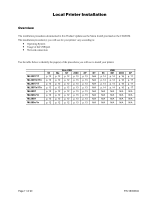
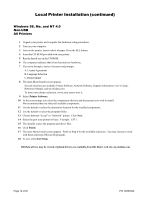
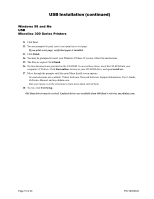
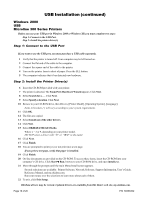
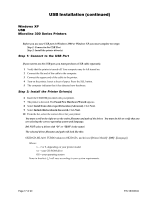
Local Printer Installation (continued) Windows 98, Me, and NT 4.0 Non-USB All Printers 1 Unpack your printer and complete the hardware setup procedures. 2 Turn on your computer. 3 Turn on the printer. Insert a sheet of paper. Press the SEL button. 4 Insert the CD-ROM provided with your printer. 5 Run the Install.exe on the CD-ROM. 6 The computer indicates that it has detected new hardware. 7 You move through a series of screens and prompts. A. License Agreement B. Language Selection C. Printer Model 8 The main Menu Install screen appears. Several selections are available: Printer Software, Network Software, Support Information, User's Guide, Reference Manual, and my.okidata.com. To learn more about a selection, move your cursor over it. 9 Select Printer Software. 10 At the next prompt, you select the components (drivers and documents) you wish to install. We recommend that you select all available components. 11 Use the default or select the destination location for the installed components. 12 Use the default or select the program folder. 13 Choose between "Local" or "Network" printer. Click Next. 14 Select the port your printer will use. Example: LPT1. 15 The installer copies the program and driver files. 16 Click Finish. 17 The main Menu Install screen appears. Refer to Step 8 for the available selections. You may choose to work with these selections OR exit the program. 18 To exit, click Exit Setup. Oki Data drivers may be revised. Updated drivers are available from Oki Data's web site, my.okidata.com. Page 12 of 20 P/N 58356302
-
 1
1 -
2
-
3
-
4
-
5
-
6
-
 7
7 -
 8
8 -
 9
9 -
 10
10 -
 11
11 -
 12
12 -
 13
13 -
 14
14 -
 15
15 -
 16
16 -
 17
17 -
18
-
19
-
20
 |
 |
