Panasonic 1100W Service Manual - Page 16
Inverter Power Supply U - power inverter
 |
UPC - 074000617384
View all Panasonic 1100W manuals
Add to My Manuals
Save this manual to your list of manuals |
Page 16 highlights
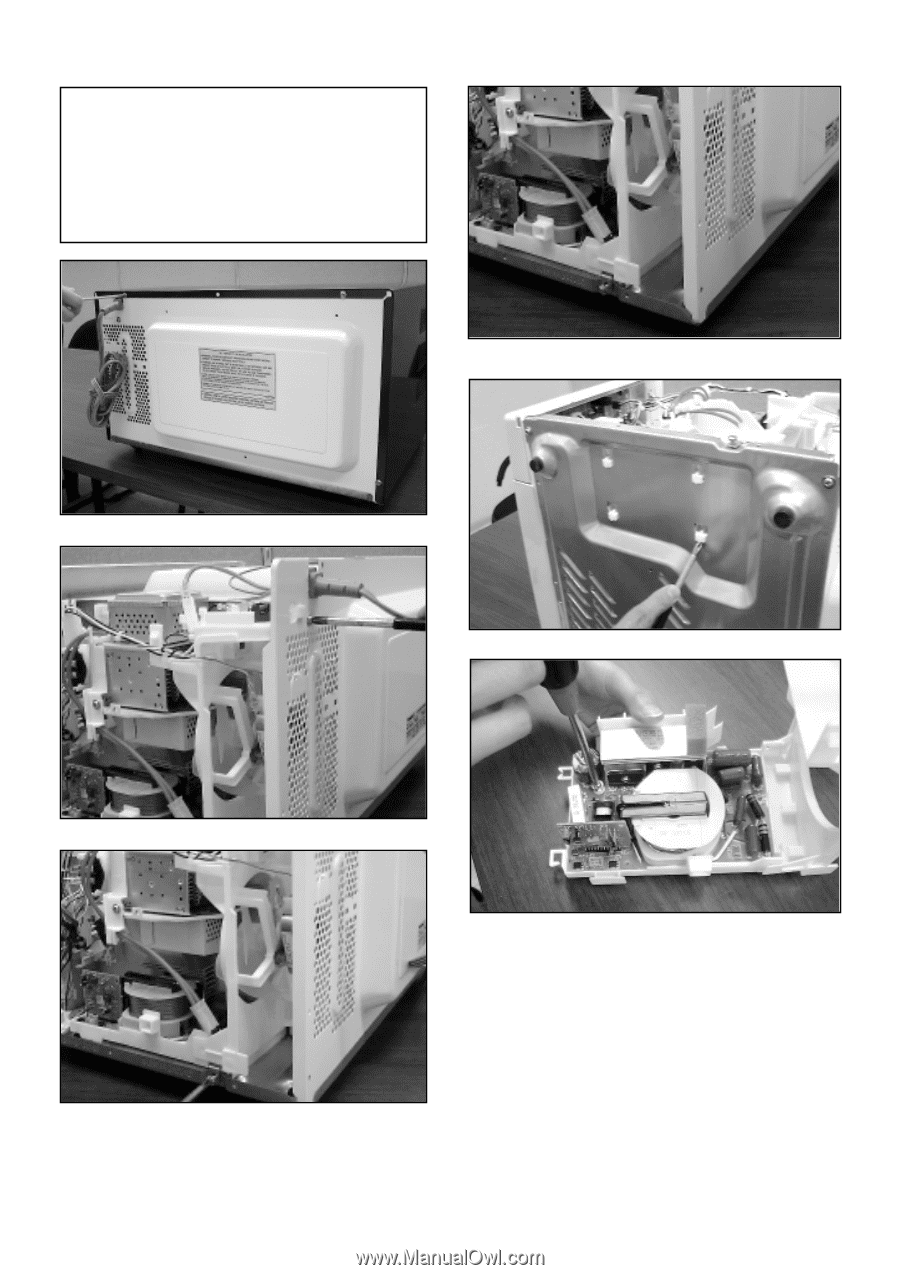
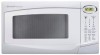
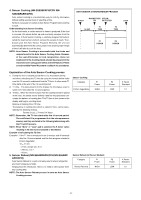
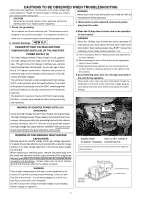
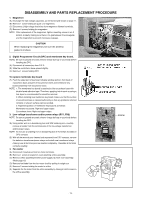
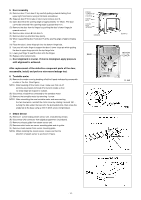
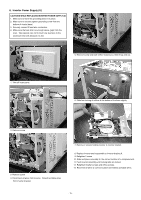
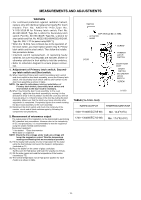
8. Inverter Power Supply (U) CAUTIONS WHILE REPLACING INVERTER POWER SUPPLY (U) 1. Make sure to leave the grounding plate in its place. 2. Make sure to securely tighten grounding screw from the bottom of chasis (base). 3. Securely connect 3 lead wire connectors. 4. Make sure the heat sink has enough space (gap) from the oven. Take special care not to touch any lead wire to the aluminum heat sink because it is hot. 5. Remove screw and slide oriffice toward you, then lift up and out. 1. Take off outer panel. 6. Slide four locking of oriffice at the bottom of the base slightly 2. Remove screw 3. Remove screw 4. Disconnect all wires from inverter. Detach turntable wires from inverter bracket. 7. Remove 2 screws holding inverter to inverter bracket. 8. Replace inverter and reassemble to inverter bracket A. 9. Retighten 2 screw 10. Slide and place assembly to the correct location of a completed unit. 11. Push Inverter Assembly until locking tabs are locked. 12. Retighten inverter screws and orifice screws. 13. Reconnet all wires to correct location and redress turntable wires. - 15 -
-
 1
1 -
2
-
3
-
4
-
5
-
6
-
7
-
8
-
9
-
10
-
 11
11 -
 12
12 -
 13
13 -
 14
14 -
 15
15 -
 16
16 -
 17
17 -
 18
18 -
 19
19 -
 20
20 -
 21
21 -
22
-
23
-
24
-
25
-
26
-
27
-
28
-
29
-
30
-
31
-
32
-
33
-
34
-
35
-
36
 |
 |