Panasonic CF-29CRKGZKM Service Manual - Page 13
Self Diagnosis Test, 5.1. Outline of Self Diagnostic Tests
 |
UPC - 092281833422
View all Panasonic CF-29CRKGZKM manuals
Add to My Manuals
Save this manual to your list of manuals |
Page 13 highlights
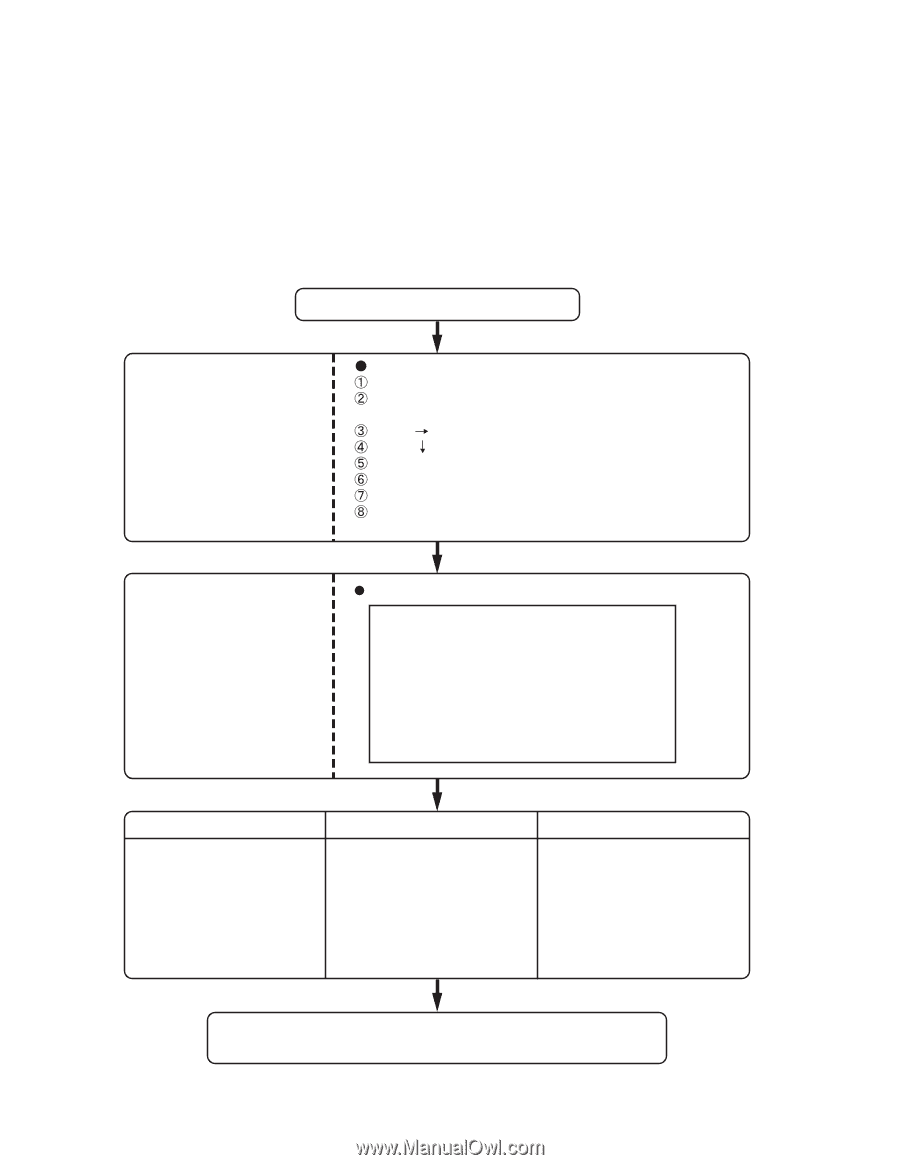
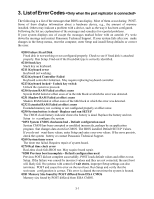
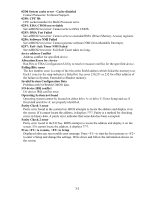
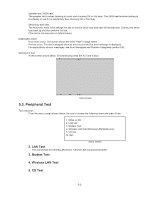
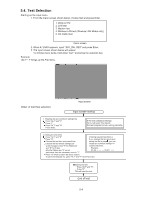
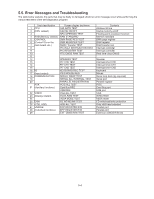
5 Self Diagnosis Test 1. Floppy disk is included for the self-diagnostic tests that should be performed before using this product. 2. Connect External Floppy Disk Drive (FDD) to USB port for diagnosis test. Important notice System password This product has a password function. If this function is turned on, the self-diagnostics tests will not work. You will need ask the user for the password before performing the self-diagnostics. 5.1. Outline of Self Diagnostic Tests Insert the diagnostics floppy disk Return the setup contents to default Choose test from the menu screen to start the test. Caution: After completing repairs, be sure to carry out the Automatic test and Peripheraltest. Starting up the setup utility Turn on the power. When "Panasonic Press F2 to enter setup" appears on the screen, press F2. Press " " to select [ Exit ] Press " " to select [ Get default value ] Press Enter. Choose Yes for "Load default Configuration now?" Select "Save Values & Exit" and press Enter. Choose Yes for "Save Configuration changes and exit now?" and press Enter. Menu Screen 1. DIAG on FD 2. LAN test 3. Modem test 4. Wireless LAN test (Wireless LAN Model only) 5. CD test Q. Quit Tests selected (O) from the test item list will be performed in succession. 1. DIAG on FD The parallel devices can be tested. 2. LAN test 3. Modem test 4. Wireless LAN test (Wireless LAN Model only) 5. CD test Specifc tests required can be freely selected and performed from the test item list. Be sure to carry out the Selection test only when necessary. Problems in the unit are located and divided according to error messages that occur during testing. 5-1
-
 1
1 -
2
-
3
-
4
-
5
-
6
-
7
-
 8
8 -
 9
9 -
 10
10 -
 11
11 -
 12
12 -
 13
13 -
 14
14 -
 15
15 -
 16
16 -
 17
17 -
 18
18 -
19
-
20
-
21
-
22
-
23
-
24
-
25
-
26
-
27
-
28
-
29
-
30
-
31
-
32
-
33
-
34
-
35
-
36
-
37
-
38
-
39
-
40
-
41
-
42
-
43
-
44
-
45
-
46
-
47
-
48
-
49
-
50
-
51
-
52
-
53
-
54
-
55
-
56
-
57
-
58
-
59
-
60
-
61
-
62
-
63
-
64
-
65
-
66
-
67
-
68
-
69
-
70
-
71
-
72
-
73
-
74
-
75
-
76
-
77
-
78
-
79
-
80
-
81
-
82
-
83
-
84
-
85
-
86
-
87
-
88
-
89
-
90
-
91
-
92
-
93
-
94
-
95
-
96
-
97
-
98
-
99
-
100
-
101
-
102
-
103
-
104
 |
 |