Panasonic SAAK220 SAAK220 User Guide - Page 13
TIMERS, Using the sleep timer, Using the play/record timer
 |
View all Panasonic SAAK220 manuals
Add to My Manuals
Save this manual to your list of manuals |
Page 13 highlights
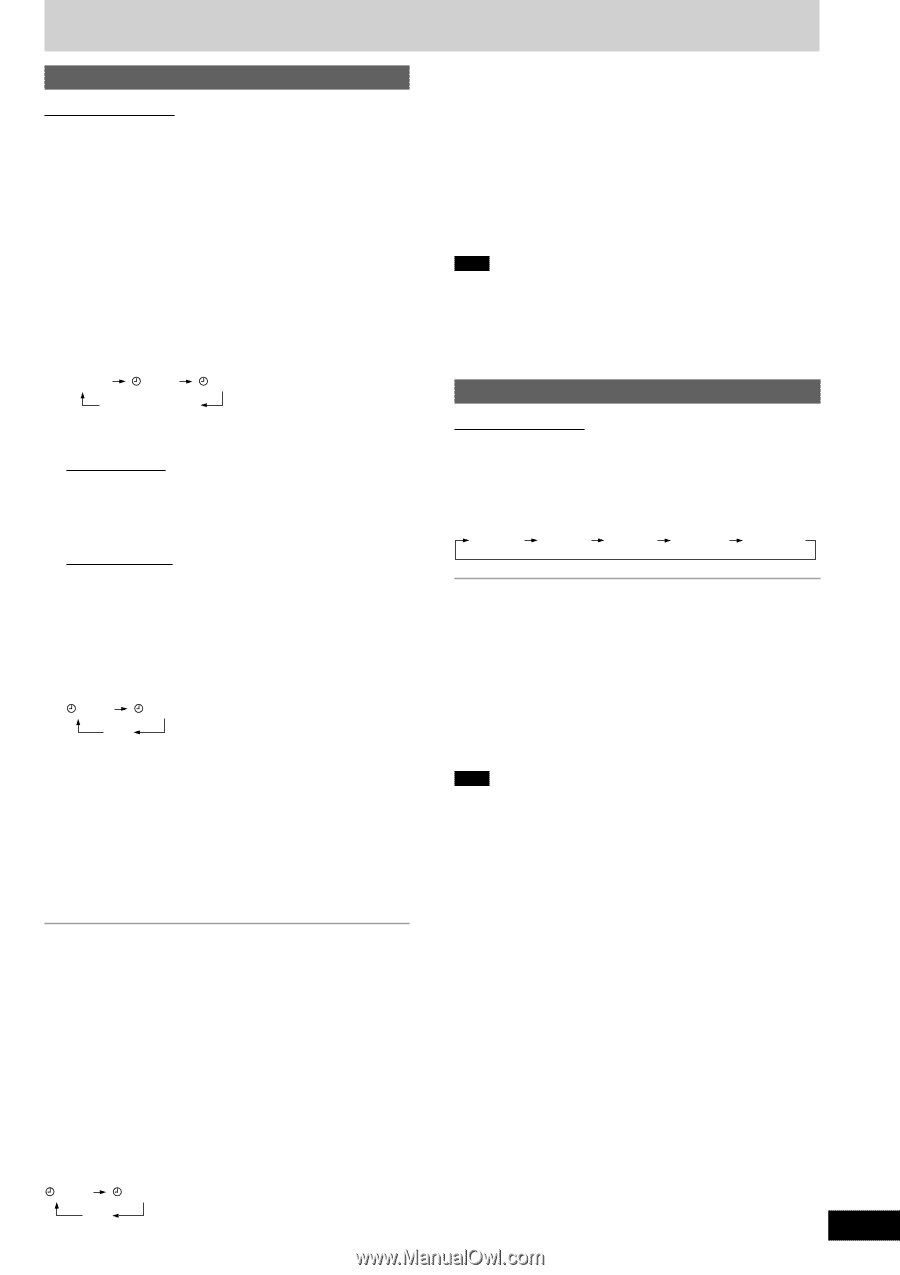
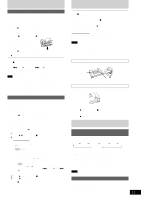
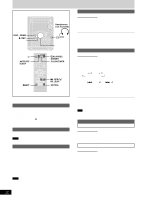
Timers Using the play/record timer Remote control only You can set the timer to come on at a certain time to wake you up (play timer) or to record a radio station or from the aux source (record timer). The play and record timers cannot be used together. Preparations: • Turn the unit on and set the clock (A page 12). • For the play timer, prepare the desired music source (tape/CD/ radio/aux), and set the volume. • For the record timer, check the cassette's erasure prevention tabs (A page 11) and insert the tape in deck 2 (A page 11). Tune to the radio station (A page 10) or select the aux source (A page 12). 1 Press [SHIFT] + [CLOCK/TIMER] to select the timer function. Every time you press the button: CLOCK PLAY REC Previous display rPLAY: to set the play timer rREC: to set the record timer 2 ON time setting 1 (Within 8 seconds or so) Press [g, REW/3] or [f, 4/FF] to set the start time. 2 Press [SHIFT] + [CLOCK/TIMER]. 3 OFF time setting 1 Press [g, REW/3] or [f, 4/FF] to set the finish time. 2 Press [SHIFT] + [CLOCK/TIMER]. The start and finish times are now set. 4 Press [SHIFT] + [rPLAY/REC] to display the timer indicator. Every time you press the button: PLAY REC (off) rPLAY: to turn the play timer on rREC: to turn the record timer on (The indicator doesn't appear if the start and finish times or the clock hasn't been set.) 5 Press [f] to turn the unit off. The unit must be off for the timers to operate. • Play timer: Play will start in the set condition at the set time with volume increasing gradually to the set level. • Record timer: The unit comes on 30 seconds before the set time with the volume muted. To cancel the timer Press [SHIFT] + [rPLAY/REC] to clear the timer indicator from the display. (The timer comes on at the set time everyday if the timer is on.) To change the settings (when the unit is on) To change the play/record times Do steps 1, 2, 3 and 5. To change the source or volume 1. Press [SHIFT] + [rPLAY/REC] to clear the timer indicator from the display. 2. Make changes to the source or volume. 3. Do steps 4 to 5. To change the timer Press [SHIFT] + [rPLAY/REC] to select the desired timer. Every time the button is pressed: PLAY REC (off) To check the settings Press [SHIFT] + [CLOCK/TIMER] while the unit is on to select "rPLAY" or "rREC". The settings are shown in the following order: Play timer: on time→off time→source→volume Record timer: on time→off time→source To check the settings while the unit is off, press [SHIFT] + [CLOCK/ TIMER] twice. If you use the unit after the timers are set After using, check that the correct tape/CD are loaded before turning the unit off. Note • If you turn the unit off and on again while a timer is functioning, the finish time setting will not be activated. • If you selected AUX as the source, when the timer comes on, the unit turns on and engages "AUX" as the source. If you want to playback or record from a connected unit, set that unit's timer to the same time. (See the connected unit's instruction manual.) Using the sleep timer Remote control only This timer turns the unit off after a set time. While enjoying the desired source: Press [SLEEP] to select the time (minutes). Every time you press the button: SLEEP 30 SLEEP 60 SLEEP 90 SLEEP 120 SLEEP OFF To cancel the sleep timer Press [SLEEP] to select "SLEEP OFF". To confirm the remaining time Press [SLEEP] once. The remaining time is shown for about 5 seconds. To change the setting Press [SLEEP] to select the new setting. You can use the sleep timer in combination with the play/record timer. Make sure the unit is off before the play/record timer's start time. Note The sleep timer will be turned off when you start recording from a CD. 13 RQT7528 Reference Timer operations
-
 1
1 -
2
-
3
-
4
-
5
-
6
-
7
-
 8
8 -
 9
9 -
 10
10 -
 11
11 -
 12
12 -
 13
13 -
 14
14 -
 15
15 -
 16
16
 |
 |