Panasonic SC-PM28 SAPM28 User Guide - Page 13
Listening to a CD placed in a specific, CD CHANGE]. - specifications
 |
View all Panasonic SC-PM28 manuals
Add to My Manuals
Save this manual to your list of manuals |
Page 13 highlights
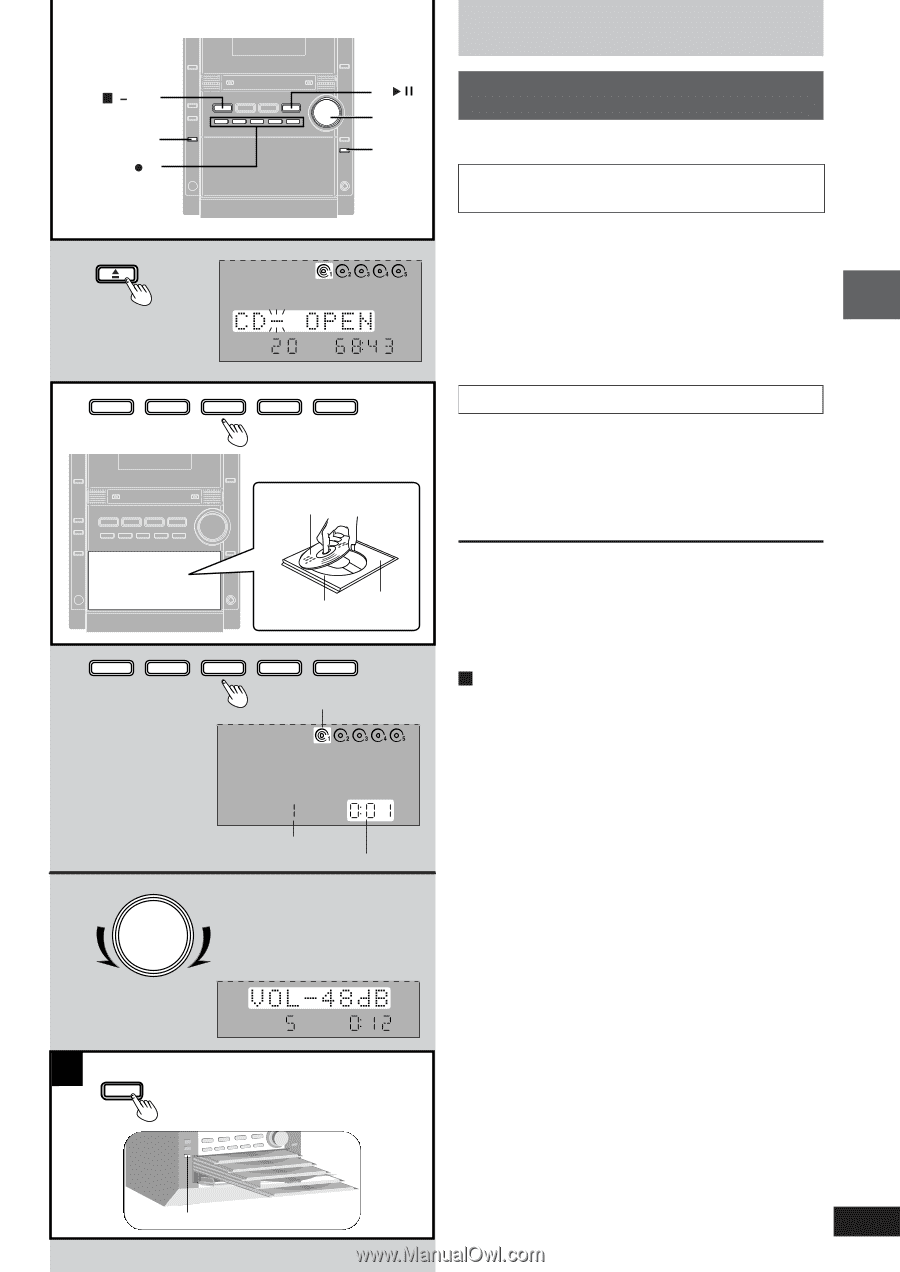
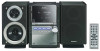
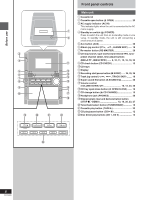
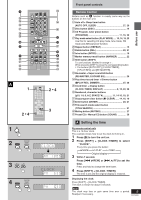
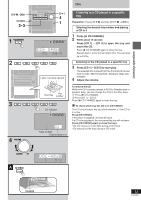
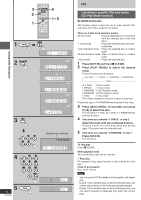
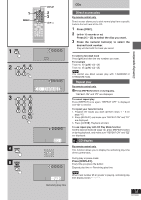
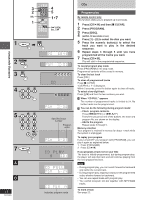
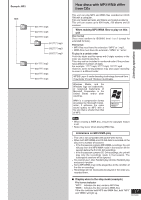
1 Listening operations CDs STOP , DEMO CD CHECK 2 3 1 CD CHANGE 2 CD 1 CD 2 3 CD 1 CD 2 4 VOLUME CD / 4 1 CD 3 CD 4 CD 5 Label must face upward. Disc tray Tray number CD 3 CD 4 CD 5 CD indicator Track number Elapsed play time Listening to a CD placed in a specific tray Preparation: Press [CD 2/J] and then [STOP L, -DEMO]. Selecting the desired tray number and placing a CD in it 1 Press [c CD CHANGE]. 2 Within about 10 seconds Press [CD 1] - [CD 5] to open the tray and insert the CD. Press [c CD CHANGE] again to close the tray. Repeat steps 1 and 2 to insert other CDs. You can load up to 5 CDs. Listening to the CD placed in a specific tray 3 Press [CD 1] - [CD 5] to start play. The selected CD is played from the first track to the last track in order. After the last track, the player stops automatically. 4 Adjust the volume. To remove the CD While one CD is playing (except in All-Disc Random play or program play), you can change the CDs in the other trays. 1 Press [c CD CHANGE]. 2 Press [CD 1] - [CD 5]. Press [c CD CHANGE] again to close the tray. A To check which tray the CD is in (CD CHECK) The CD check feature lets you check whether a 12cm CD is in a tray. Press [CD CHECK]. If the player is stopped, all trays will open. If a CD is being played, the corresponding tray will not open. Press [CD CHECK] again to close the trays. • Do not remove or insert CDs during a CD check. • Do not pull out the trays during a CD check. DOWN UP A CD CHECK CD CHECK 13 RQT6885
-
 1
1 -
2
-
3
-
4
-
5
-
6
-
7
-
 8
8 -
 9
9 -
 10
10 -
 11
11 -
 12
12 -
 13
13 -
 14
14 -
 15
15 -
 16
16 -
 17
17 -
 18
18 -
19
-
20
-
21
-
22
-
23
-
24
-
25
-
26
-
27
-
28
-
29
-
30
-
31
-
32
 |
 |