Panasonic TH-46PZ85 Operating Instructions - Page 11
Watching Videos and DVDs
 |
View all Panasonic TH-46PZ85 manuals
Add to My Manuals
Save this manual to your list of manuals |
Page 11 highlights
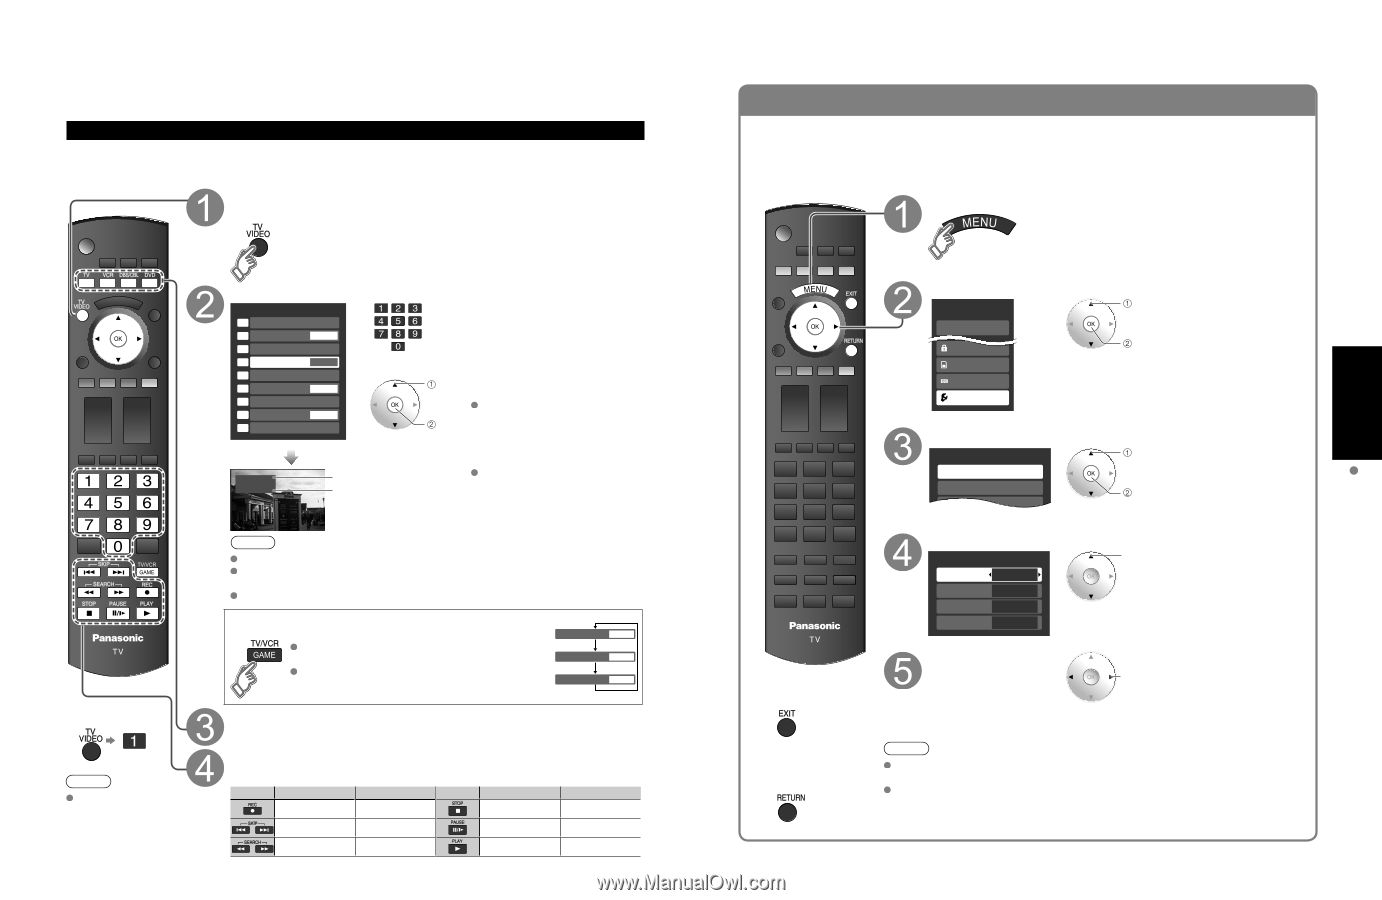
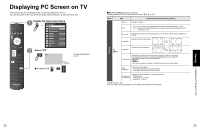
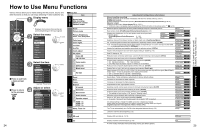
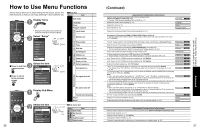
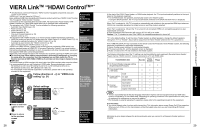
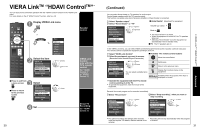
Watching Videos and DVDs If you have applicable equipment connected to the TV, you can easily watch videos and DVDs using the TV's remote control. Input Select You can select the external equipment to access. To operate other manufacturers' equipment, you need to register the code of the equipment. (p. 39) With the connected equipment turned On Display the Input select menu ■To return to TV Note For details, see the manual of the equipment. 20 Select the input mode Input select 1 TV 2 Component 1 AUX 3 Component 2 4 HDMI 1 GAME or 5 HDMI 2 6 HDMI 3 GAME 7 Video 1 8 Video 2 GAME 9 PC (example) Press corresponding NUMBER button on the remote control to select the input of your choice. Select the input of your choice, select then press OK. During the selection, if no action enter is taken for several seconds, the "Input select" menu disappears. HDMI 1 GAME Terminal Label (example) The terminal and label of the connected equipment are displayed. To label each of the inputs, please refer to p. 37. Note The input label will be displayed on "Input select" screen if Input label is set on p. 37. For side input terminals (HDMI 3/Video 2), "GAME" input label is set as default. (Picture mode is set to "Game", refer to p. 48.) For more details for picture mode setting, refer to p.48. For Input label, refer to p. 37. ■ Press Game to switch to the game screen Switches to Input terminal that has "GAME" label. HDMI 1 GAME Cycle through the input terminals if there are multiple Input terminals that have "GAME" label. (p. 37) HDMI 3 GAME If there is no Input terminal with "GAME" label, you cannot switch the input terminal to any other Video 2 GAME input terminal than the one currently selected. Select the remote control mode Press the key to select Operate the connected equipment, pointing TV's remote control at the equipment. (example) VCR MODE DVD MODE VCR MODE DVD MODE VCR Record Record Stop Stop - Skip Reverse/ Forward Rewind/Fast Forward Reverse/Forward (For other operations, see p. 42) Pause Play Pause Play VIERA LinkTM Setting If you connect equipment that has "HDAVI Control" function to a TV with HDMI cable, you can use more convenient functions. Please refer to p. 28-31. Before using these functions, you need to set "VIERA Link" setting to "On" as shown below. Display menu Select "Setup" Menu VIERA Link Lock SD card CC Setup select next Select "VIERA Link setting" Setup 2/2 select VIERA Link setting Advanced setup next About Select "VIERA Link" VIERA Link setting VIERA Link On Power off link Set Power on link Set Default speakers TV select ■Press to exit from a menu screen Select "On" (default is On) change Now you can set each "VIERA Link" function according to your preference (p. 28-31) ■Press to return to the previous screen Note If no HDMI equipment is connected or standard HDMI equipment (non- "VIERA Link") is used, set it to "Off". For the details on the external equipment's connections, please refer to the operating manuals for the equipment. 21 Watching Videos and DVDs Viewing
-
 1
1 -
2
-
3
-
4
-
5
-
 6
6 -
 7
7 -
 8
8 -
 9
9 -
 10
10 -
 11
11 -
 12
12 -
 13
13 -
 14
14 -
 15
15 -
 16
16 -
17
-
18
-
19
-
20
-
21
-
22
-
23
-
24
-
25
-
26
-
27
-
28
-
29
 |
 |