Panasonic WJND300A WJND300A User Guide - Page 42
Perform the Settings for the System [System], Setup items
 |
View all Panasonic WJND300A manuals
Add to My Manuals
Save this manual to your list of manuals |
Page 42 highlights
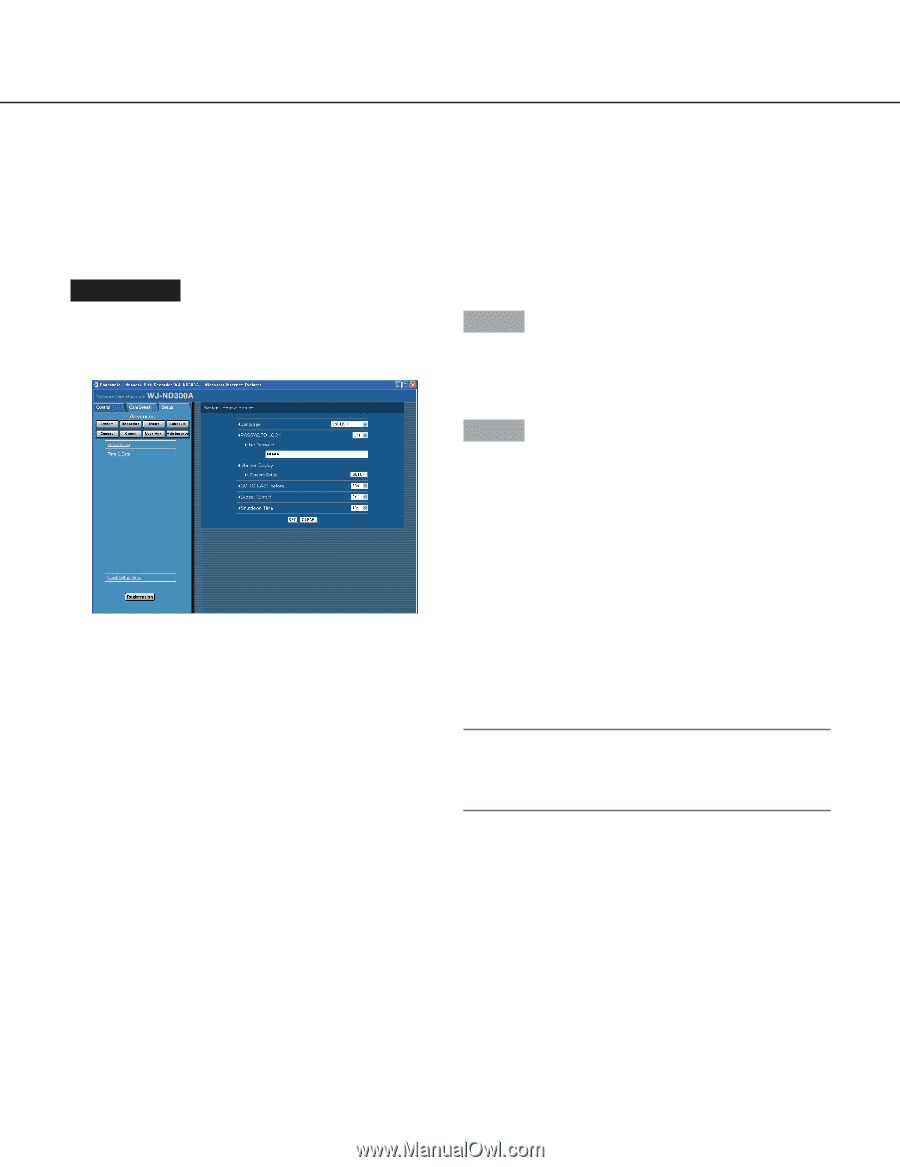
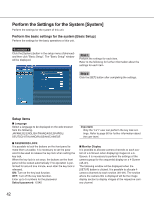
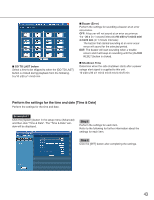
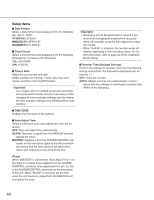
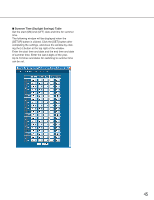
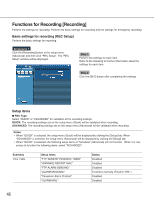
Perform the Settings for the System [System] Perform the settings for the system of this unit. Perform the basic settings for the system [Basic Setup] Perform the settings for the basic operations of this unit. Screenshot 1 Click the [System] button in the setup menu (Advanced) and then click "Basic Setup". The "Basic Setup" window will be displayed. Step 1 Perform the settings for each item. Refer to the following for further information about the settings for each item. Step 2 Click the [SET] button after completing the settings. Setup items I Language Select a language to be displayed on the web browser from the following. JAPANESE/ENGLISH/FRANÇAIS/ESPAÑOL/ DEUTSCH/ITALIANO/RUSSIAN/CHINESE Important: Only the "LV1" user can perform the key lock settings. Refer to page 80 for further information about the user level. I PASSWORD LOCK It is possible to lock the buttons on the front panel to make them unusable. It is necessary to set the password to be used to release the key lock when setting the key lock. When the key lock is set once, the buttons on the front panel will be locked automatically if no operation is performed for around one minute, even after the key lock is released. ON: Turn on the key lock function. OFF: Turn off the key lock function. Enter up to 5 numbers for the password. Default password: 12345 I Monitor Display It is possible to allocate camera channels to each section of a 4-Screen when displaying images on a 4Screen. It is necessary to perform the settings of the camera group for the sequential display on a 4-Screen (4A-4H). The following window will be displayed when the [SETUP] button is clicked. It is possible to allocate 4 camera channels to each section (4A-4H). The section where the camera title is displayed will be the image display section to display images of the respective camera channel. 42
-
 1
1 -
2
-
3
-
4
-
5
-
6
-
7
-
8
-
9
-
10
-
11
-
12
-
13
-
14
-
15
-
16
-
17
-
18
-
19
-
20
-
21
-
22
-
23
-
24
-
25
-
26
-
27
-
28
-
29
-
30
-
31
-
32
-
33
-
34
-
35
-
36
-
 37
37 -
 38
38 -
 39
39 -
 40
40 -
 41
41 -
 42
42 -
 43
43 -
 44
44 -
 45
45 -
 46
46 -
 47
47 -
48
-
49
-
50
-
51
-
52
-
53
-
54
-
55
-
56
-
57
-
58
-
59
-
60
-
61
-
62
-
63
-
64
-
65
-
66
-
67
-
68
-
69
-
70
-
71
-
72
-
73
-
74
-
75
-
76
-
77
-
78
-
79
-
80
-
81
-
82
-
83
-
84
-
85
-
86
-
87
-
88
-
89
-
90
-
91
-
92
-
93
-
94
-
95
-
96
-
97
-
98
-
99
-
100
-
101
-
102
 |
 |