Panasonic WJND300A WJND300A User Guide - Page 77
Setup items, Registration of a user who operates this unit [User Regist.], USER ID, Password, Notes
 |
View all Panasonic WJND300A manuals
Add to My Manuals
Save this manual to your list of manuals |
Page 77 highlights
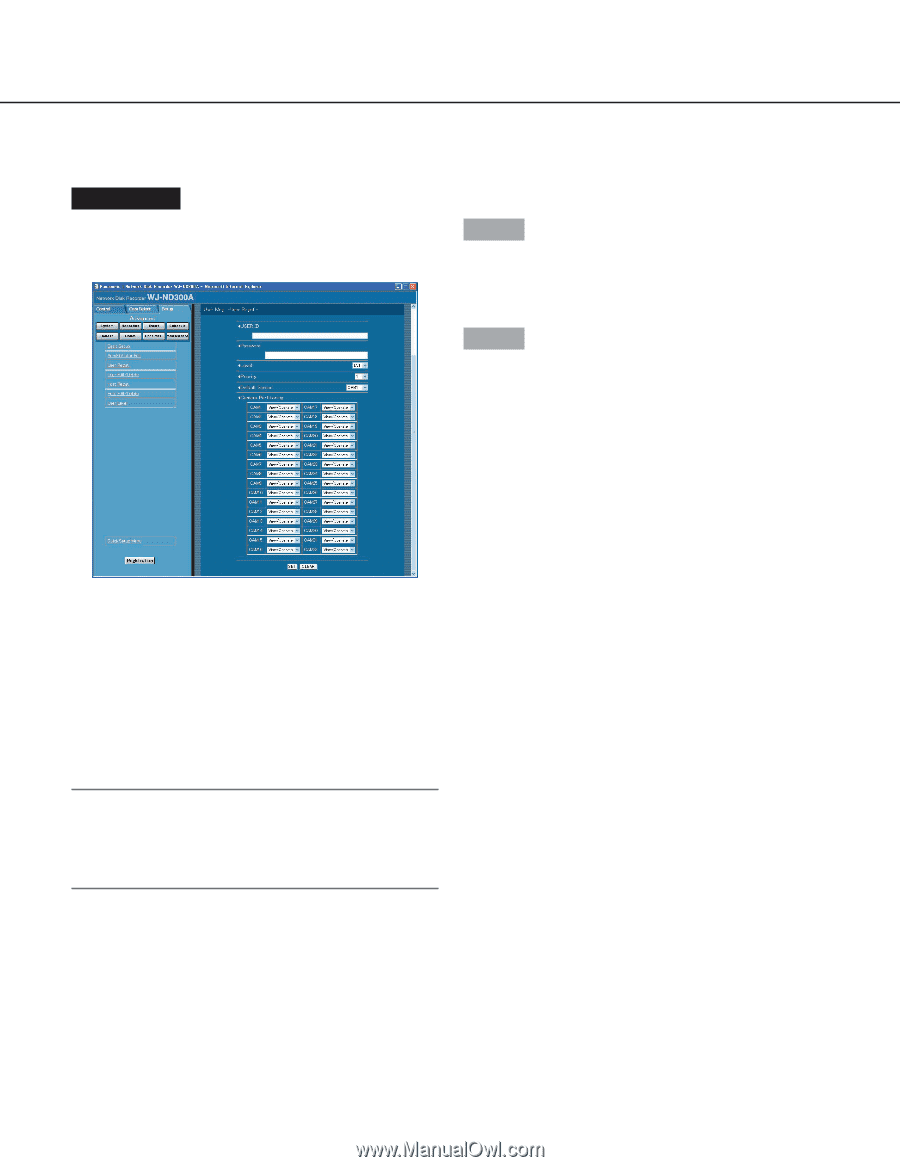
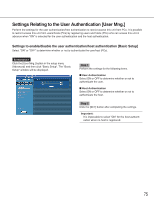
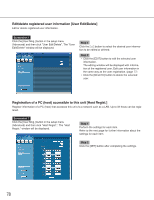
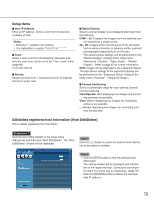
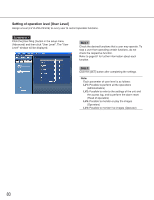
Registration of a user who operates this unit [User Regist.] Register user information such as a user ID and password. Screenshot 1 Click the [User Mng.] button in the setup menu (Advanced) and then click "User Regist.". The "User Regist." window will be displayed. Step 1 Perform the settings for each item. Refer to the following for further information about the settings for each item. Step 2 Click the [SET] button after completing the settings. Setup items I USER ID Enter a user ID. Enter 4 to 14 alphanumeric characters for a user ID. I Password Enter a password. Enter 4 to 8 alphanumeric characters for a password. Notes: • Set a unique password, not something that would be easily guessed by a third person. The password also should be memorable. • Up to 32 users can be registered. I Level Select a user level from the following. Operable functions for each level can be set in the "User Level" menu (page 80). LV1/LV2/LV3/LV4 I Priority Perform the settings to assign priorities (1: highest, 16: lowest) to operate this unit in case two or more users access this unit simultaneously. I Default Screen Select a startup display to be displayed after login from the following. CAM1 - 32: Displays live images from the selected cam- era channel on a single screen. 4A - 4H: Images of the camera group (A-H) consisted from 4 camera channels in advance will be switched and displayed sequentially on a 4-Screen. The camera group settings can be performed on the "Monitor Display" settings of the setup menu (Advanced) ("System" - "Basic Setup" - "Monitor Display"). Refer to page 42 for further information. SEQ: Images will be displayed in the sequential display. The operational settings of the sequential display can be performed on the "Sequence Setup" setting of the setup menu ("Camera" - "Sequence Setup"). I Camera Partitioning Select a controllable range for each camera channel from the following. View/Operate: Both displaying live images and control- ling cameras are possible. View: Neither displaying live images nor controlling cameras are possible. - -: Neither displaying live images nor controlling cam- eras are possible. 77
-
 1
1 -
2
-
3
-
4
-
5
-
6
-
7
-
8
-
9
-
10
-
11
-
12
-
13
-
14
-
15
-
16
-
17
-
18
-
19
-
20
-
21
-
22
-
23
-
24
-
25
-
26
-
27
-
28
-
29
-
30
-
31
-
32
-
33
-
34
-
35
-
36
-
37
-
38
-
39
-
40
-
41
-
42
-
43
-
44
-
45
-
46
-
47
-
48
-
49
-
50
-
51
-
52
-
53
-
54
-
55
-
56
-
57
-
58
-
59
-
60
-
61
-
62
-
63
-
64
-
65
-
66
-
67
-
68
-
69
-
70
-
71
-
 72
72 -
 73
73 -
 74
74 -
 75
75 -
 76
76 -
 77
77 -
 78
78 -
 79
79 -
 80
80 -
 81
81 -
 82
82 -
83
-
84
-
85
-
86
-
87
-
88
-
89
-
90
-
91
-
92
-
93
-
94
-
95
-
96
-
97
-
98
-
99
-
100
-
101
-
102
 |
 |