Pentax IQZoom60S IQZoom 60S Manual - Page 21
repeatedly
 |
UPC - 027075052116
View all Pentax IQZoom60S manuals
Add to My Manuals
Save this manual to your list of manuals |
Page 21 highlights
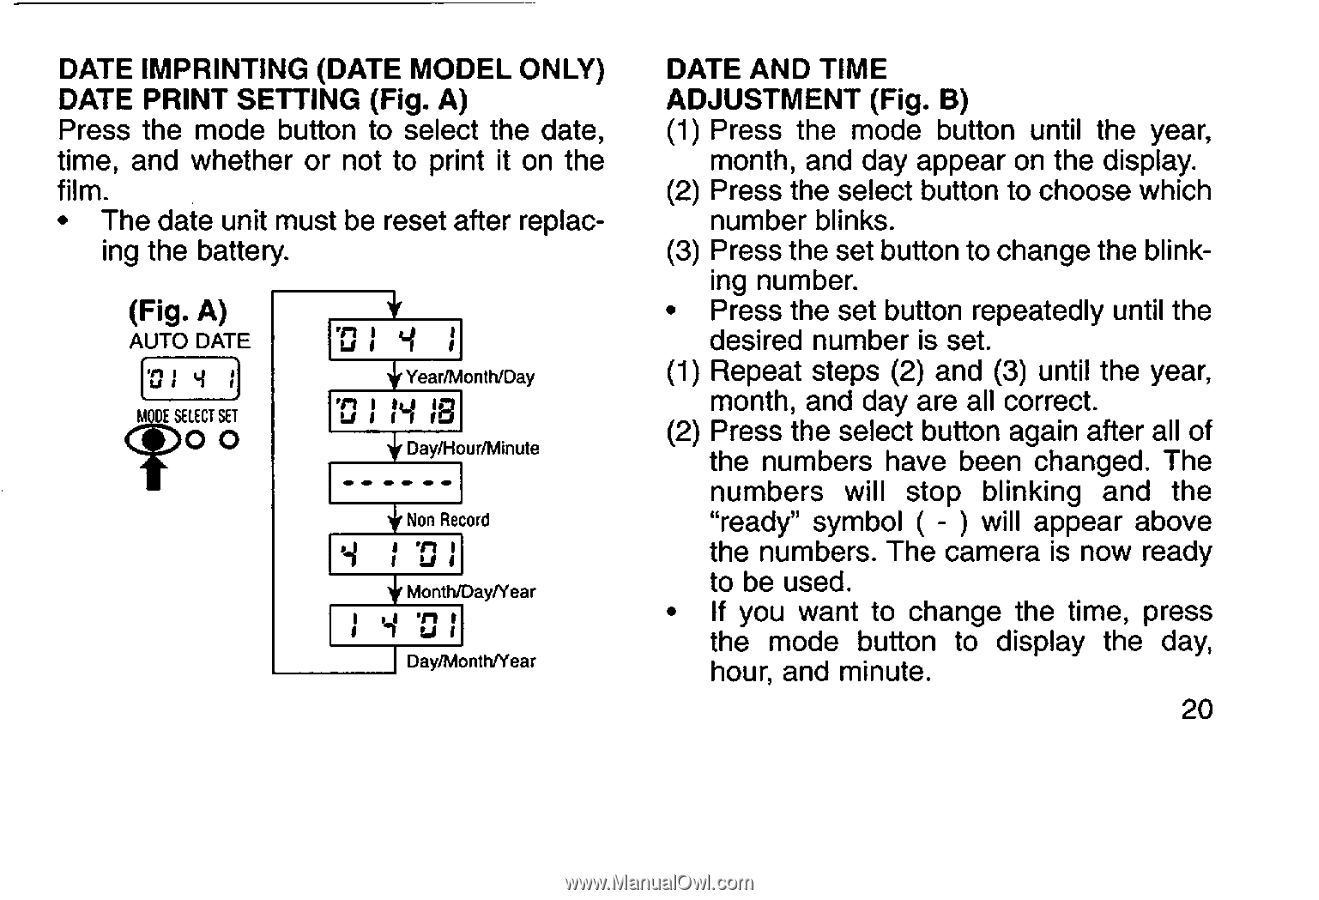
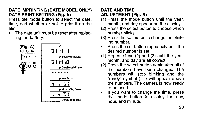
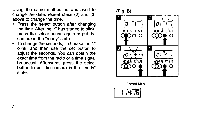
DATE IMPRINTING (DATE MODEL ONLY) DATE PRINT SETTING (Fig. A) Press the mode button to select the date, time, and whether or not to print it on the film. • The date unit must be reset after replac- ing the battery. (Fig. A) AUTO DATE N DE SELECT SET OO '0 i `4 ; +Year/Month/Day '0 1 1B +Day/Hour/Minute +Non Record I 71 I LI +Month/Day/Year ; '0 1 I Day/MonthNear DATE AND TIME ADJUSTMENT (Fig. B) (1) Press the mode button until the year, month, and day appear on the display. (2) Press the select button to choose which number blinks. (3) Press the set button to change the blink- ing number. • Press the set button repeatedly until the desired number is set. (1) Repeat steps (2) and (3) until the year, month, and day are all correct. (2) Press the select button again after all of the numbers have been changed. The numbers will stop blinking and the "ready" symbol ( - ) will appear above the numbers. The camera is now ready to be used. • If you want to change the time, press the mode button to display the day, hour, and minute. 20
-
 1
1 -
2
-
3
-
4
-
5
-
6
-
7
-
8
-
9
-
10
-
11
-
12
-
13
-
14
-
15
-
 16
16 -
 17
17 -
 18
18 -
 19
19 -
 20
20 -
 21
21 -
 22
22 -
 23
23 -
 24
24 -
 25
25 -
 26
26 -
27
-
28
 |
 |