Pfaff powerquilter p3 PowerQuiltertm p3 Pillow Project - Page 7
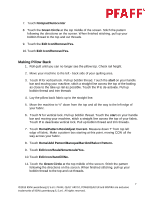
Making Pillow Back
 |
View all Pfaff powerquilter p3 manuals
Add to My Manuals
Save this manual to your list of manuals |
Page 7 highlights
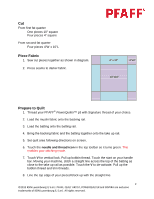
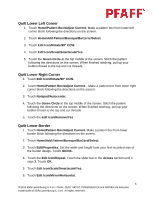
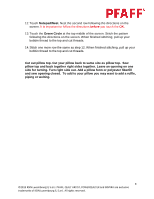
7. Touch Notepad/Autocenter 8. Touch the Green Circle at the top middle of the screen. Stitch the pattern following the directions on the screen. When finished stitching, pull up your bobbin thread to the top and cut threads. 9. Touch the Edit Icon/Remove/Yes. 10. Touch Edit Icon/Remove/Yes. Making Pillow Back 1. Roll quilt until you can no longer see the pillow top. Check rail height. 2. Move your machine to the left - back side of your quilting area. 3. Touch V for vertical lock. Pull up bobbin thread. Touch the start on your handle bar and moving your machine, stitch a straight line across the top of the batting as close to the take up rail as possible. Touch the V to de-activate. Pull up bobbin thread and trim threads 4. Lay the pillow back fabric up to the straight line. 5. Move the machine to ½" down from the top and all the way to the left edge of your fabric. 6. Touch V for vertical lock. Pull up bobbin thread. Touch the start on your handle bar and moving your machine, stitch a straight line across the top of your fabric. Touch V to deactivate vertical lock. Pull up bobbin thread and trim threads. 7. Touch Home/Pattern Box/Adjust Current. Measure down 7" from top left edge of fabric. Make a pattern box starting at this point, moving CCW all the way across your fabric. 8. Touch Home/Add Pattern/Baroque/Bar1brd/Select Pattern. 9. Touch Edit Icon/Scale/Smartscale/Yes. 10. Touch Edit Icon/Autofill/No. 11. Touch the Green Circle at the top middle of the screen. Stitch the pattern following the directions on the screen. When finished stitching, pull up your bobbin thread to the top and cut threads. 7 ©2013 KSIN Luxembourg ll, S.ar.l. PFAFF, QUILT ARTIST, POWERQUILTER and INSPIRA are exclusive trademarks of KSIN Luxembourg ll, S.ar.l. All rights reserved.
-
 1
1 -
 2
2 -
 3
3 -
 4
4 -
 5
5 -
 6
6 -
 7
7 -
 8
8
 |
 |
