Philips LC5131 User Guide - Page 14
Component Video Signal Ycbcr
 |
UPC - 037849905722
View all Philips LC5131 manuals
Add to My Manuals
Save this manual to your list of manuals |
Page 14 highlights
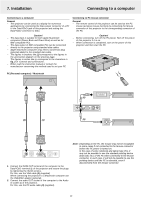
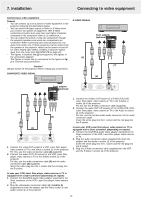
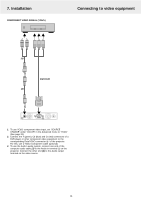
7. Installation COMPONENT VIDEO SIGNAL (YCbCr) Connecting to video equipment (4) (optional) (3) # Audio in Mouse % Data / YCbCr S-Video in Video in 1. To use YCbCr component video input, set 'SOURCE CHANGE' under 'COLOR' in the Advanced menu to 'YCbCr' (See page 20). 2. Connect the Y (green), Cb (blue) and Cr (red) connectors of a DVD player or other component video equipment to the corresponding Data/YCbCr connector % of the projector. For this, use a YCbCr Component cable (optional). 3. To use the built-in audio system, connect one end of the computer audio cable (3) to the Audio in terminal # on the projector. Connect the other end (4) to the Audio output terminal on the video source. 14
-
 1
1 -
2
-
3
-
4
-
5
-
6
-
7
-
8
-
 9
9 -
 10
10 -
 11
11 -
 12
12 -
 13
13 -
 14
14 -
 15
15 -
 16
16 -
 17
17 -
 18
18 -
 19
19 -
20
-
21
-
22
-
23
-
24
 |
 |
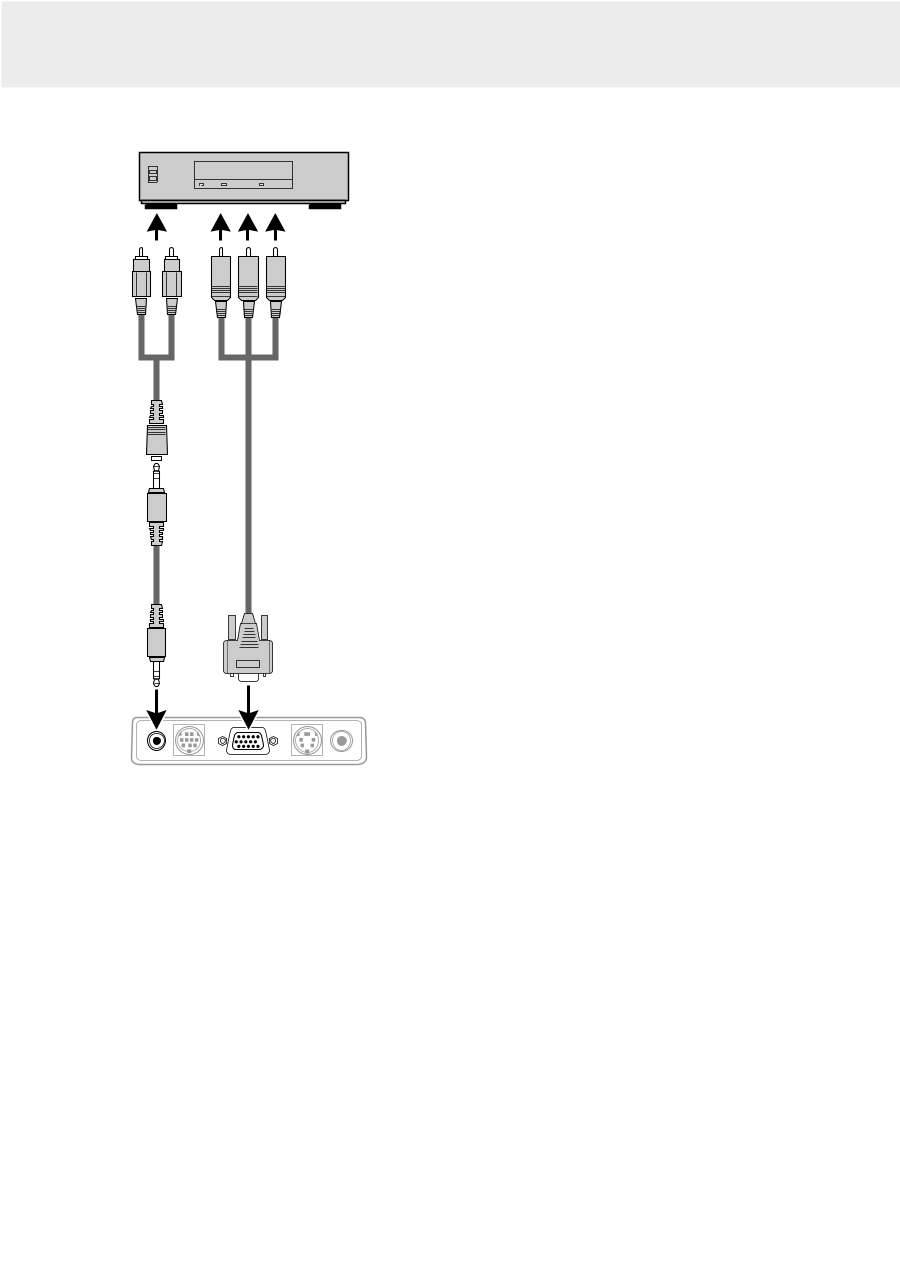
COMPONENT VIDEO SIGNAL (YCbCr)
1.
To use YCbCr component video input, set
‘
SOURCE
CHANGE
’
under
‘
COLOR
’
in the Advanced menu to
‘
YCbCr
’
(See page 20).
2.
Connect the Y (green), Cb (blue) and Cr (red) connectors of a
DVD player or other component video equipment to the
corresponding Data/YCbCr connector
%
of the projector.
For this, use a YCbCr Component cable
(optional).
3.
To use the built-in audio system, connect one end of the
computer audio cable
(3)
to the Audio in terminal
#
on the
projector. Connect the other end
(4)
to the Audio output
terminal on the video source.
Audio in
Mouse
Data
/
YCbCr
Video in
S-Video in
7. Installation
14
Connecting to video equipment
(3)
(4)
#
%
(optional)