Pioneer DJM-T1 Owner's Manual - Page 11
Click the [Mixer Audio Output] pull-down menu. - traktor mixer
 |
View all Pioneer DJM-T1 manuals
Add to My Manuals
Save this manual to your list of manuals |
Page 11 highlights
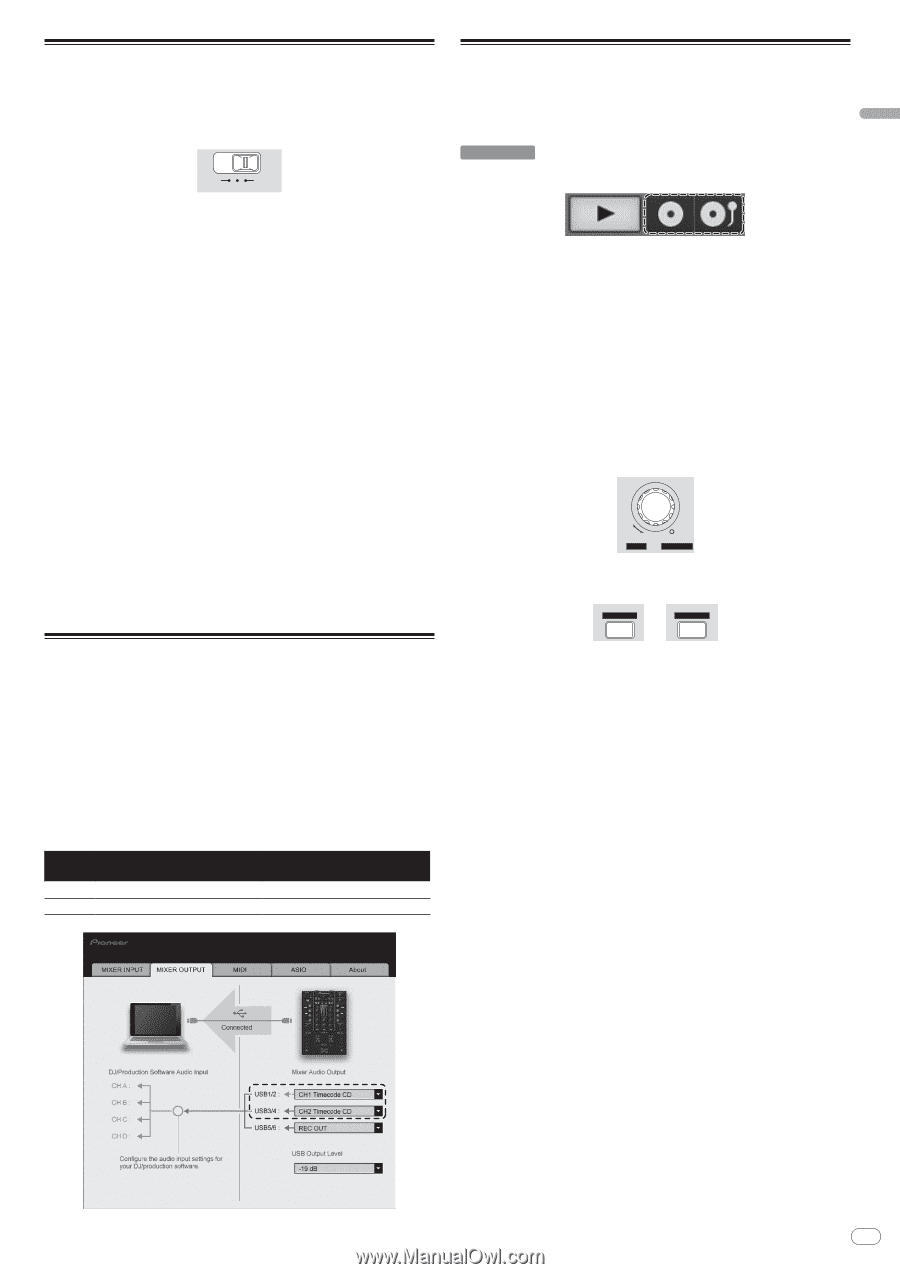
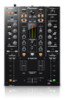
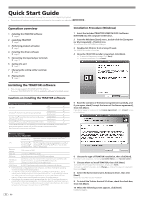
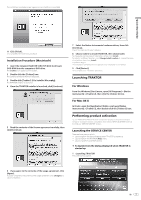
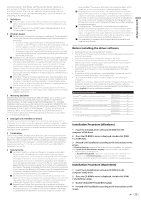
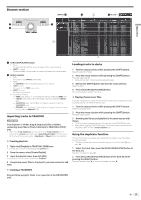
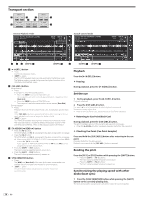
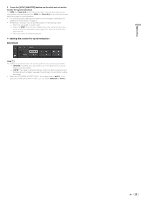
Quick Start Guide Setting this unit Be sure to install this unit's exclusive driver software before connecting this unit and the a computer by USB cable. 1 Switch the [CD, PHONO, USB] input selector switch. Set it to [USB]. CD USB PHONO 2 Connect this unit to your computer via a USB cable. This unit functions as an audio device conforming to the ASIO standards. ! This operation does not work with computers that do not support USB 2.0. ! When using applications supporting ASIO, [USB 1/2], [USB 3/4] and [USB 5/6] can be used as inputs. ! The computer's recommended operating environment depends on the DJ appli- cation. Be sure to check the recommended operating environment for the DJ application you are using. ! When another USB audio device is connected to the computer at the same time, it may not operate or be recognized normally. We recommend only connecting the computer and this unit. ! When connecting the computer and this unit, we recommend connecting directly to this unit's USB port. 3 Press [POWER] button. Turn on the power of this unit. ! The message [Installing device driver software] may appear when this unit is first connected to the computer or when it is connected to a different USB port on the computer. Wait a while until the message [Your devices are ready for use] appears. ! When installing on Windows XP - [Can Windows connect to Windows Update to search for software?] may appear while the installation is in progress. Select [No, not this time], then click [Next] to continue installation. - [What do you want the wizard to do?] may appear while the installation is in progress. Select [Install the software automatically (Recommended)], then click [Next] to continue installation. - If [Windows Security] appears on the screen while the installation is in progress, click [Install this driver software anyway] and continue with the installation. Changing the setting utility's settings 1 Displaying the setting utility ! For Windows Click [Start] menu > [All Programs] > [Pioneer] > [DJM-T1] > [DJM-T1 Setting Utility]. ! For Mac OS X Click [Macintosh HD] icon > [Application] > [Pioneer] > [DJM-T1] > [DJM-T1 Setting Utility]. 2 Click the [MIXER OUTPUT] tab. 3 Click the [Mixer Audio Output] pull-down menu. Set as shown below, according to the devices connected to this unit. USB 1/2 USB 3/4 When using a DJ player (CONTROL CD) CH1 Timecode CD CH2 Timecode CD When using an analog player (CONTROL VINYL) CH1 Timecode PHONO CH2 Timecode PHONO Playing tracks 1 Set the CONTROL CD in the DJ player. ! To use an analog player, set the CONTROL VINYL. 2 Set TRAKTOR to the [Scratch Control] mode. TRAKTOR Check that the right section of the [d] button in TRAKTOR is displayed as shown below. ! If [CUE] and [CUP] are displayed, operate the computer to switch TRAKTOR to the [Scratch Control] mode. 3 Press the [f (REL.)] or [CUE (ABS.)] button while pressing the [SHIFT] button. Select the Relative or Absolute mode. - Press the [f (REL.)] button while pressing the [SHIFT] button: Switches to the Relative mode. The Relative mode is a mode that ignores the playback position of the CONTROL CD/CONTROL VINYL. - Press the [CUE (ABS.)] button while pressing the [SHIFT] button: Switches to the Absolute mode. The Absolute mode is a mode that reflects the playback position of the CONTROL CD/CONTROL VINYL on the playback position of the track. 4 Turn the rotary selector. Select the track. BROWSE TREE PUSH VIEW FLD OPEN 5 Press the [LOAD (DUPLICATE)] button. The selected track is loaded in the deck. LOAD DUPLICATE A LOAD DUPLICATE B ! For detailed instructions on selecting tracks and loading tracks in decks, see Browse section on page 13. 6 Play the CONTROL CD. Playback of the track loaded in the TRAKTOR deck begins. ! To use an analog player, play the CONTROL VINYL. En 11
-
 1
1 -
2
-
3
-
4
-
5
-
 6
6 -
 7
7 -
 8
8 -
 9
9 -
 10
10 -
 11
11 -
 12
12 -
 13
13 -
 14
14 -
 15
15 -
 16
16 -
17
-
18
-
19
-
20
-
21
-
22
-
23
-
24
-
25
-
26
-
27
-
28
-
29
-
30
-
31
-
32
 |
 |