Pioneer VSX-24TX Owner's Manual - Page 60
Using Other Functions
 |
View all Pioneer VSX-24TX manuals
Add to My Manuals
Save this manual to your list of manuals |
Page 60 highlights
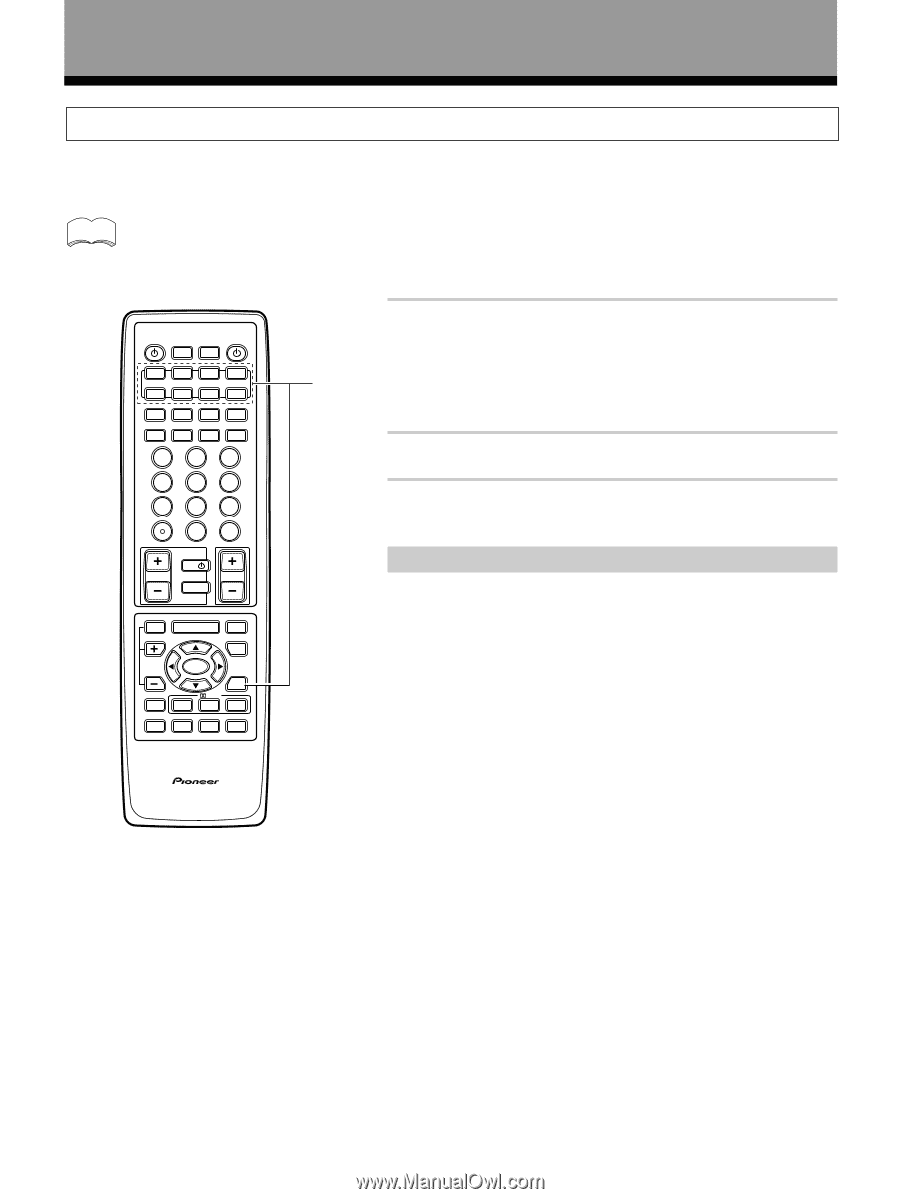
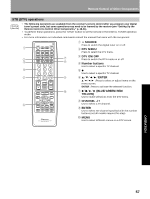
Using Other Functions Recording from Audio Components The following explanations show you how to record an analog audio signal with the component you connected to the MD/TAPE 1 or TAPE 2 MONITOR jacks. Note that you cannot record an component that is only connected digitally. If you want to record from a digital component it must be connected in an analog manner as well. If you want to record a digital signal see the next page. memo The receiver's volume, channel level, tone (BASS, TREBLE, and LOUDNESS), and surround effects have no effect on the recorded signal and the EXTERNAL 5.1 CH input cannot be recorded. S0URCE MULTI OPERATION Î SYSTEM OFF RECEIVER DVD/LD CD TV/SAT VCR1 MULTI CONTROL MD/ TAPE1 TUNER VCR2 TVCONT CLASS ¶ MPX 7 - + TUNING 1¡ DTV ON/OFF DTV MENU BAND DIRECT ACCESS 38 - + STATION 4¢ - + CHANNEL 1 2 3 4 5 6 7 GUIDE +10 8 9 EXIT 0 ENTER DISC TV TV VOL TV CONTROL TV FUNC VOLUME EFFECT /CH SEL MENU MUTE FUNCTION SYSTEM SETUP ENTER THX /dts ADVANCED SIGNAL SELECT STANDARD REMOTE SETUP MIDNIGHT DSP STEREO DIGITAL NR DIGITAL MULTI PROCESSING AMPLIFIER REMOTE CONTROL 1 Select the source component and put the receiver in that function. Remember, SIGNAL SELECT must be set to analog. 1 Press the SIGNAL SELECT button on the remote control (or use the button on the front panel) and choose ANALOG. Recording DIGITAL or AC-3 RF (VSX-27TX only) signals is not possible. 2 Start recording with a TAPE or MD (etc.). 3 Playback the source to be recorded. Record monitor (TAPE 2 MONITOR) If you connect a cassette deck (etc.) with a record monitor function to the TAPE 2 MONITOR jacks, you can listen to the sound of the recording as it is recorded. Press TAPE 2 MONITOR to switch between the sound of the recording (TAPE 2 indicator on) and the sound of the source component (TAPE 2 indicator off). 60
-
 1
1 -
2
-
3
-
4
-
5
-
6
-
7
-
8
-
9
-
10
-
11
-
12
-
13
-
14
-
15
-
16
-
17
-
18
-
19
-
20
-
21
-
22
-
23
-
24
-
25
-
26
-
27
-
28
-
29
-
30
-
31
-
32
-
33
-
34
-
35
-
36
-
37
-
38
-
39
-
40
-
41
-
42
-
43
-
44
-
45
-
46
-
47
-
48
-
49
-
50
-
51
-
52
-
53
-
54
-
 55
55 -
 56
56 -
 57
57 -
 58
58 -
 59
59 -
 60
60 -
 61
61 -
 62
62 -
 63
63 -
 64
64 -
 65
65 -
66
-
67
-
68
-
69
-
70
-
71
-
72
-
73
-
74
-
75
-
76
-
77
-
78
-
79
-
80
 |
 |