Poulan PRLM21i Owner Manual - Page 11
Error codes
 |
View all Poulan PRLM21i manuals
Add to My Manuals
Save this manual to your list of manuals |
Page 11 highlights
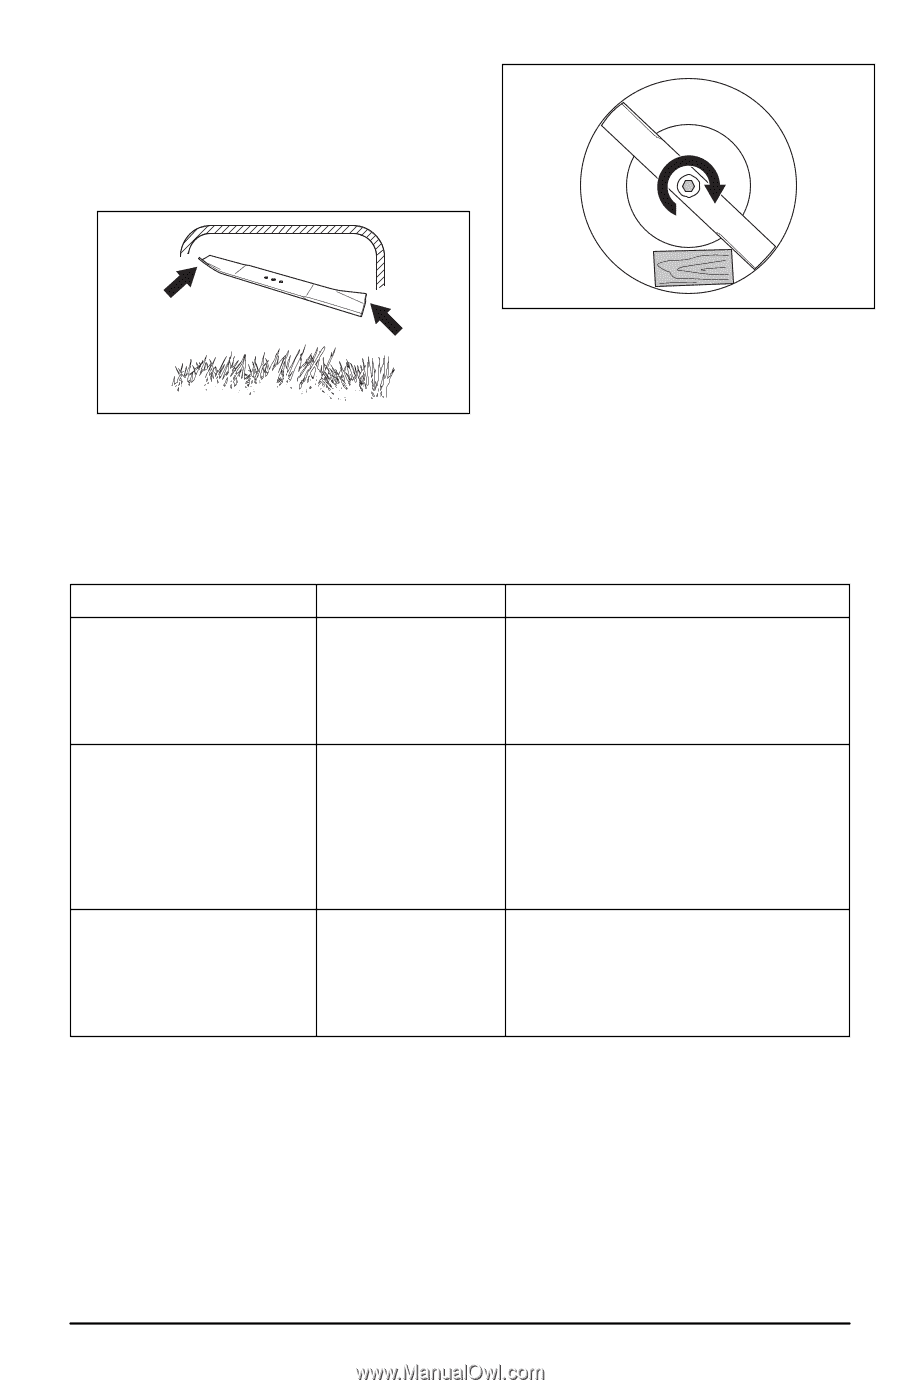
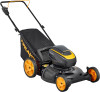
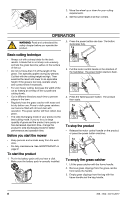
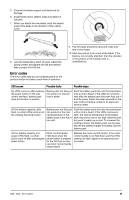
5. Examine the blade support and blade bolt for damage. 6. Examine the motor shaft to make sure that it is not bent. 7. When you attach the new blade, point the angled ends of the blade in the direction of the cutting cover. 8. Lock the blade with a block of wood. Attach the spring washer and tighten the bolt and washer with a torque of 41-60 Nm. Error codes The error codes help you do troubleshooting on the product and/or the battery pack while in operation. 9. Pull the blade around by hand and make sure that it turns freely. 10. Start the product to do a test of the blade. If the blade is not correctly attached, then the vibration in the product or the cutting result is unsatisfactory. LED screen Possible faults Possible steps No LEDs come on after pressing the power button on the user control interface, battery pack does not function in product Battery pack not fully put into product or internal fuse is blown Push the battery pack fully into the powerhead until a click is heard. If the LEDs do not illuminate after the battery pack has been fully put in and the power button has been pressed on the user control interface, speak to an approved service center. All four battery capacity LEDs flash, no other LEDs come on after pressing the power button Battery pack not fully put into product or the internal temperature of the battery pack is too hot or too cold. Push the battery pack fully into the powerhead until a click is heard. If the LEDs continue to flash, the internal temperature of the battery pack may be too low or too high. Allow the battery pack to warm up or cool. To increase the cooling process, the battery pack can be inserted into the battery charger to actively cool the battery pack. All four battery capacity and power LEDs flash, no other LEDs come on after pressing the power button Motor control handle held down when the power button is pressed for the first time or internal motor control handle switch failure Release the motor control handle. If the motor control handle is not held down and the LEDs continue to flash, speak to an approved service center. 355 - 002 - 03.10.2017 11
-
 1
1 -
2
-
3
-
4
-
5
-
 6
6 -
 7
7 -
 8
8 -
 9
9 -
 10
10 -
 11
11 -
 12
12 -
 13
13 -
 14
14 -
 15
15 -
 16
16
 |
 |