ProForm Slide Touch 6.0 Instruction Manual
ProForm Slide Touch 6.0 Manual
 |
View all ProForm Slide Touch 6.0 manuals
Add to My Manuals
Save this manual to your list of manuals |
ProForm Slide Touch 6.0 manual content summary:
- ProForm Slide Touch 6.0 | Instruction Manual - Page 1
E-mail: [email protected] Write: ICON Health & Fitness, Ltd. c/o HI Group PLC Express Way Whitwood, West Yorkshire WF10 5QJ UK CAUTION Read all precautions and instructions in this manual before using this equipment. Keep this manual for future reference. Visit our website www.iconsupport.eu - ProForm Slide Touch 6.0 | Instruction Manual - Page 2
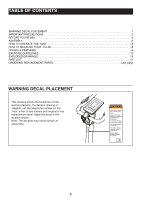
This drawing shows the location(s) of the warning decal(s). If a decal is missing or illegible, call the telephone number on the front cover of this manual and request a free replacement decal. Apply the decal in the location shown. Note: The decal(s) may not be shown at actual size. ENGLISH 115 - ProForm Slide Touch 6.0 | Instruction Manual - Page 3
risk of serious injury, read all important precautions and instructions in this manual and all warnings on your bike before using it. persons over age 35 or persons with pre-existing health problems. 2. Use this bike only as described in this manual. 3. It is the responsibility of the owner to - ProForm Slide Touch 6.0 | Instruction Manual - Page 4
you for purchasing the ProForm® Slide Touch 6.0. The bike provides an array of features designed to make your workouts at home more effective and enjoyable. For your benefit, read this manual carefully before you use the bike. If you have questions after reading this manual, please see the front - ProForm Slide Touch 6.0 | Instruction Manual - Page 5
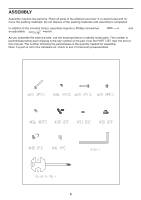
small parts. The number in parentheses below each drawing is the key number of the part, from the PART LIST near the end of this manual. The number following the parentheses is the quantity needed for assembly. Note: If a part is not in the hardware kit, check to see if it - ProForm Slide Touch 6.0 | Instruction Manual - Page 6
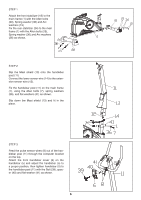
STEP 1 Attach the front stabilizer (18) to the main frame (1) with the Allen bolts (20), Spring washer (36) and Arc washers (19) Fix the rear stabilizer (24) to the main frame (1) with the Allen bolts (25), Spring washer (36) and Arc washers (26) as shown. STEP 2 Slip the Mast shield (13) onto the - ProForm Slide Touch 6.0 | Instruction Manual - Page 7
STEP 4 Attach the pedals (21L/R) to the cranks (22L/R) respectively, viewed from the rider's exercising position. Always make sure the pedals are securely tightened before any exercise. Note: Both pedals are labeled L FOR LEFT and R FOR RIGHT. To tighten the Left pedal in COUNTERCLOCKWISE direction - ProForm Slide Touch 6.0 | Instruction Manual - Page 8
the pedal straps onto the Strap tabs. seat, first loosen the seat post knob. Next, pull the HOW TO PLUG IN THE POWER ADAPTER knob, slide the seat post upward or downward to the desired position, and then release the knob. Move the seat post upward or downward slightly to make - ProForm Slide Touch 6.0 | Instruction Manual - Page 9
the console, press any button on the console or simply begin pedaling. 2. Press the touch screen buttons : ENTER : Pressing ENTER, in order to validate the data. How to exit the test and return to the stop status. HOW TO USE THE MANUAL MODE 1. Turn on the console. To turn on the console,press any - ProForm Slide Touch 6.0 | Instruction Manual - Page 10
for use. 2. Select a program When you turn on the console, the word MANUAL will flash on the display. Press Up or DOWN in order to select the program use. 2. Select a Watt program When you turn on the console, the word MANUAL will flash on the display. Press Up or DOWN in order to select the program - ProForm Slide Touch 6.0 | Instruction Manual - Page 11
entire display will light for a moment; the console will then be ready for use. 2. Select a Custom program When you turn on the console, the word MANUAL will flash on the display. Press Up or DOWN in order to select the custom program you want. Press ENTER to validate. 3. Enter your data - ProForm Slide Touch 6.0 | Instruction Manual - Page 12
for persons over the age of 35 or persons with pre-existing health problems. The pulse sensor is not a medical device. Various factors may affect the the key to achieving results. You can use your heart rate as a guide to find the proper intensity level. The chart below shows recommended heart rates - ProForm Slide Touch 6.0 | Instruction Manual - Page 13
EXPLODED DRAWING-Model No. PFIVEX87212.0 part 1 13 - ProForm Slide Touch 6.0 | Instruction Manual - Page 14
EXPLODED DRAWING-Model No. PFIVEX87212.0 part 2 76 14 - ProForm Slide Touch 6.0 | Instruction Manual - Page 15
PART LIST-Model No. PFIVEX87212.0 Item Description Qty. Item Description Qty. 1 Main frame 1 39 Bolt M8X65 1 2 Round end cap 2 40 Spacer 1 3 Handlebar foam grip 2 41 Flat washer D8 6 4 Meter 1 42 Hex nut M10×1 2 5 Handlebar 1 43 Bolt M6X60 1 6 Front handlebar cover 1 44 - ProForm Slide Touch 6.0 | Instruction Manual - Page 16
) • the key number and description of the replacement part(s) (see the PART LIST and the EXPLODED DRAWING near the end of this manual) Important Recycling Information for E. U. Customers This electronic product must not be disposed of in municipal waste. To preserve the environment, this product
-
 1
1 -
 2
2 -
 3
3 -
 4
4 -
 5
5 -
 6
6 -
 7
7 -
8
-
9
-
10
-
11
-
12
-
13
-
14
-
15
-
16
 |
 |
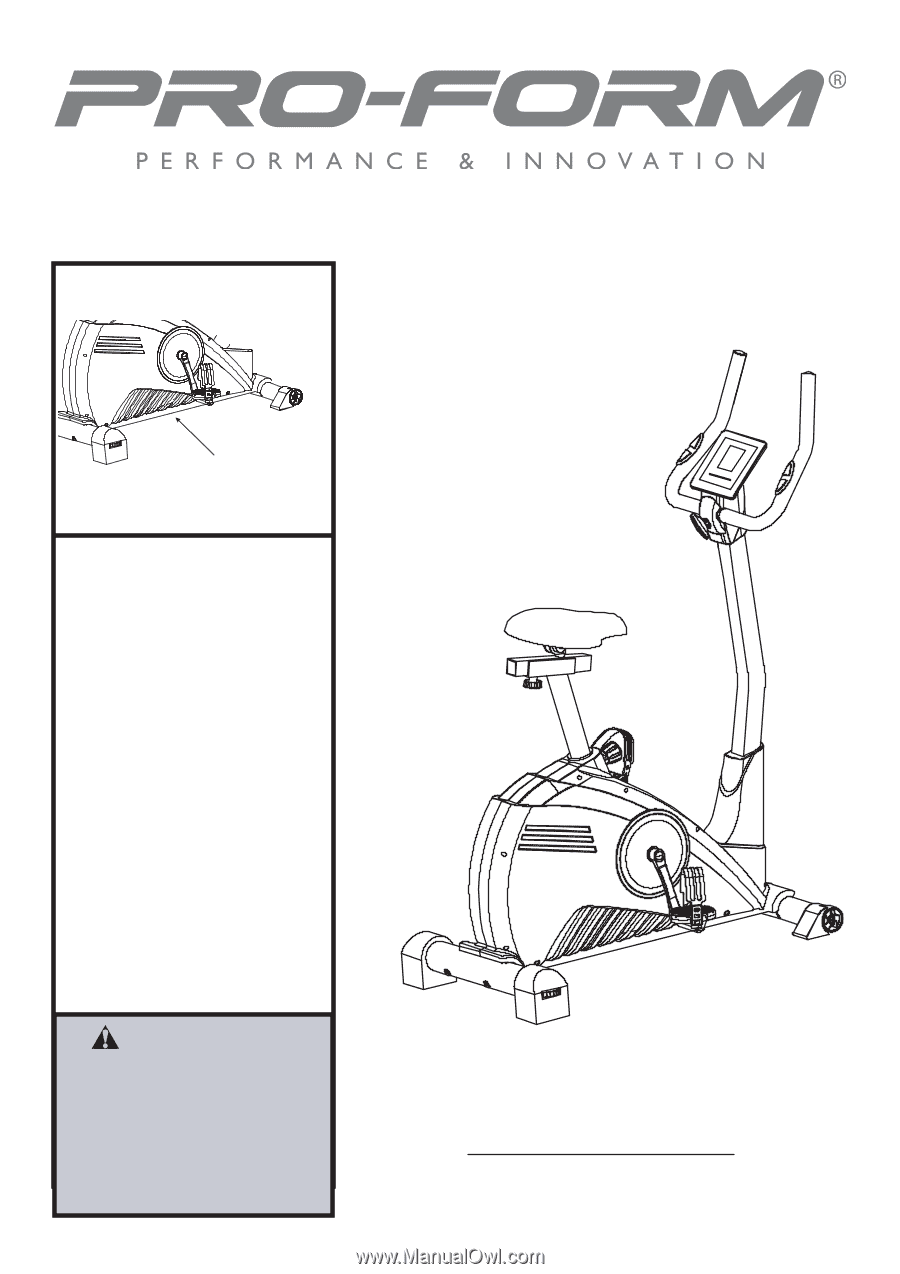
USERʼS MANUAL
Visit our website
www.iconsupport.eu
Model No. PFIVEX87212.0
Serial No. :
___________
CAUTION
Read all precautions and instruc
-
tions in this manual before using
this equipment. Keep this manual
for future reference.
QUESTIONS ?
If you have questions, or if there are
missing parts, please contact us:
UK
Call: 08457 089 009
From Ireland: 053 92 36102
Website: www.iconsupport.eu
E-mail: [email protected]
Write:
ICON Health & Fitness, Ltd.
c/o HI Group PLC
Express Way
Whitwood, West Yorkshire
WF10 5QJ
UK
Write the serial number in the
space above for reference.
Serial No Decal