Pyle PLD71MU PLD71MU Manual 1 - Page 12
Button, Function - remote
 |
View all Pyle PLD71MU manuals
Add to My Manuals
Save this manual to your list of manuals |
Page 12 highlights
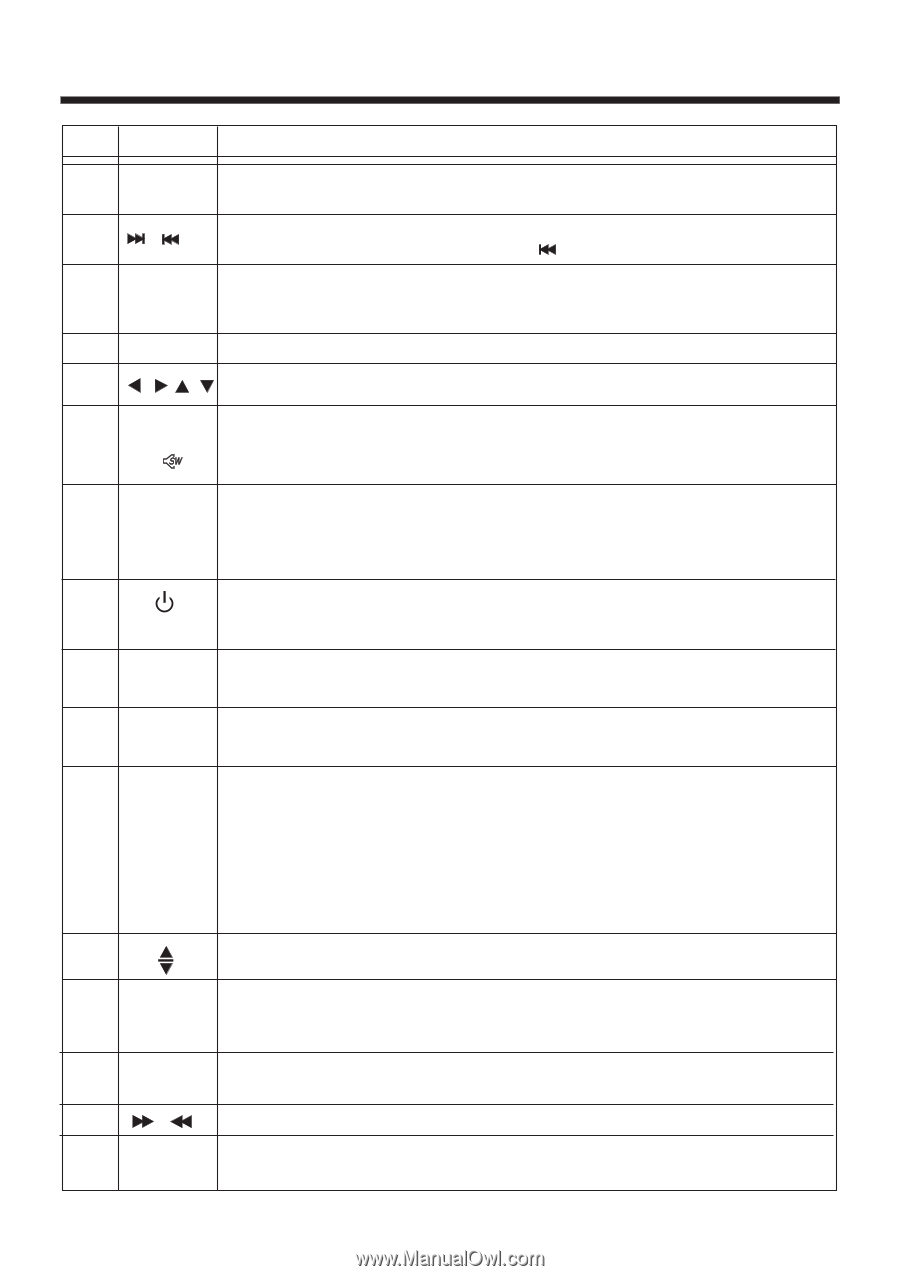
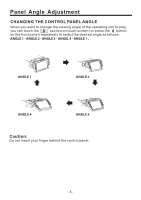
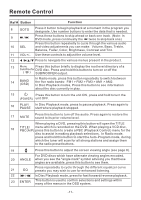
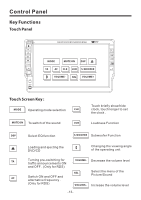
Remote Control Ref # Button 8 GOTO 9 / 10 SEL 11 VOL+/- 12 /// Function Press it button to begin playback at a moment in the program you designate. Use number buttons to enter the data that is needed. Press these buttons to skip ahead or back one track. (Note: In DVD mode, press continually the twice to skip back one) Press this button repeatedly to cycle through the various audio and video adjustments you can make: Volume, Bass, Treble, Balance, Fader, Color, Brightness, Contrast and Tint. Use these controls to adjust the volume level. Press to navigate the various menus present in the product. 13 Menu Press this button briefly to display the root level directory of a SubWoofer DVD disc. Press and hold this button to turn on or off the ( ) SUBWOOFER output. In Radio mode, press this button repeatedly to switch between 14 BAND (OSD) the five radio bands: FM1 > FM2 > FM3 > AM1 > AM2. In Disc Playback modes, Press this button to see information about the disc currently in play. 15 Press this button to turn the unit ON , press and hold to turn the (POWER) unit OFF. 16 PLAY/ In Disc Playback mode, press to pause playback. Press again to PAUSE start where playback stopped. Press this button to turn off the audio. Press again to restore the 17 MUTE sound to its prior volume level. When playing a DVD, pressing this button will open the TITLE 18 TITLE/ menu which is recorded on the DVD. When playing a VCD disc, PBC(A/P) press this button to create a PBC (Playback Control) menu for the disc to assist in making playback selections. In Radio mode, press and hold this button to start the Auto-Program mode, during which the tuner will scan for all strong stations and assign them to the radio preset buttons. 19 Press this button to adjust the screen viewing angle (see page 8). For DVD discs which have alternate viewing angles encoded, 20 ANGLE when you see the "angle mark" symbol advising you that these angles are available, press this button to see them. Press repeatedly to cycle through the different equalizer curve 21 EQ presets you may wish to use for enhanced listening. 22 / In Disc Playback mode, press for fast forward/reverse playback. 23 ENTER This button is used to confirm selections and settings within many of the menus in the OSD system. -11-
-
 1
1 -
2
-
3
-
4
-
5
-
6
-
 7
7 -
 8
8 -
 9
9 -
 10
10 -
 11
11 -
 12
12 -
 13
13 -
 14
14 -
 15
15 -
 16
16 -
 17
17 -
18
-
19
-
20
-
21
-
22
-
23
-
24
-
25
-
26
-
27
-
28
-
29
-
30
-
31
-
32
-
33
-
34
-
35
-
36
-
37
-
38
 |
 |